Creating Visibility Barriers
Last updated: September 30, 2026
Visibility barrier restricts which employees can view information about other employees. Use one when a group of records — for example, senior leadership — should only be visible to a named supervisor or oversight team rather than to every administrator in your firm. This article walks through creating a barrier from the People directory settings, including how to narrow it with exclusions.
Before you begin
Visibility barriers are managed from the People directory. The "Visibility barriers" tab appears only if your firm has the information barrier feature enabled and you are signed in with superadmin access. Note that these barriers govern employee records only; policies that restrict review of email and instant messages are configured separately under your communications settings.
Open the visibility barriers tab
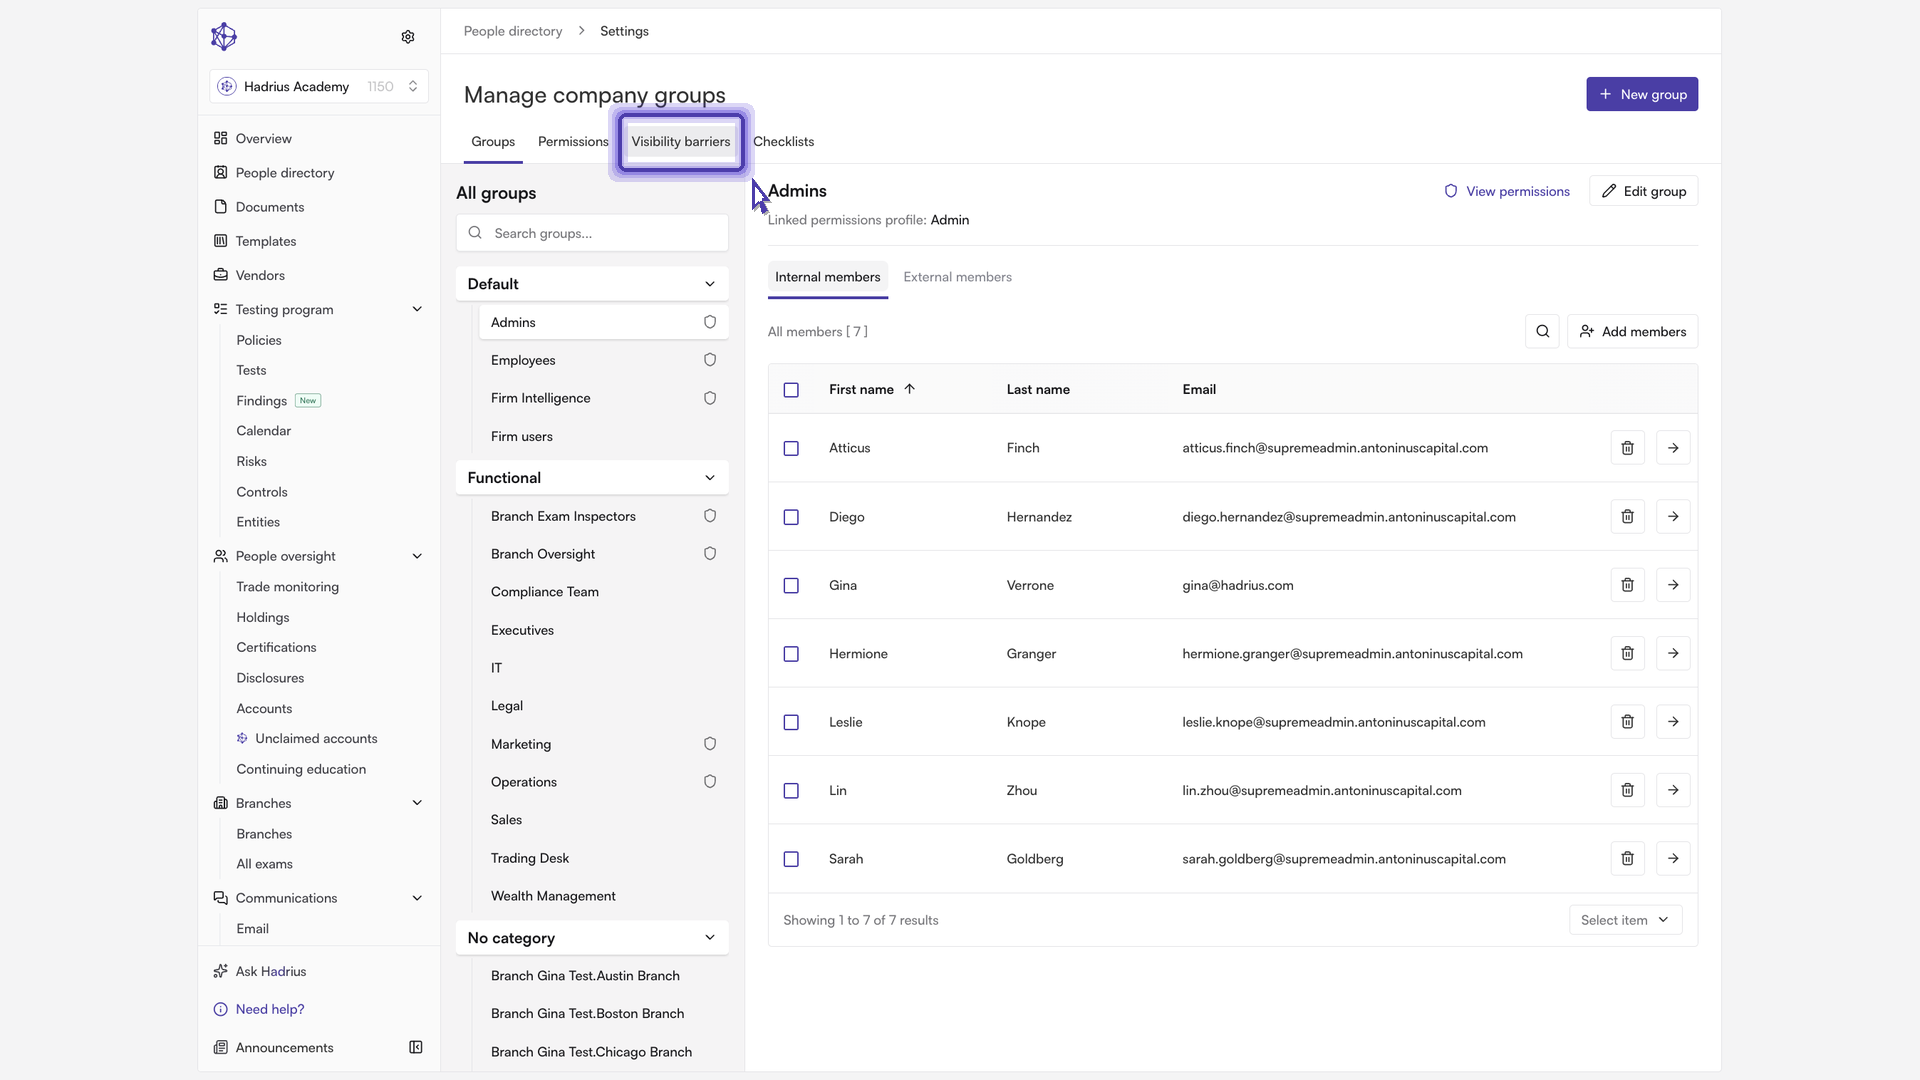
Start in the People directory, where every employee record lives, and open Settings. This is the area where permissions and groups are managed — in other words, where you control who can see what. Select the Visibility barriers tab, which sits alongside the Groups and Permissions tabs.
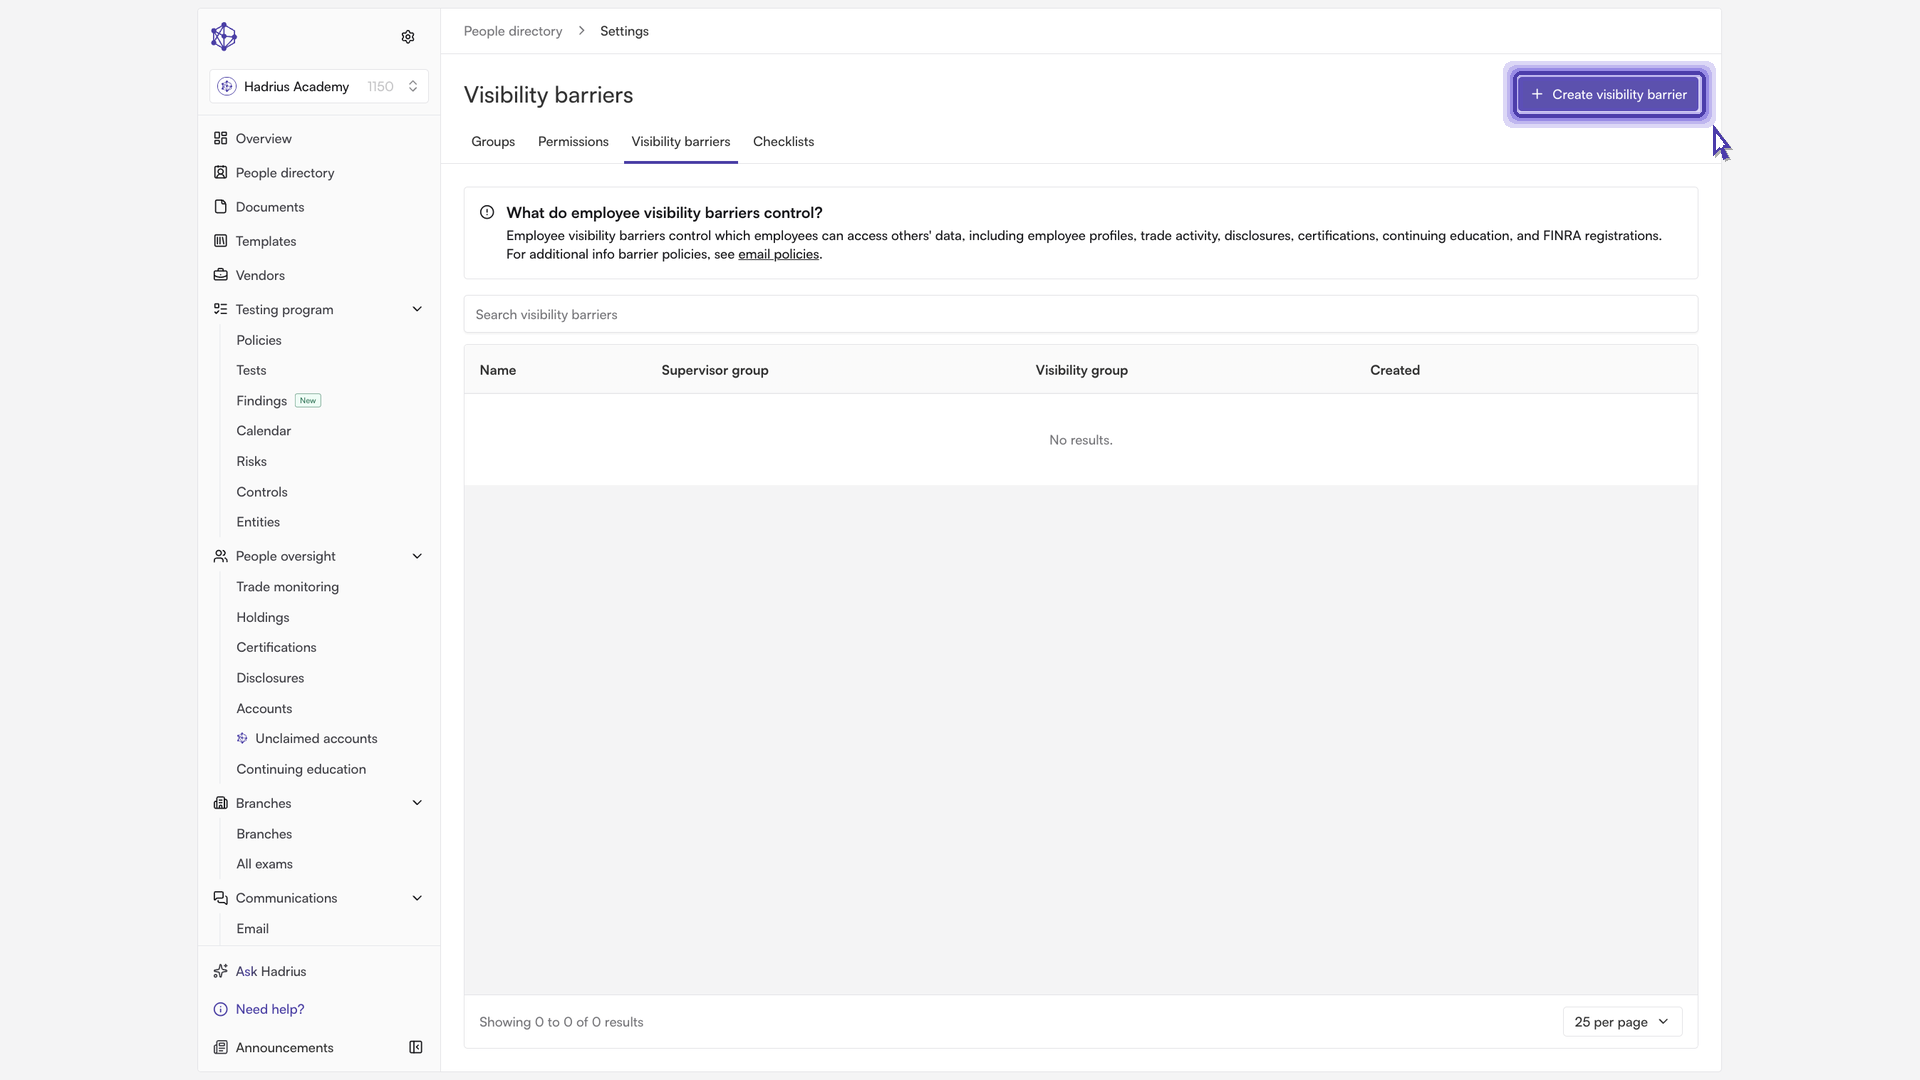
The tab lists every barrier already in place, showing each policy's name, its supervisor group, its visibility group, and the date it was created. You can search the list by name or group, and select any row to review it in detail.
Create the barrier
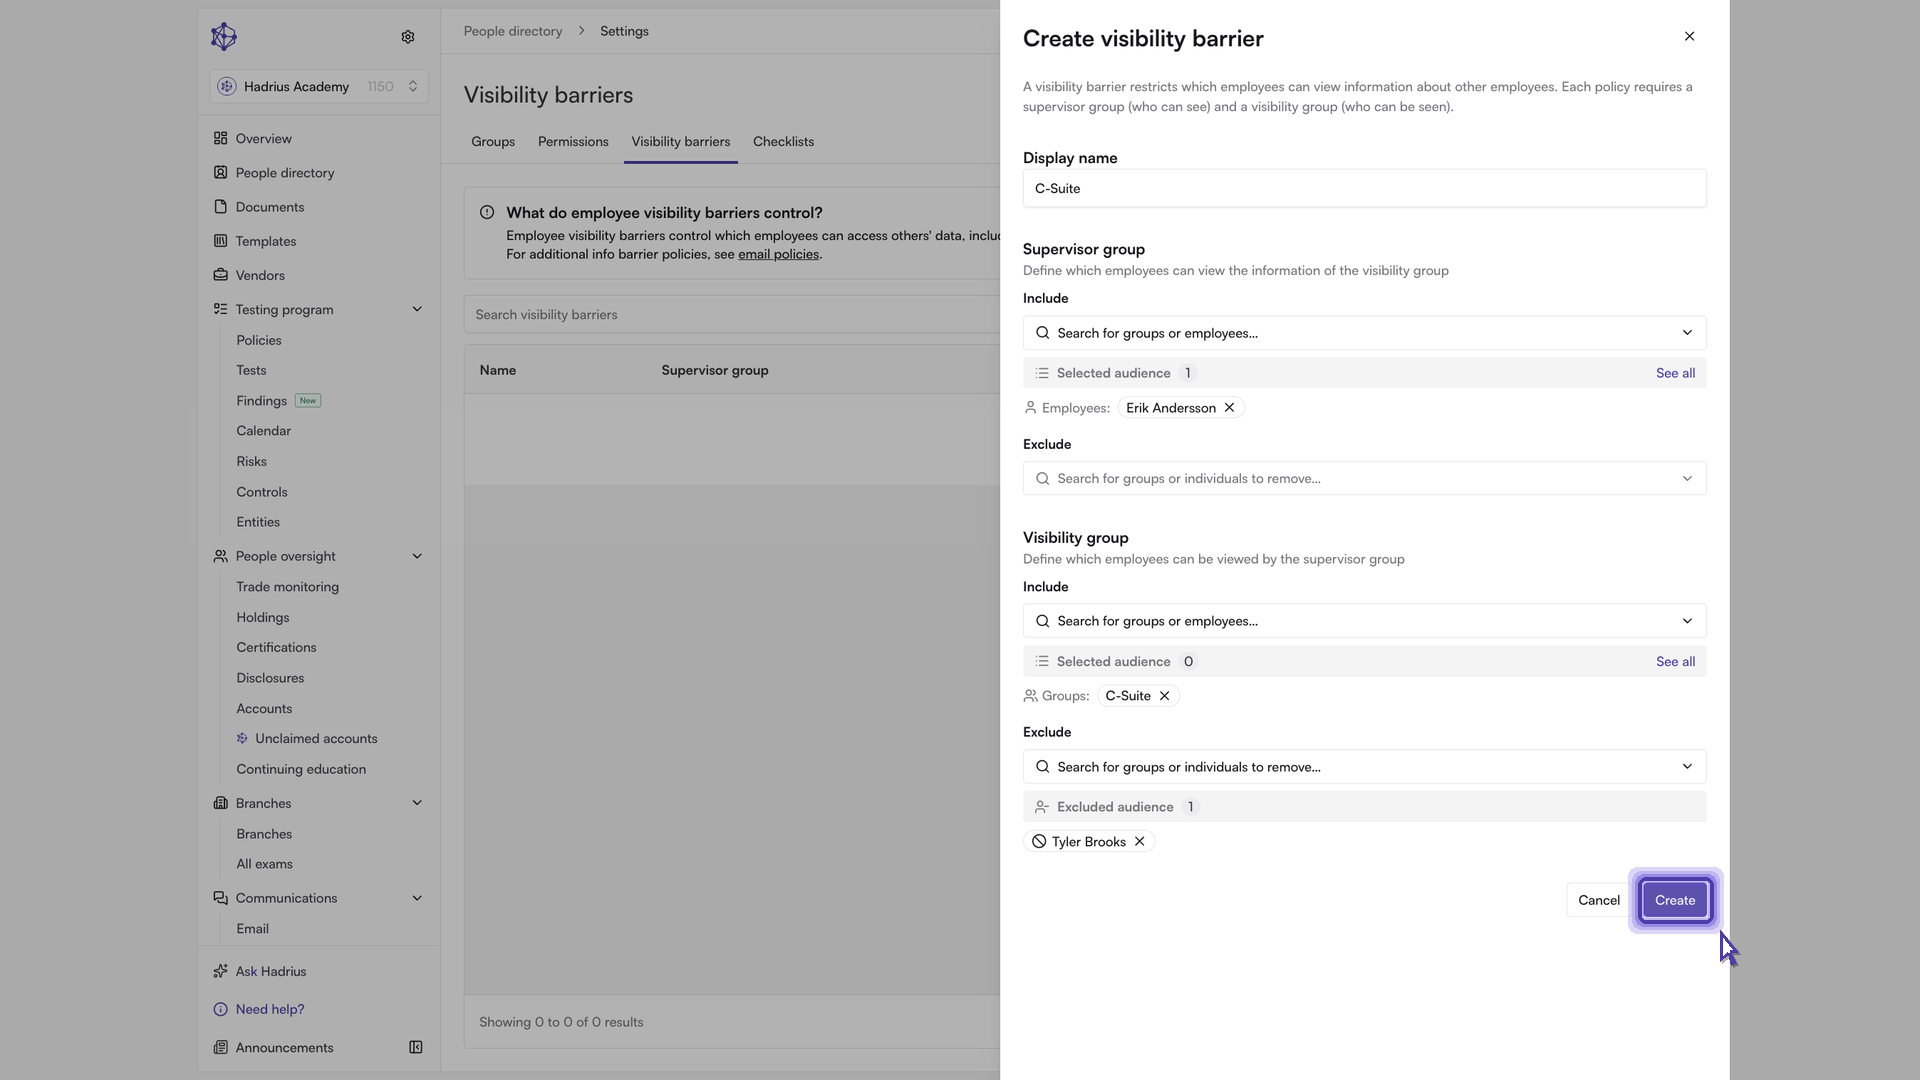
Select "Create visibility barrier." The button sits in the top right of the page and opens a drawer where you build the policy from scratch.
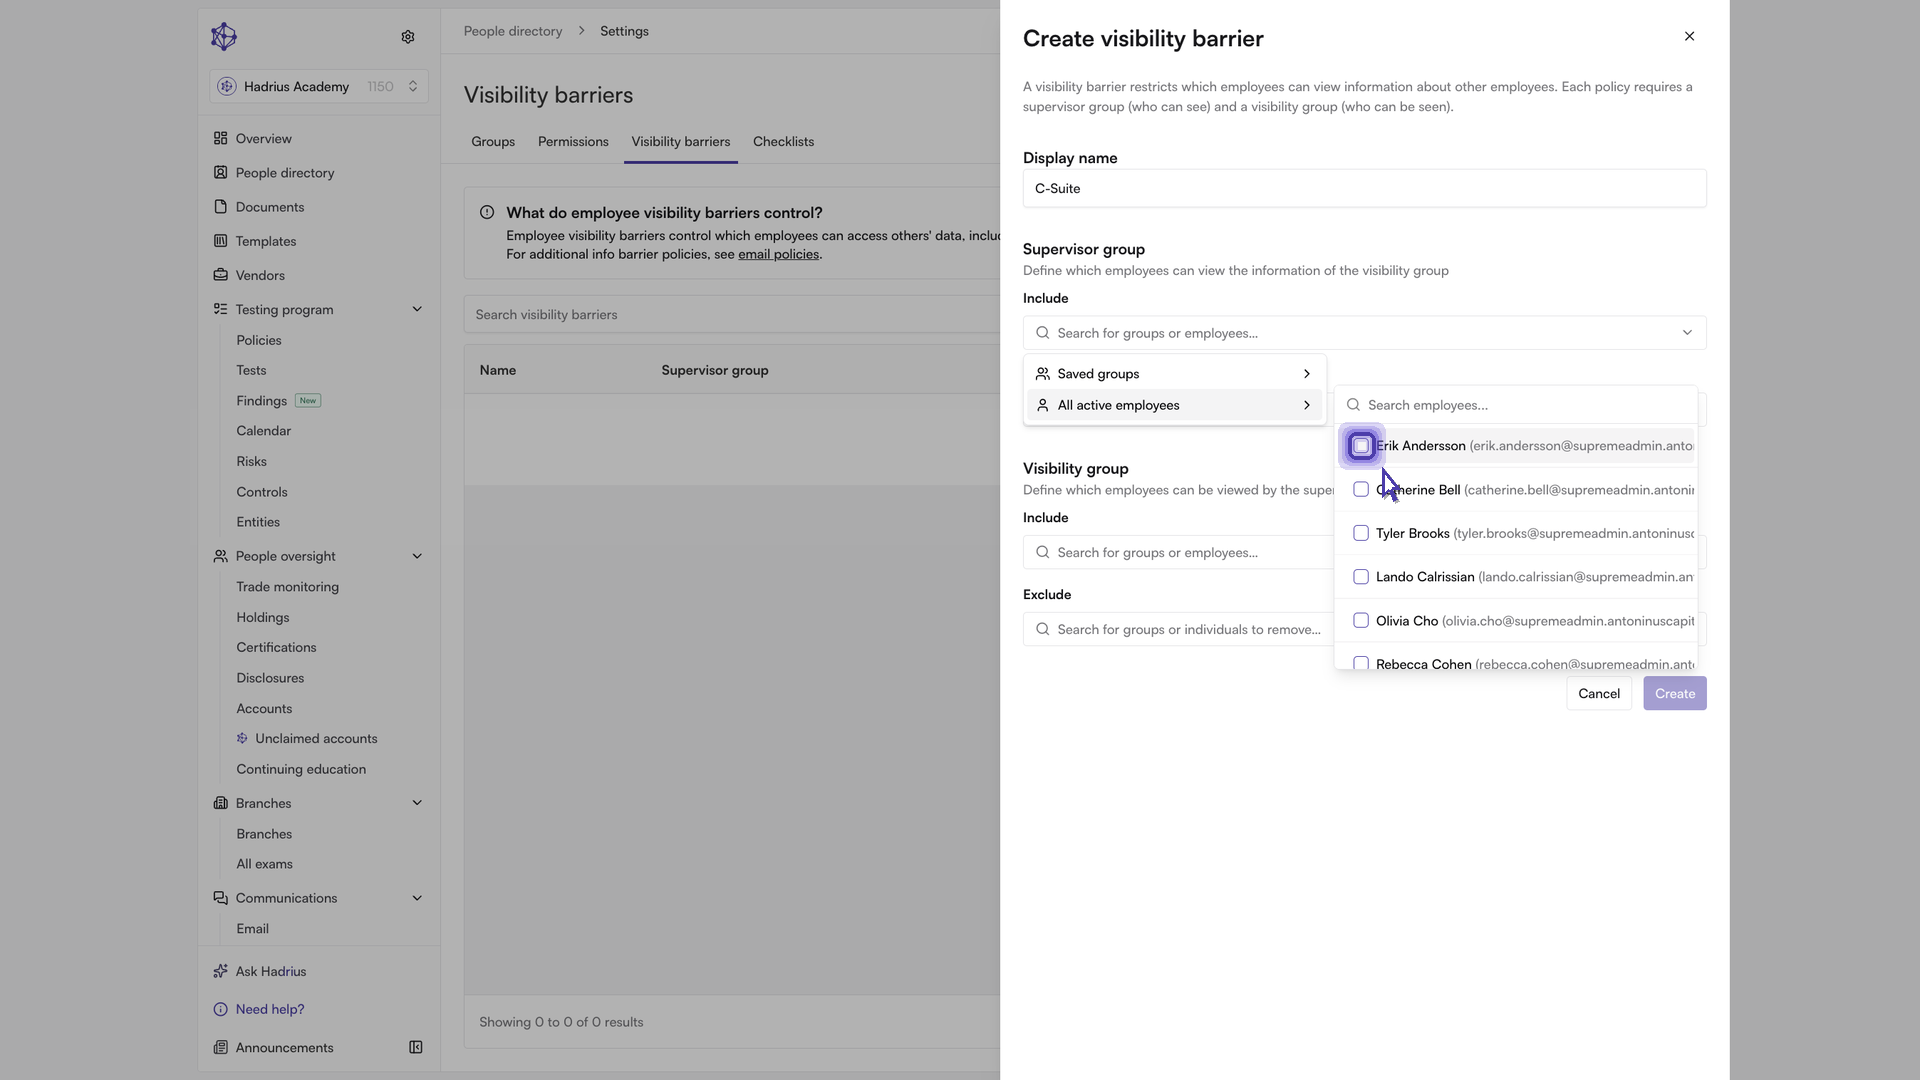
Enter a display name. A clear, descriptive name keeps the policy recognizable as your list of barriers grows.
Define the supervisor group. This is the set of people allowed to view others' data. Use the Include search to add existing employee groups, individual employees, or a combination of the two. If oversight should rest with a single person, adding just that one individual is enough.
Define the visibility group. These are the employees whose data gets protected. Once the barrier is in place, their profiles and related records — such as disclosures and certifications, depending on the modules your firm uses — become visible only to the supervisors you named.
Add exclusions if needed. Each group has its own Exclude field, which carves out anyone who should not fall under the barrier. If a supervisor should review an entire leadership group except for one role, exclude that role from the visibility group rather than building a second, narrower barrier. Excluded groups and individuals appear beneath the field so the carve-out stays easy to audit.
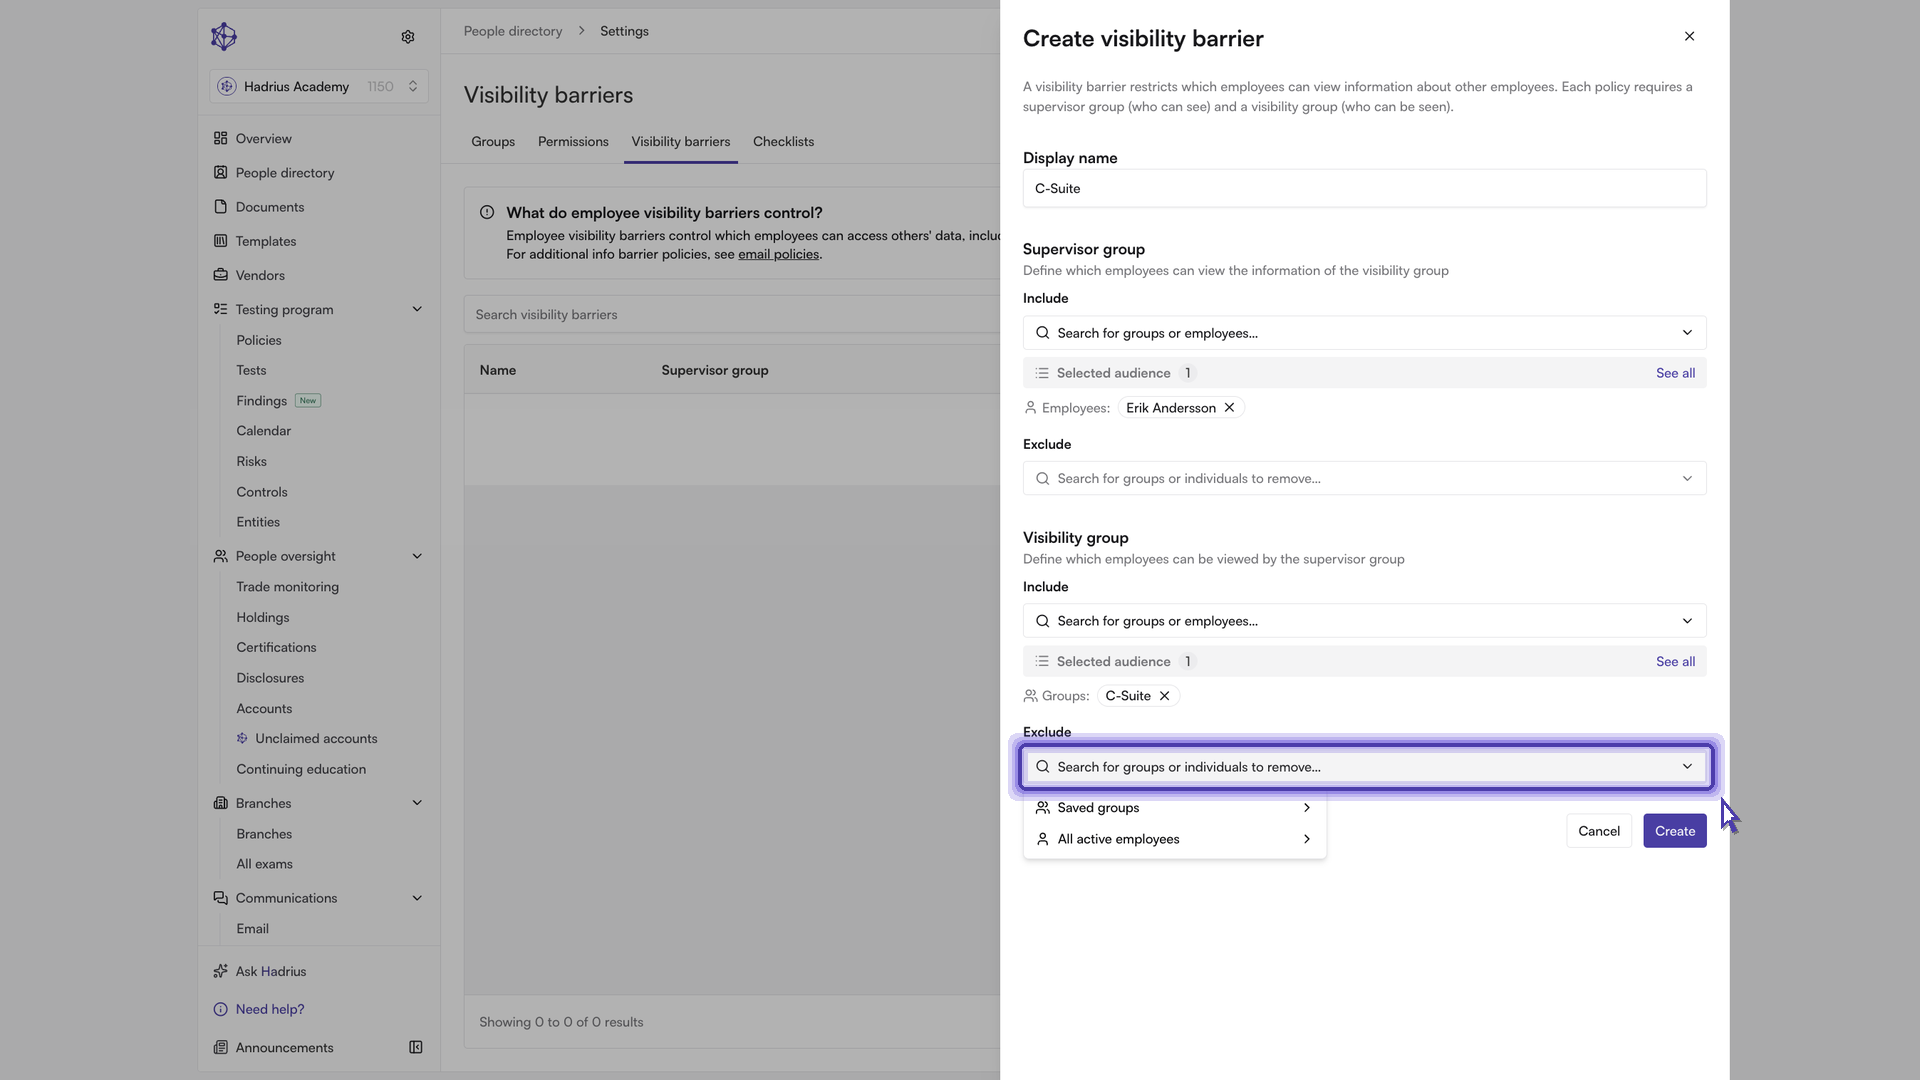
Select "Create." The button stays disabled until you have entered a name and included at least one group or individual in both the supervisor group and the visibility group. A confirmation message appears once the policy is saved.
After the barrier is created
The barrier takes effect immediately across the platform, and the new policy appears in the list on the Visibility barriers tab. To review or change it later, select the row to open the policy, then use Edit to adjust the name or either group and Save to apply your changes. Delete policy removes the barrier entirely and restores normal visibility for the employees it covered.