Submitting a Marketing Project for Review
Last updated: October 1, 2026
This article walks through submitting a piece of marketing collateral for compliance review. Use it any time a new brochure, email, social post, or other client-facing material needs approval before it goes out. Submission happens in a guided wizard, and the whole flow — naming the project, attaching files, setting dates, answering your firm's submission questions, and confirming who is submitting — takes place before anything reaches a reviewer. Some steps described below only appear if your compliance team has enabled them for your firm.
Before you start
Have your files ready, along with the date you need approval back by and the date the material will first be used publicly. You can leave the wizard at any point using "Save as draft" and pick up where you left off later.
Submitting a project
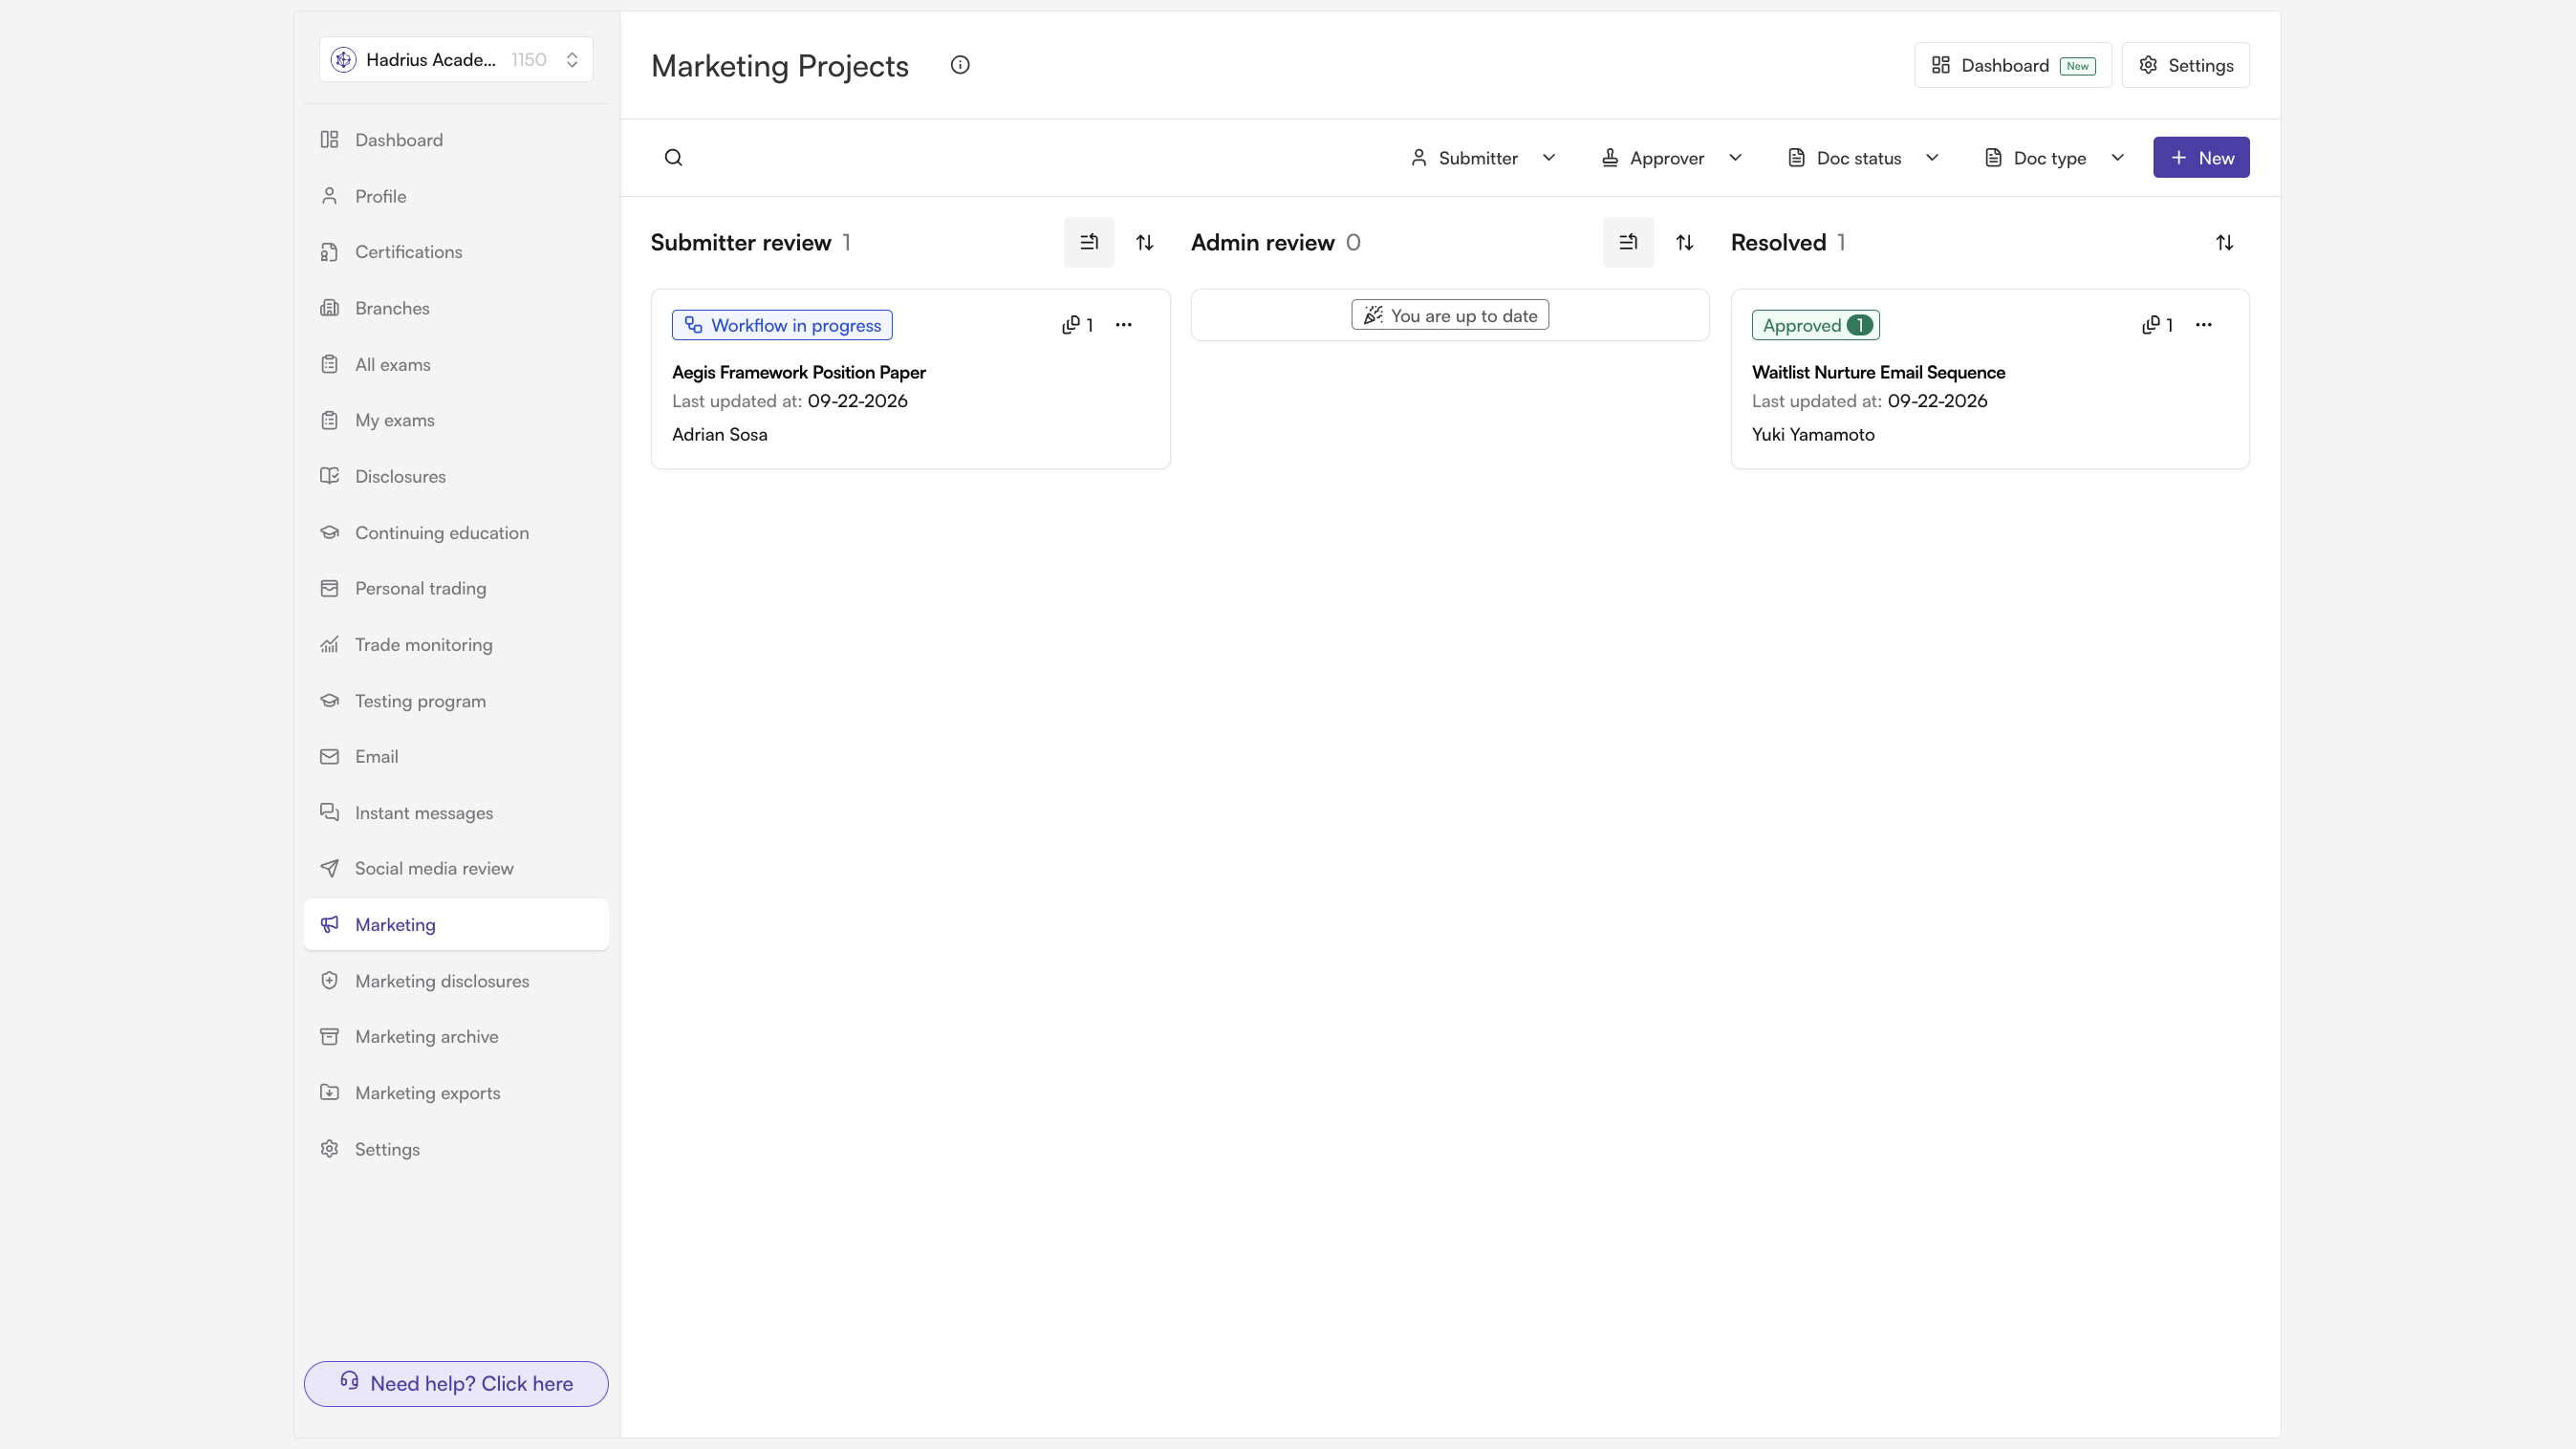
Open Marketing Projects and start a new project. The Marketing Projects page lists everything that has been submitted for review, along with its current status. Select "New" to open the project creation wizard. The wizard walks through three main stages — Set up project, Upload, and Save project — and the stepper on the left tracks your position.
Give the project a name. On the Project details step, enter a project name so reviewers can recognize it later. You can also add an optional overview describing what the project is for. Select "Next" to continue.
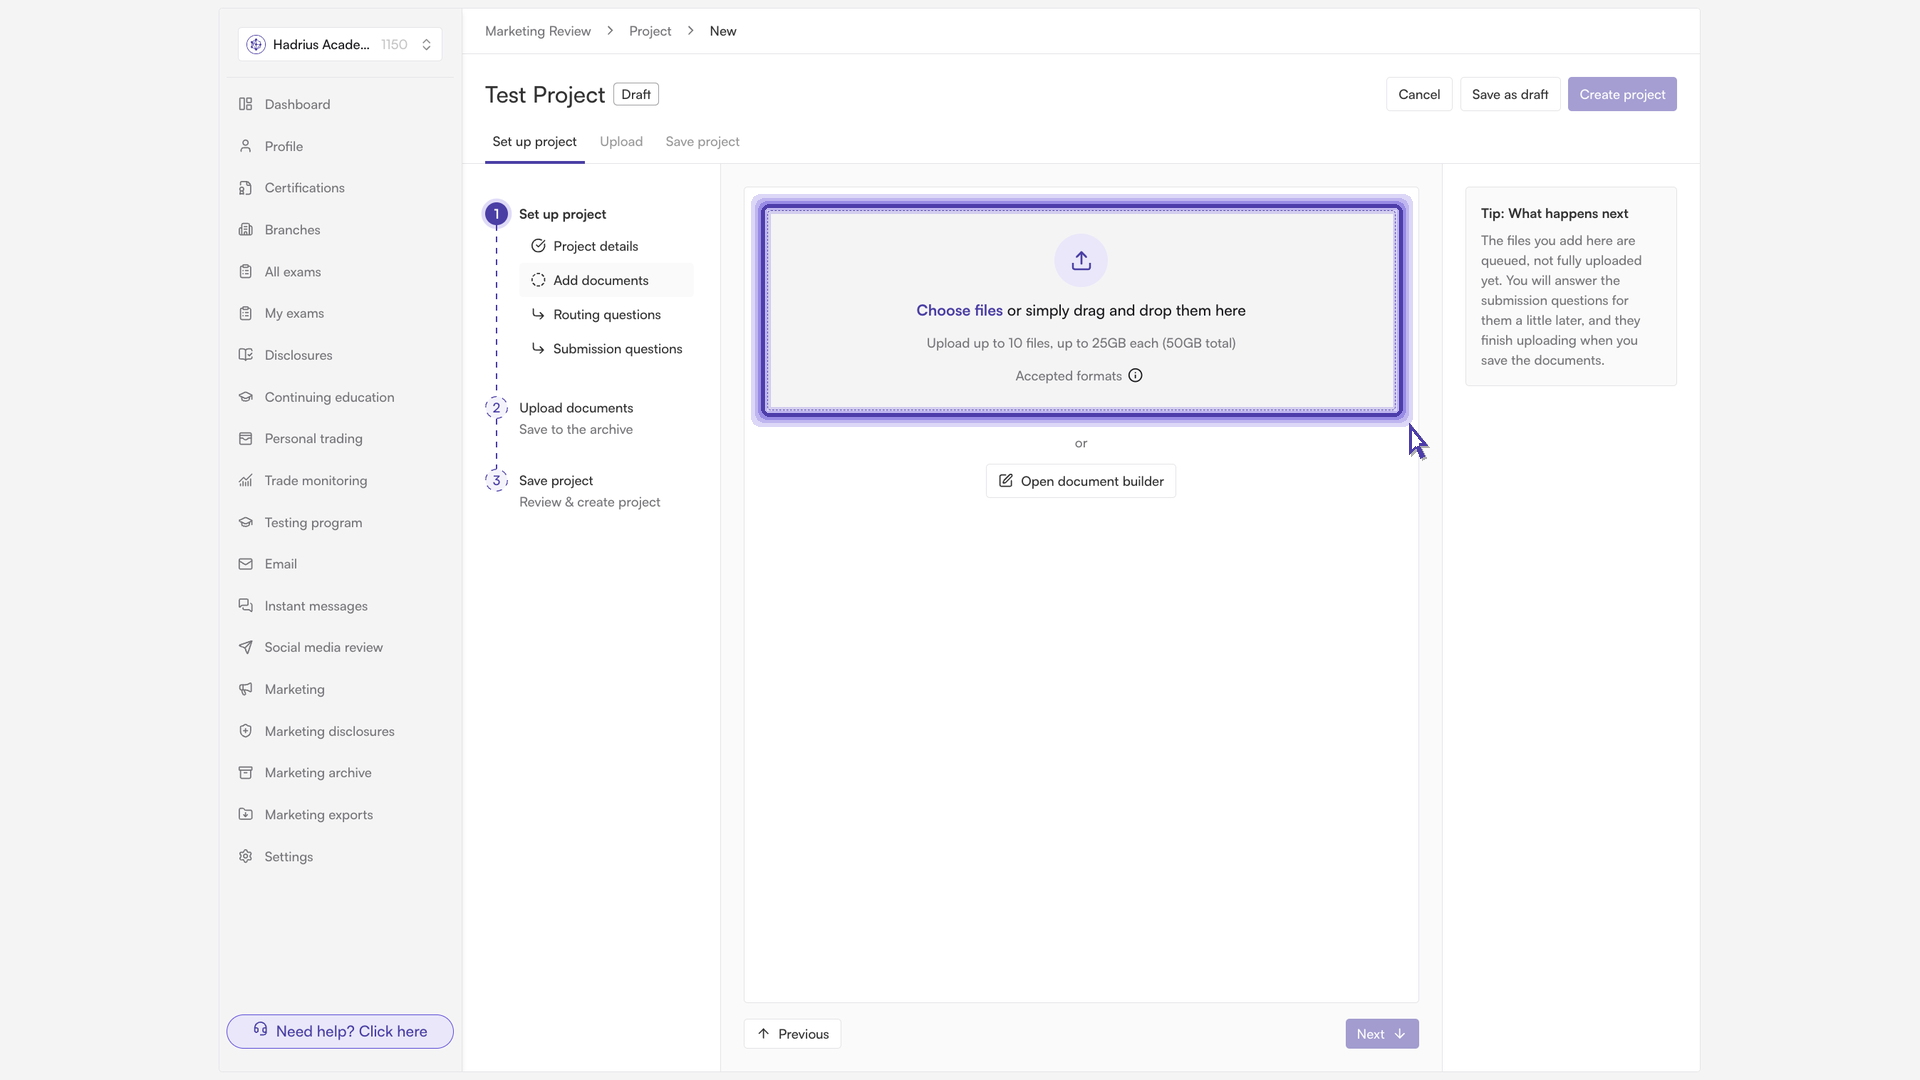
Add your documents. On the Add documents step, drag your files into the upload area or browse for them. You can also use the document builder to compose a piece directly in the platform. Each file appears in the Documents list below, where the pencil icon lets you rename it — the name you give here is how the document is identified throughout the project, so choose something a reviewer will understand.
Choose the review workflow. The Workflow setup step is where you select the approval workflow the project should follow, and a preview shows the review steps it will pass through. Depending on your firm's configuration, this step may instead present a short set of routing questions that determine the workflow automatically, or it may not appear at all. If you have permission to submit on behalf of others, the "Submit on behalf (optional)" and "Add collaborators (optional)" selectors also appear here.
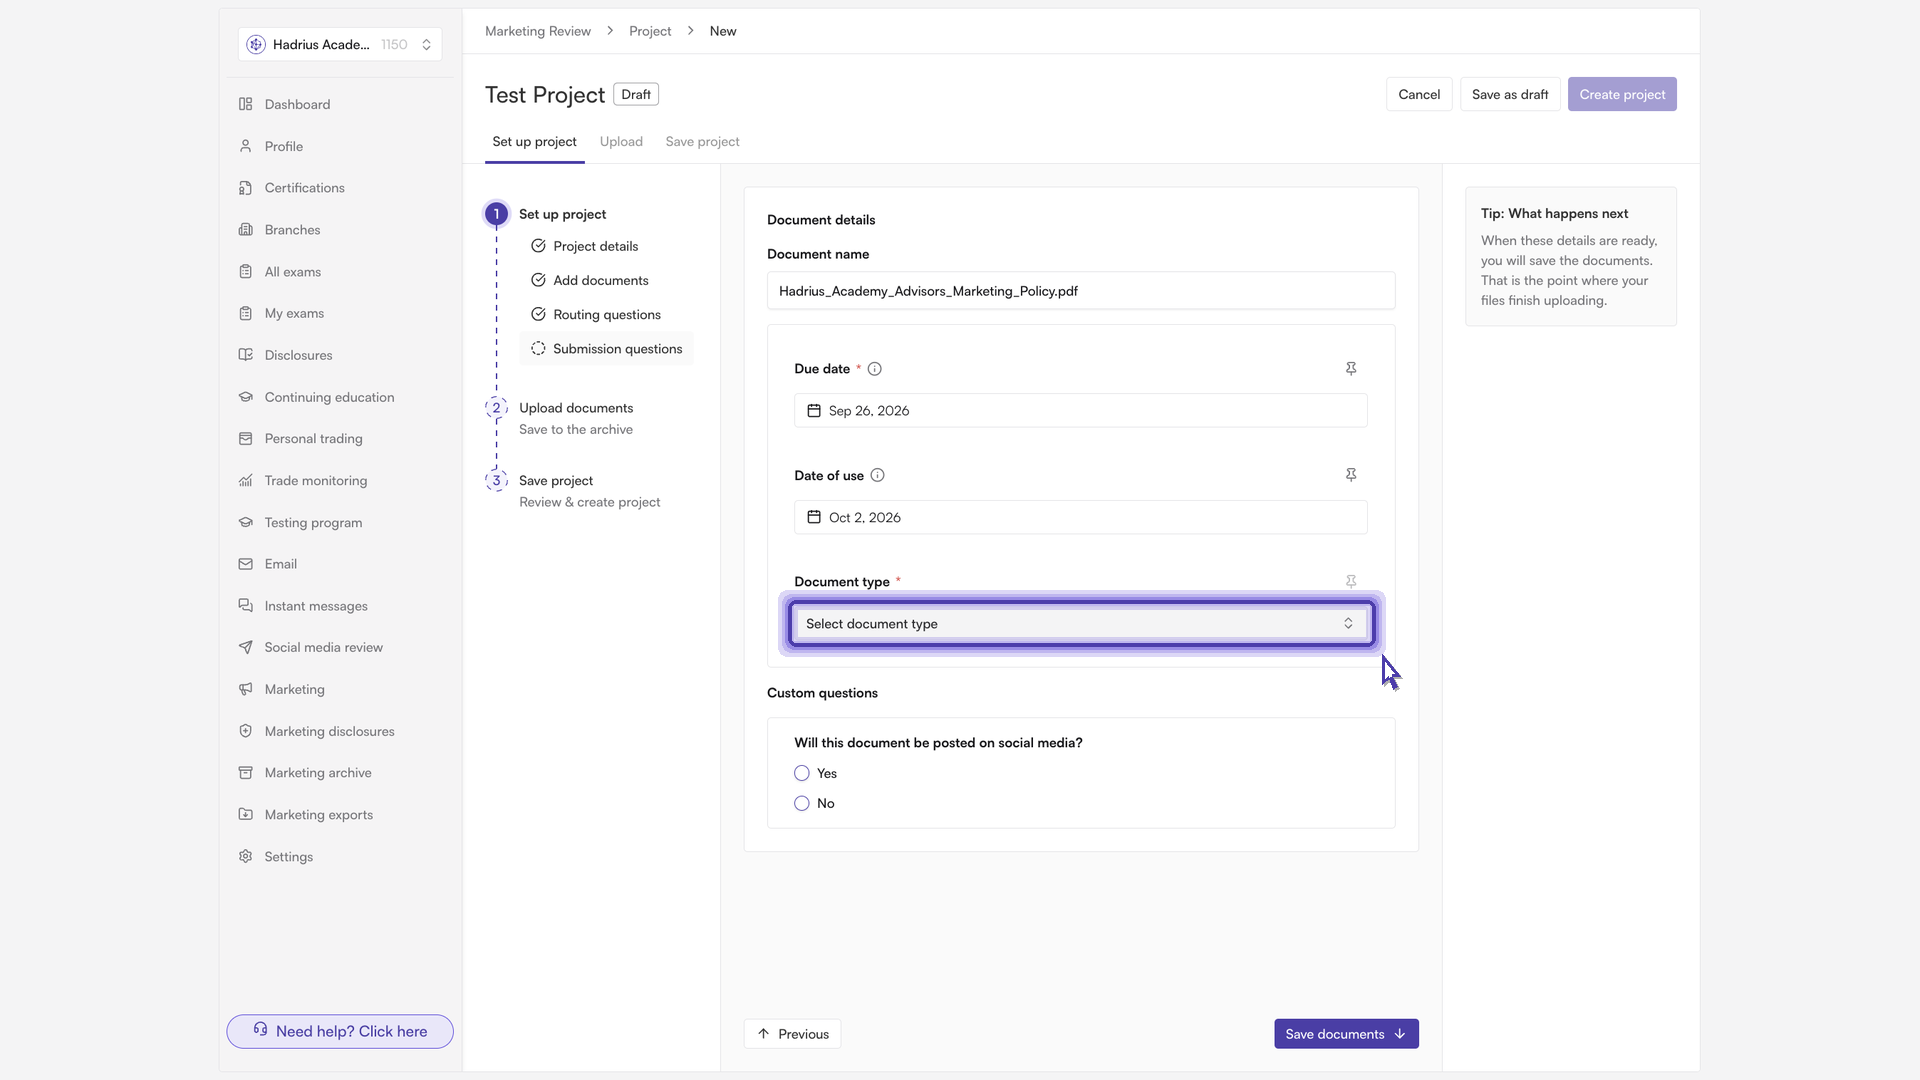
Complete the document details and submission questions. On the Submission questions step, set the following for each document:
Due date (required) — when you need the review back, so approvals land before the material goes out. This date cannot be in the past.
Date of use — when the material was, or will be, first used publicly.
Document type (required) — this determines which rules and reviewers apply. A brochure can route differently from an email or a social post.
Any custom submission questions your firm has configured appear below these fields. The pin icon next to a field saves your current answer as your personal default for future submissions.
Answering for multiple documents. If the project contains more than one document, you may see a "Document setup" choice. Select "Once for the whole project" to answer a single set of details that is applied to every document in the project, or "Separately for each document" to expand each document and answer individually. Under the project-wide option, changes to the due date, date of use, document type, and custom answers fan out to all documents — document names are still set individually on the Add documents step.
When everything is filled in, select "Save documents" to lock this metadata onto the files. If anything required is missing, the wizard highlights the field and jumps you to it.
Let the files upload. The Upload step saves your documents to the archive and shows progress for each one. If an upload fails, use "Try again" on that card. You can continue while uploads finish in the background.
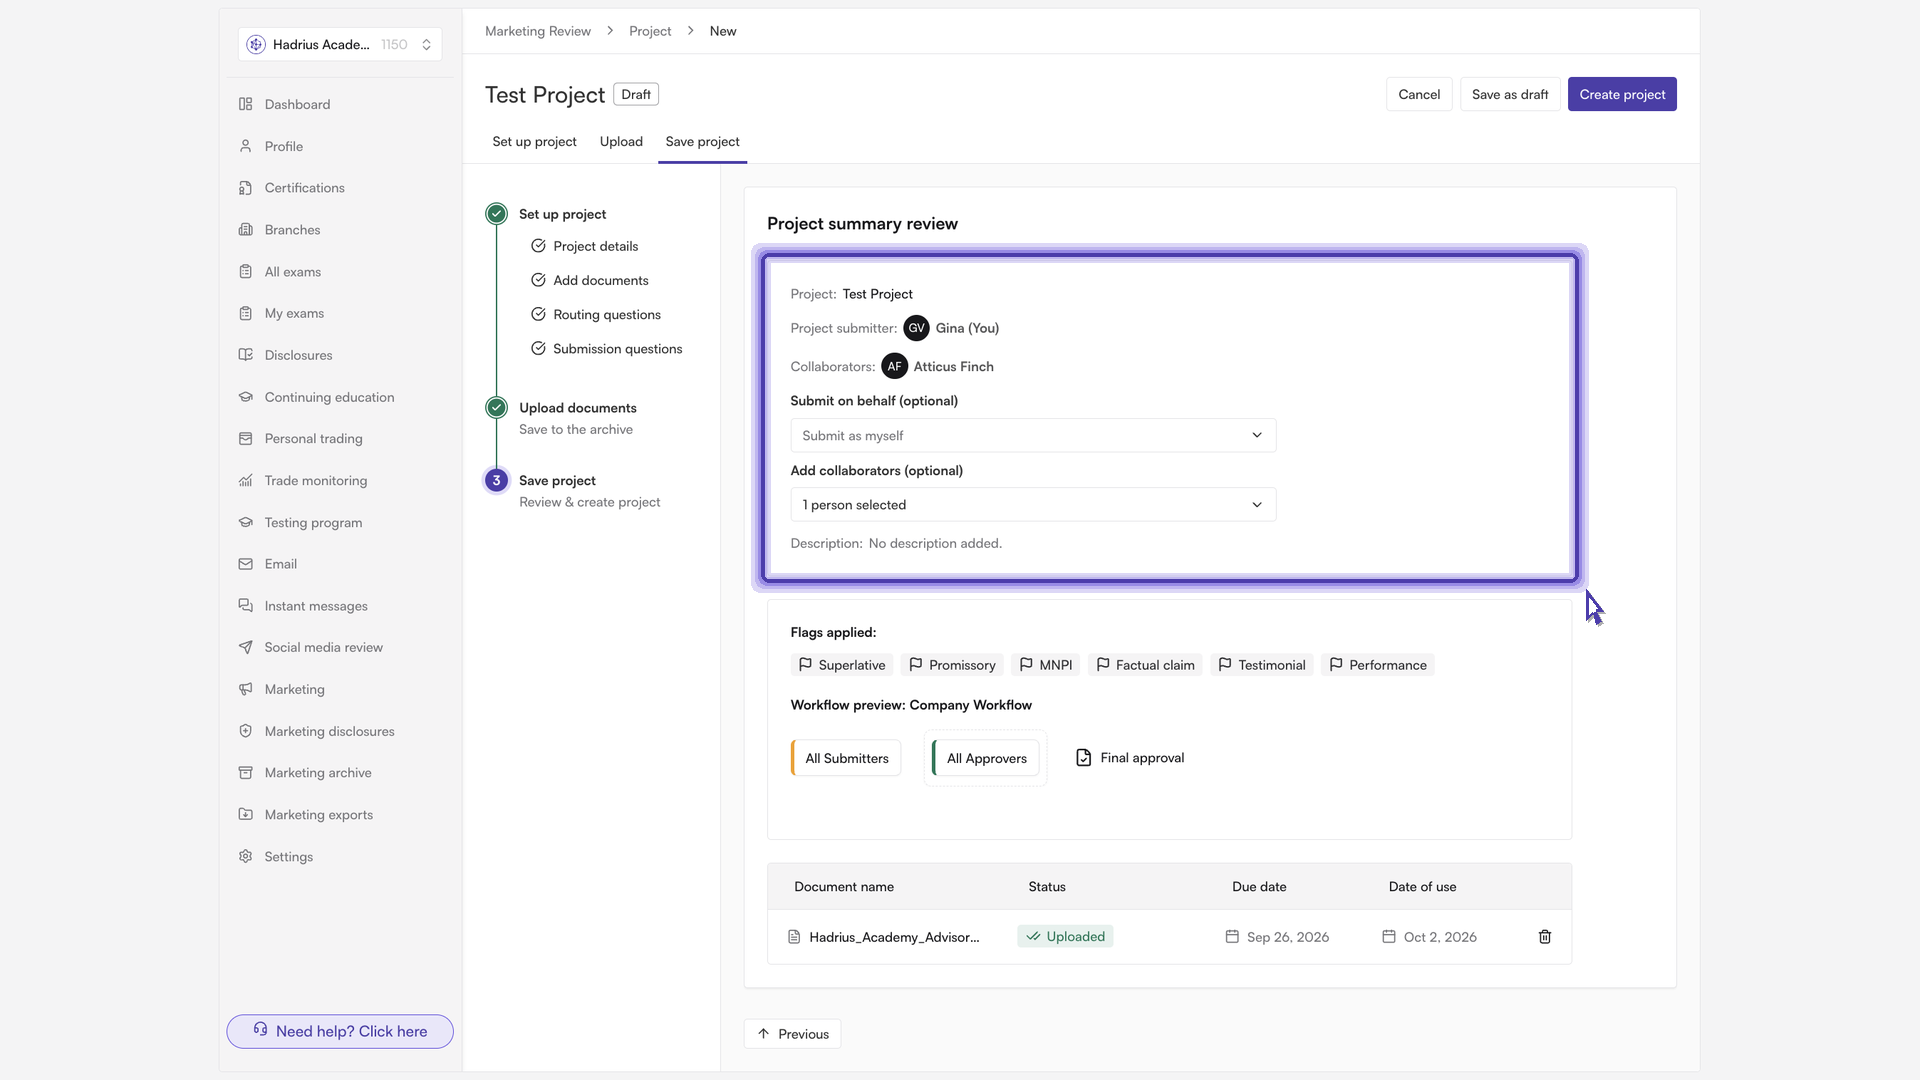
Confirm the submitter and collaborators. On the Save project step, confirm who is submitting. By default that is you. If your compliance team has granted you the custom permission to submit for someone else, use "Submit on behalf (optional)" to choose an eligible colleague. Use "Add collaborators (optional)" to give teammates visibility into the project so they can follow its progress — collaborators do not take on submitter responsibility.
Review the summary and create the project. The summary shows the project name, the submitter, any collaborators, the review flags that will be applied, a preview of the assigned workflow, and the full document list with due dates. Check it over, then select "Create project" to send the project to the review queue.
What happens next
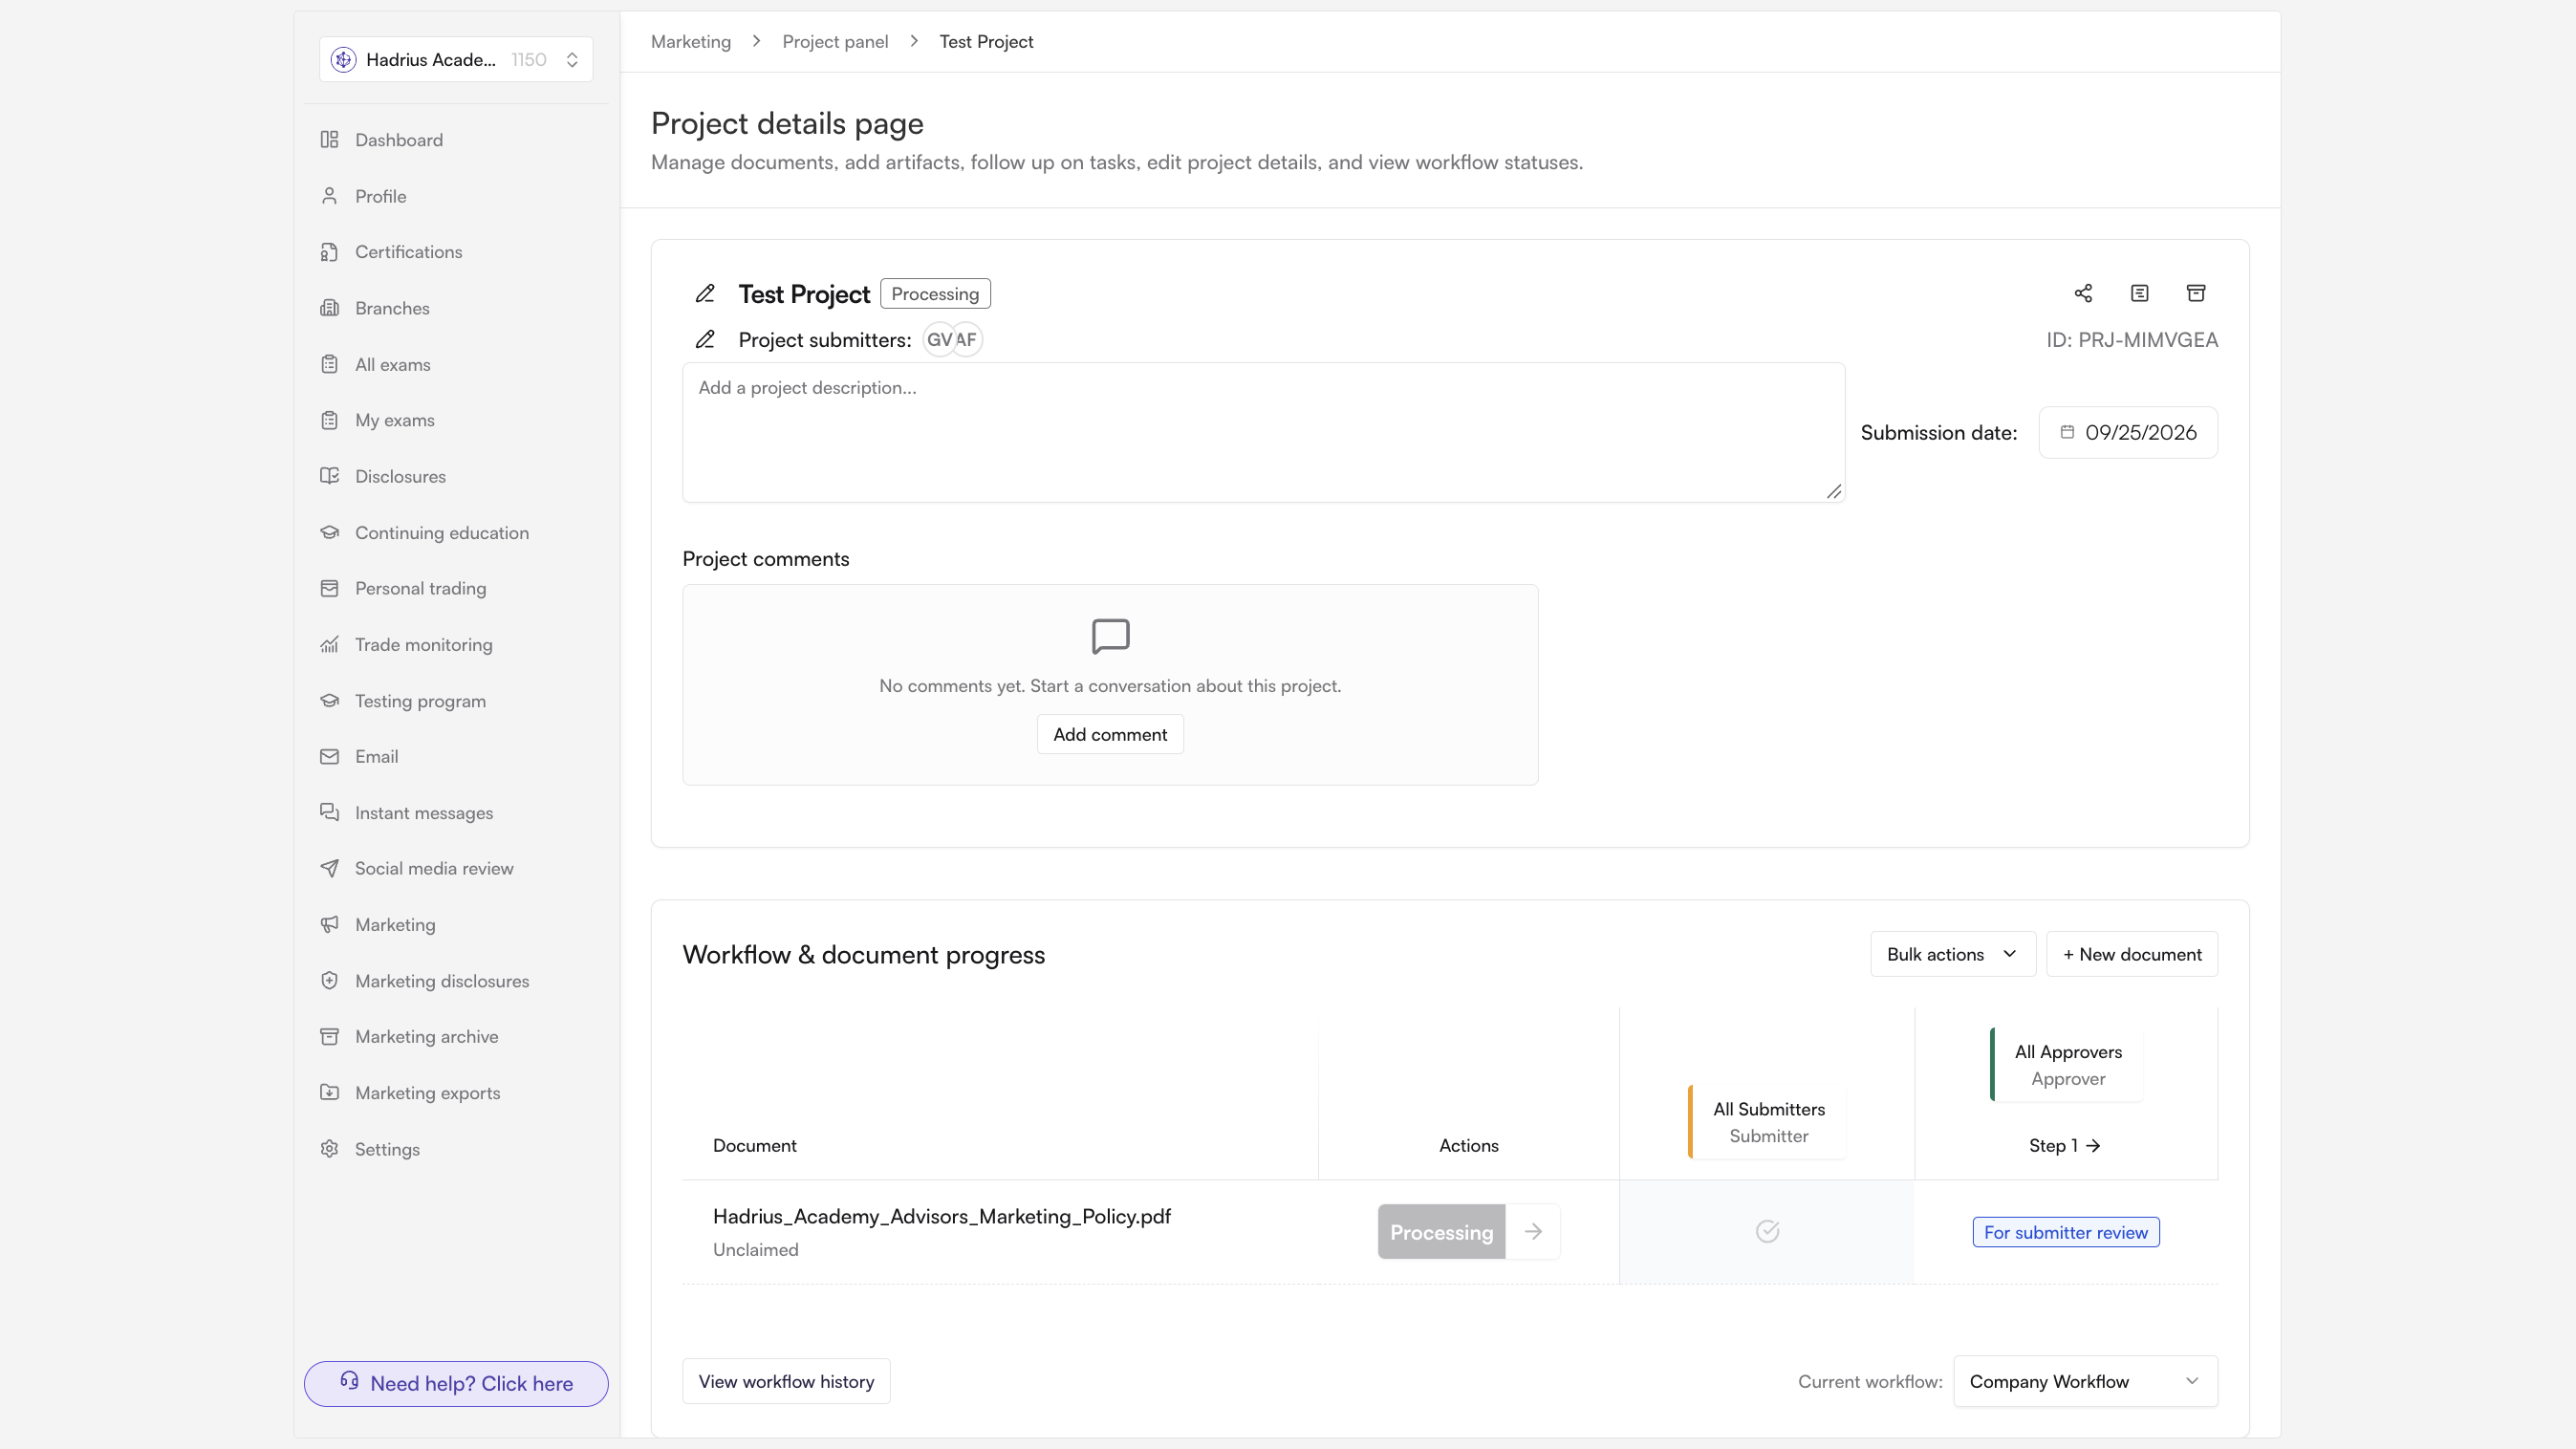
The project opens on its own page while your documents are reviewed by the platform's AI. You will be notified when that review is complete so you can go back in and address any flags before the project moves through the rest of its approval workflow. You can return to the project at any time from the Marketing Projects page.