How to edit a branch's display name in Branches
Last updated: October 17, 2026
Use this workflow when a branch's registered office needs a clearer or more recognizable name shown across the platform — for example, standardizing how a location appears in reports, branch lists, and other views without changing any of its underlying registration details.
Steps
From the left navigation, go to Branches. This section lists every registered office location for the firm.
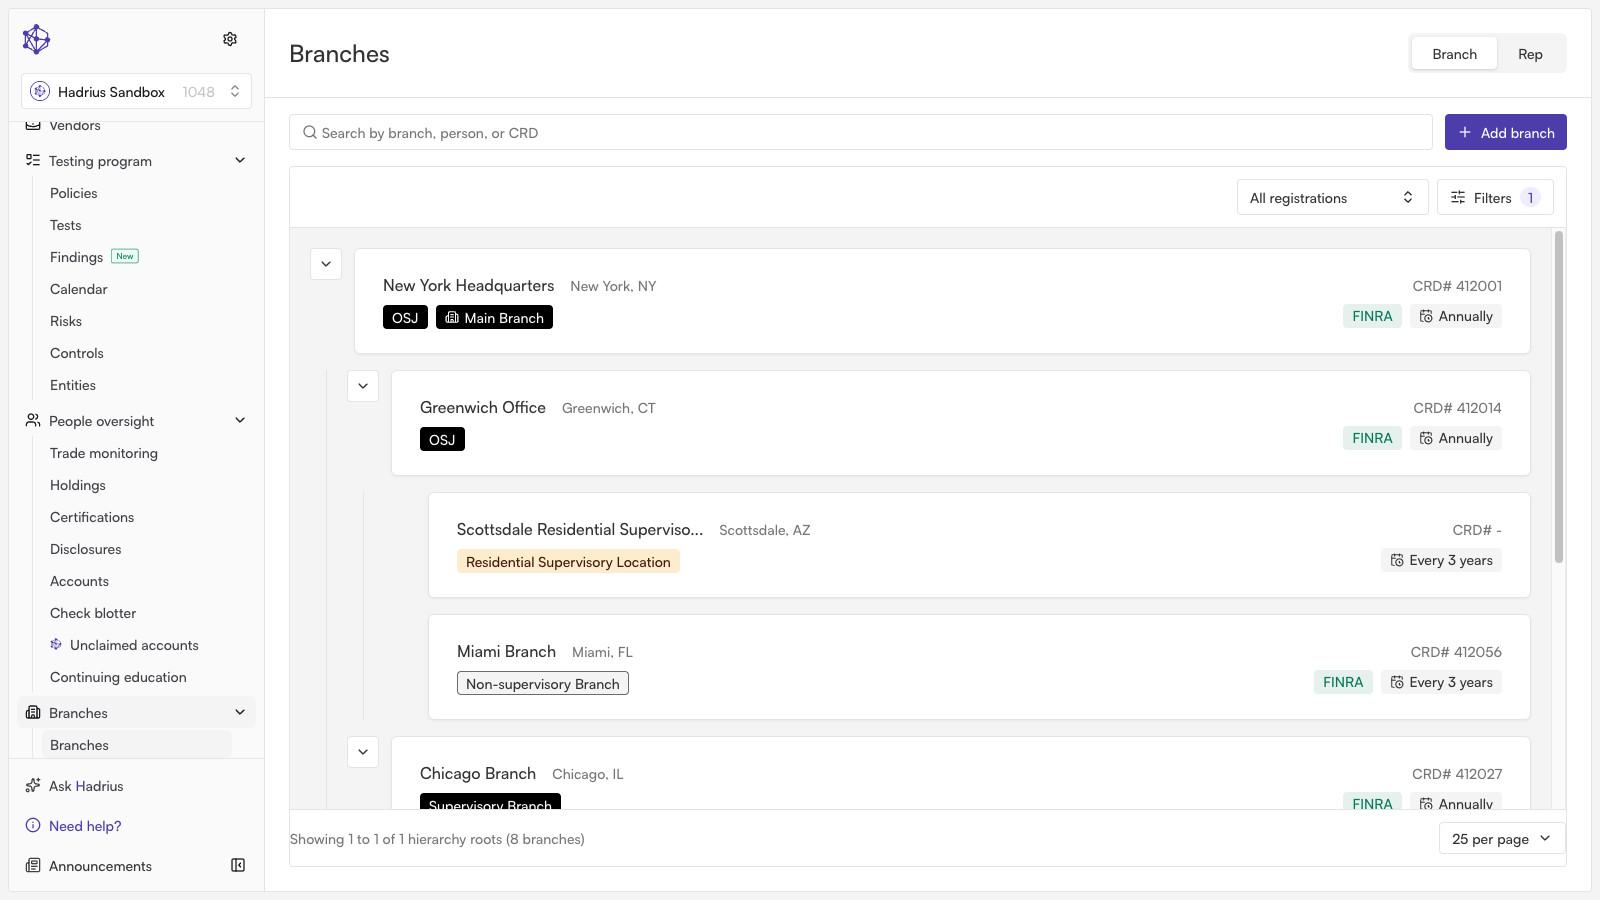
Open the record for the branch you want to rename by clicking into it from the list.
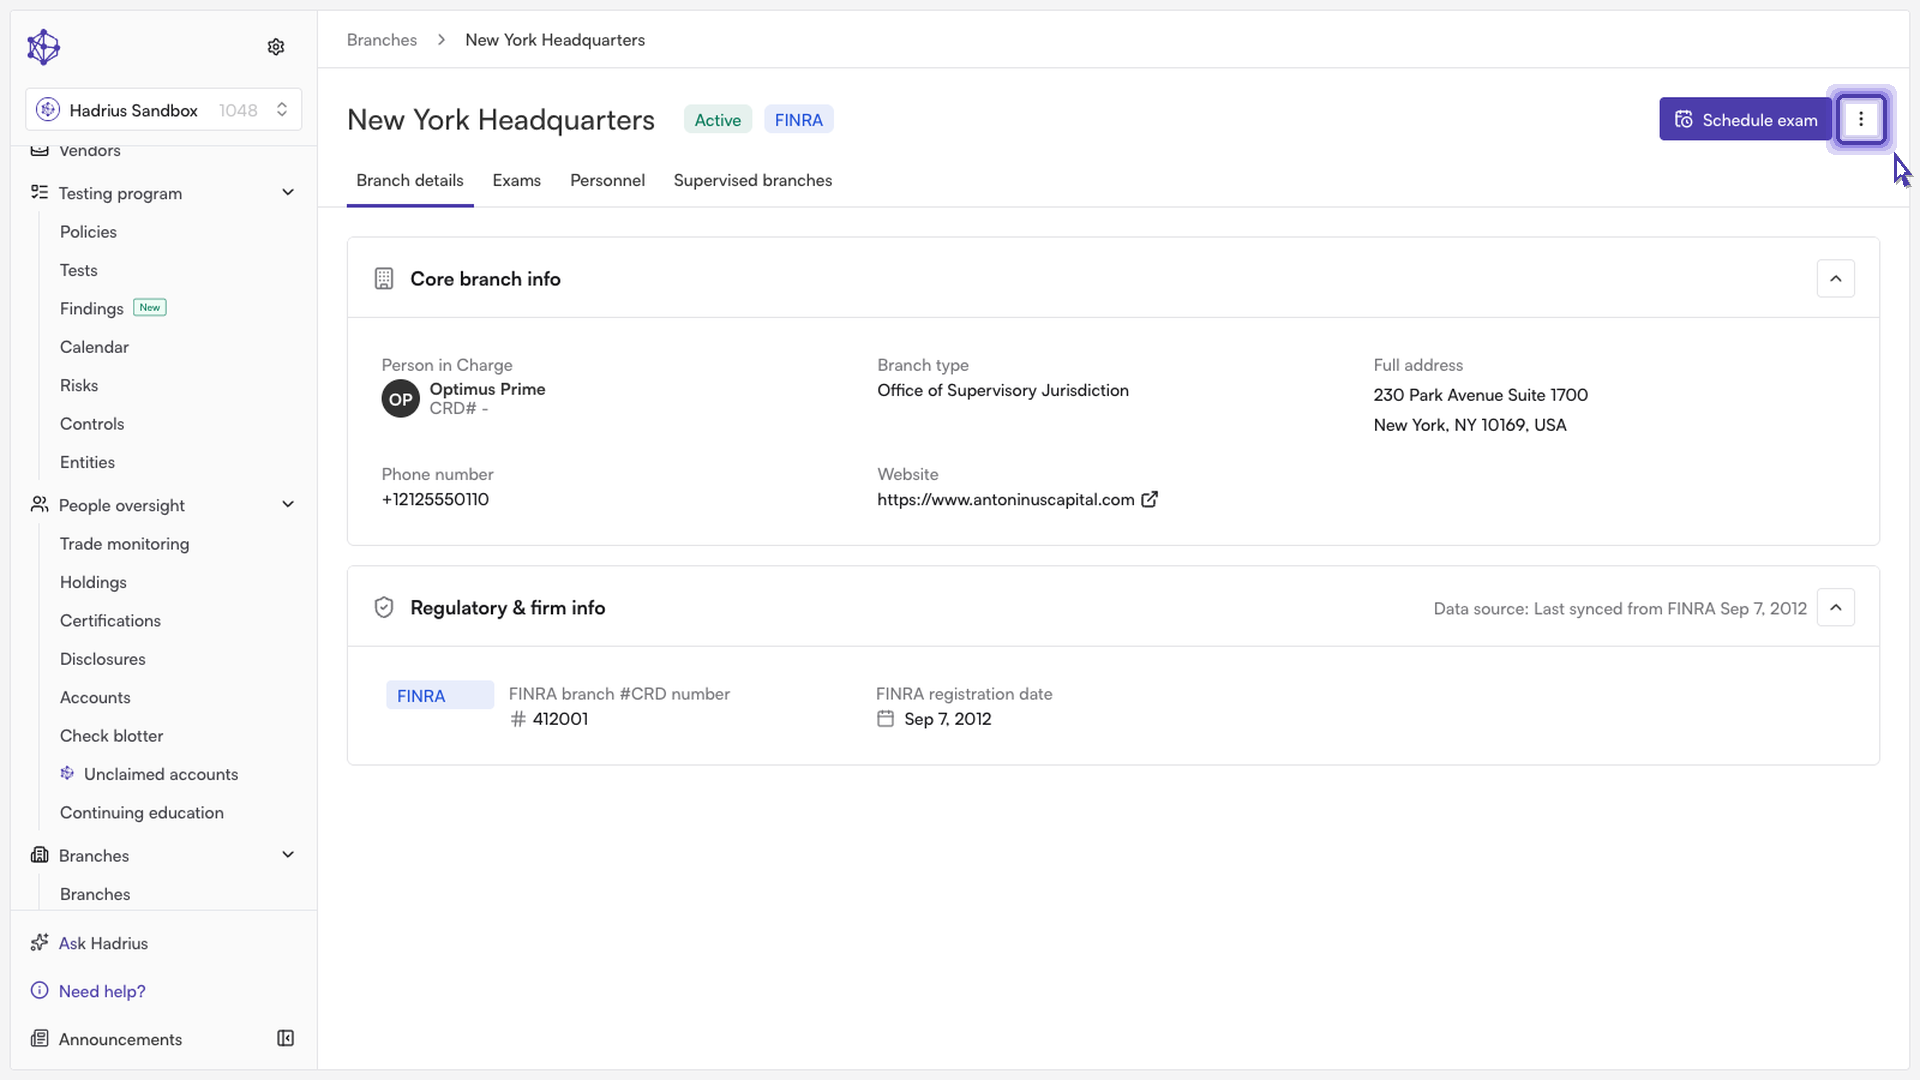
On the branch record, click the actions menu (the vertical ellipsis icon). This menu holds the available editing actions for the branch.
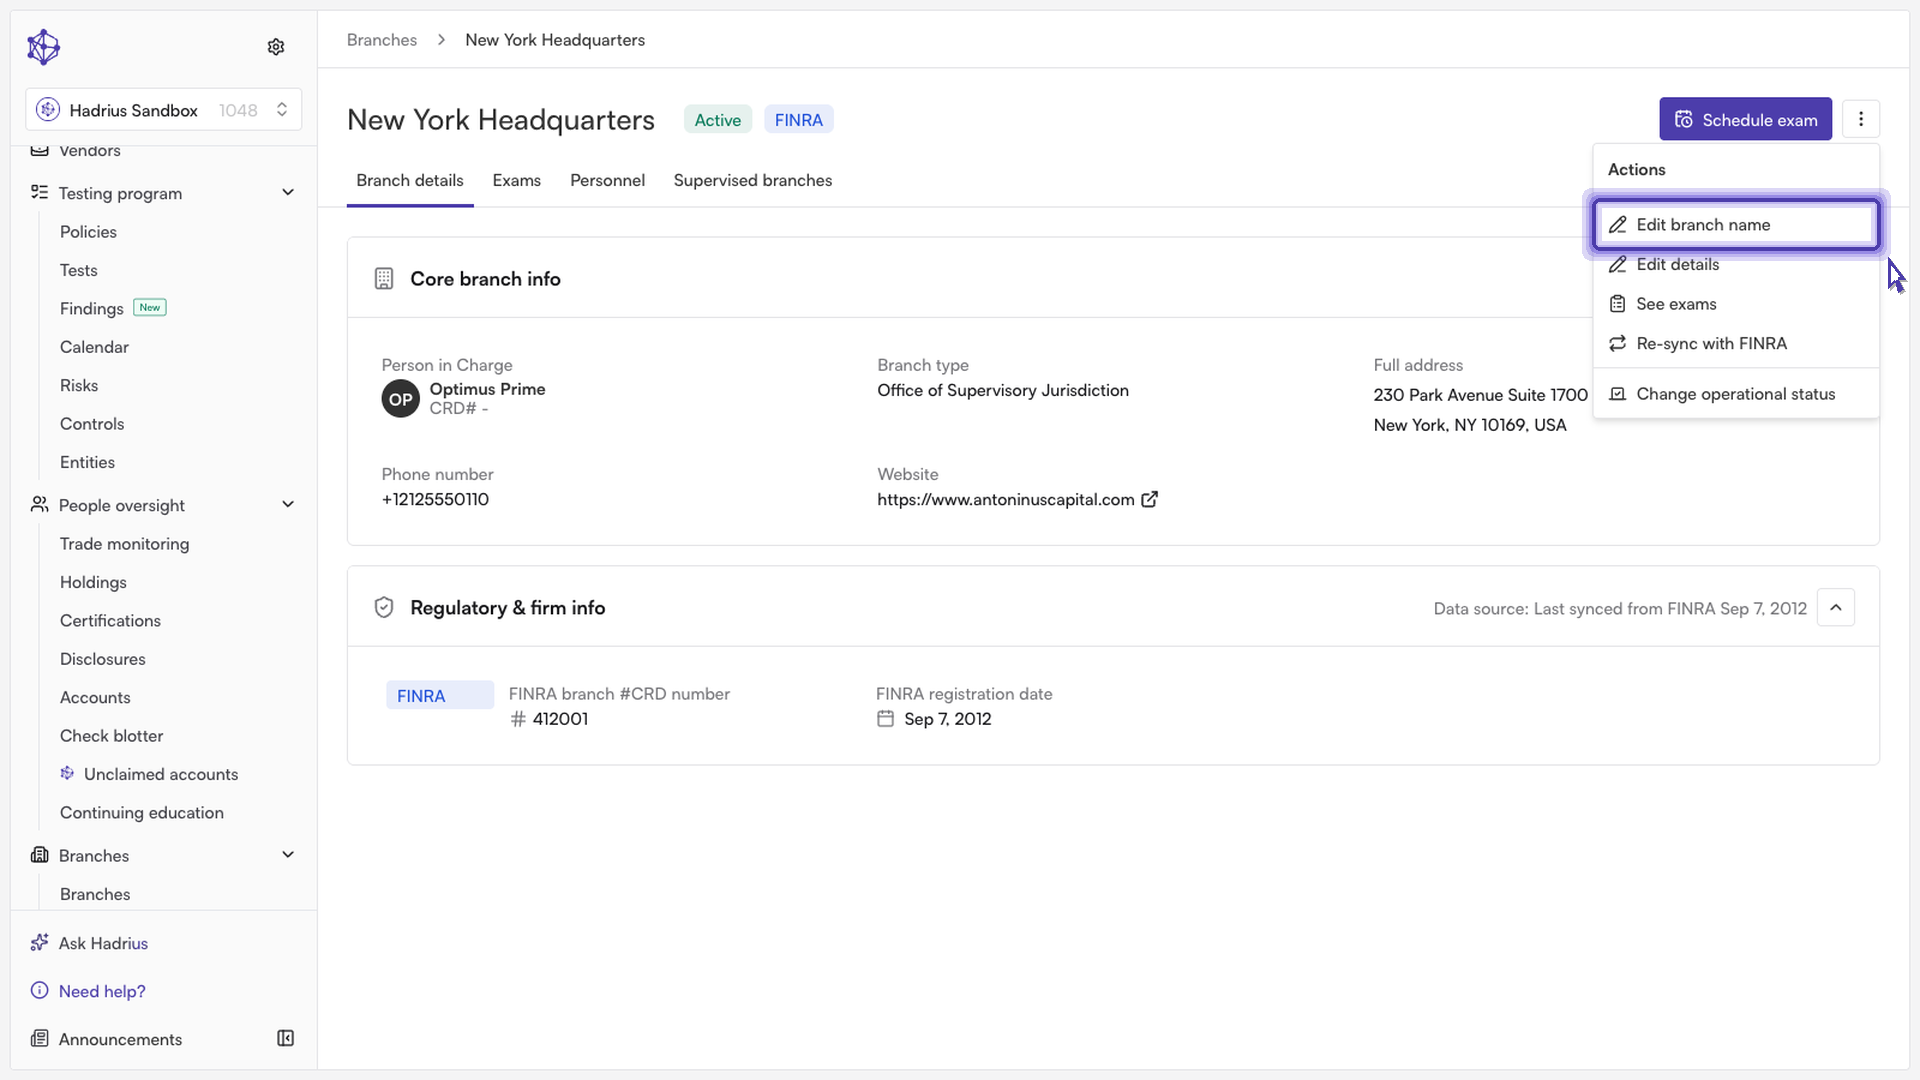
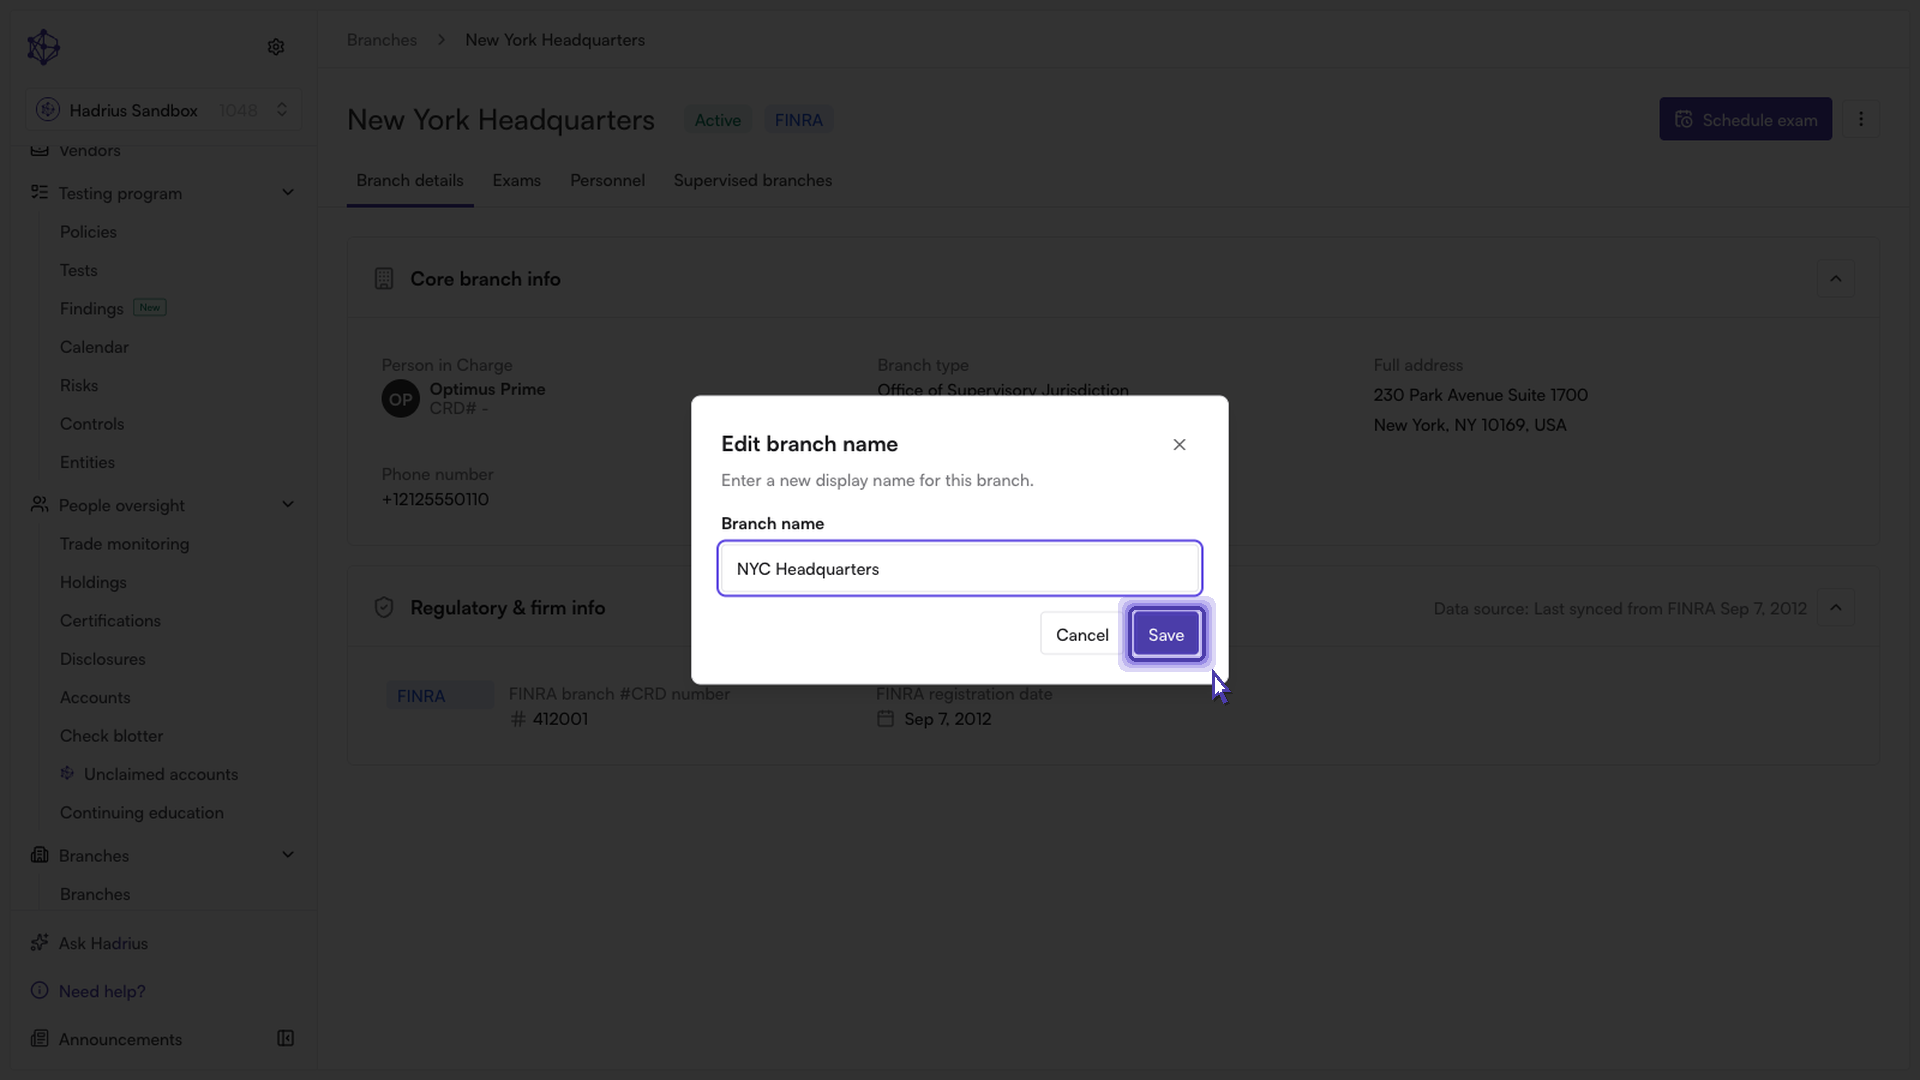
Select Edit branch name from the menu. This opens the "Edit branch name" dialog, which is used specifically to update how the branch's name displays — it does not affect other branch details.
In the Branch name field, the dialog is pre-filled with the branch's current display name. Clear it and enter the new name you want to use for this office.
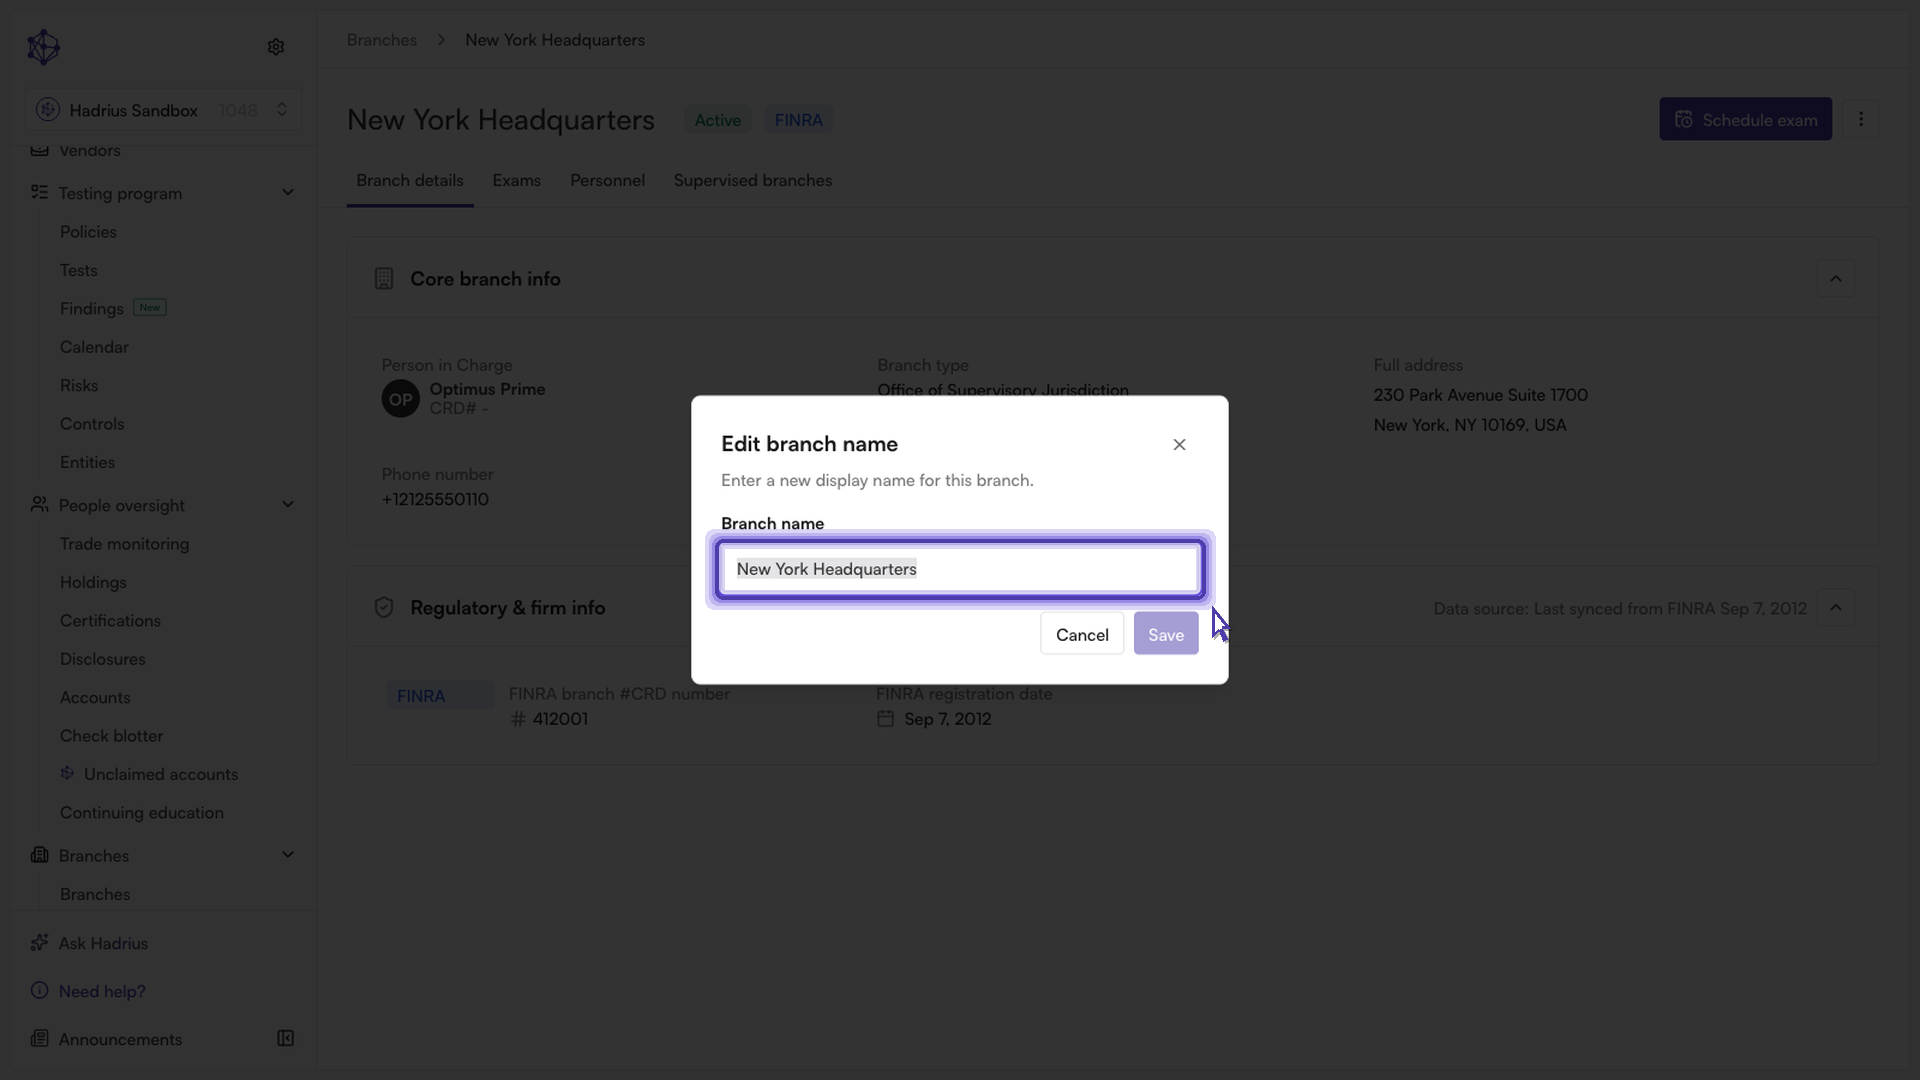
Click Save to apply the change. The "Save" button stays disabled until you've entered a name that's different from the current one, so there's no risk of submitting an empty or unchanged value. If you decide not to proceed, click Cancel instead to close the dialog without saving.
What happens next
Once saved, a confirmation message appears and the branch's new display name takes effect immediately everywhere it's referenced in the platform, including branch lists and related reporting views.