Creating Branch Profiles
Last updated: October 17, 2026
Branch profiles are how Hadrius keeps track of every office and location your firm oversees — from fully registered FINRA branches down to non-branch locations and offices outside the FINRA or SEC regimes. Use this workflow any time you need to add a new office to your oversight program, whether it's a FINRA branch that already exists in CRD or a brand-new location you're setting up from scratch.
Before you start
Open the Branches page from the main navigation. This is the home base for every office and location your firm oversees. If your firm has the FINRA API connected, Hadrius automatically pulls in all branch data registered in CRD during onboarding, so many of your branches may already appear here without any manual setup.
Adding a new branch
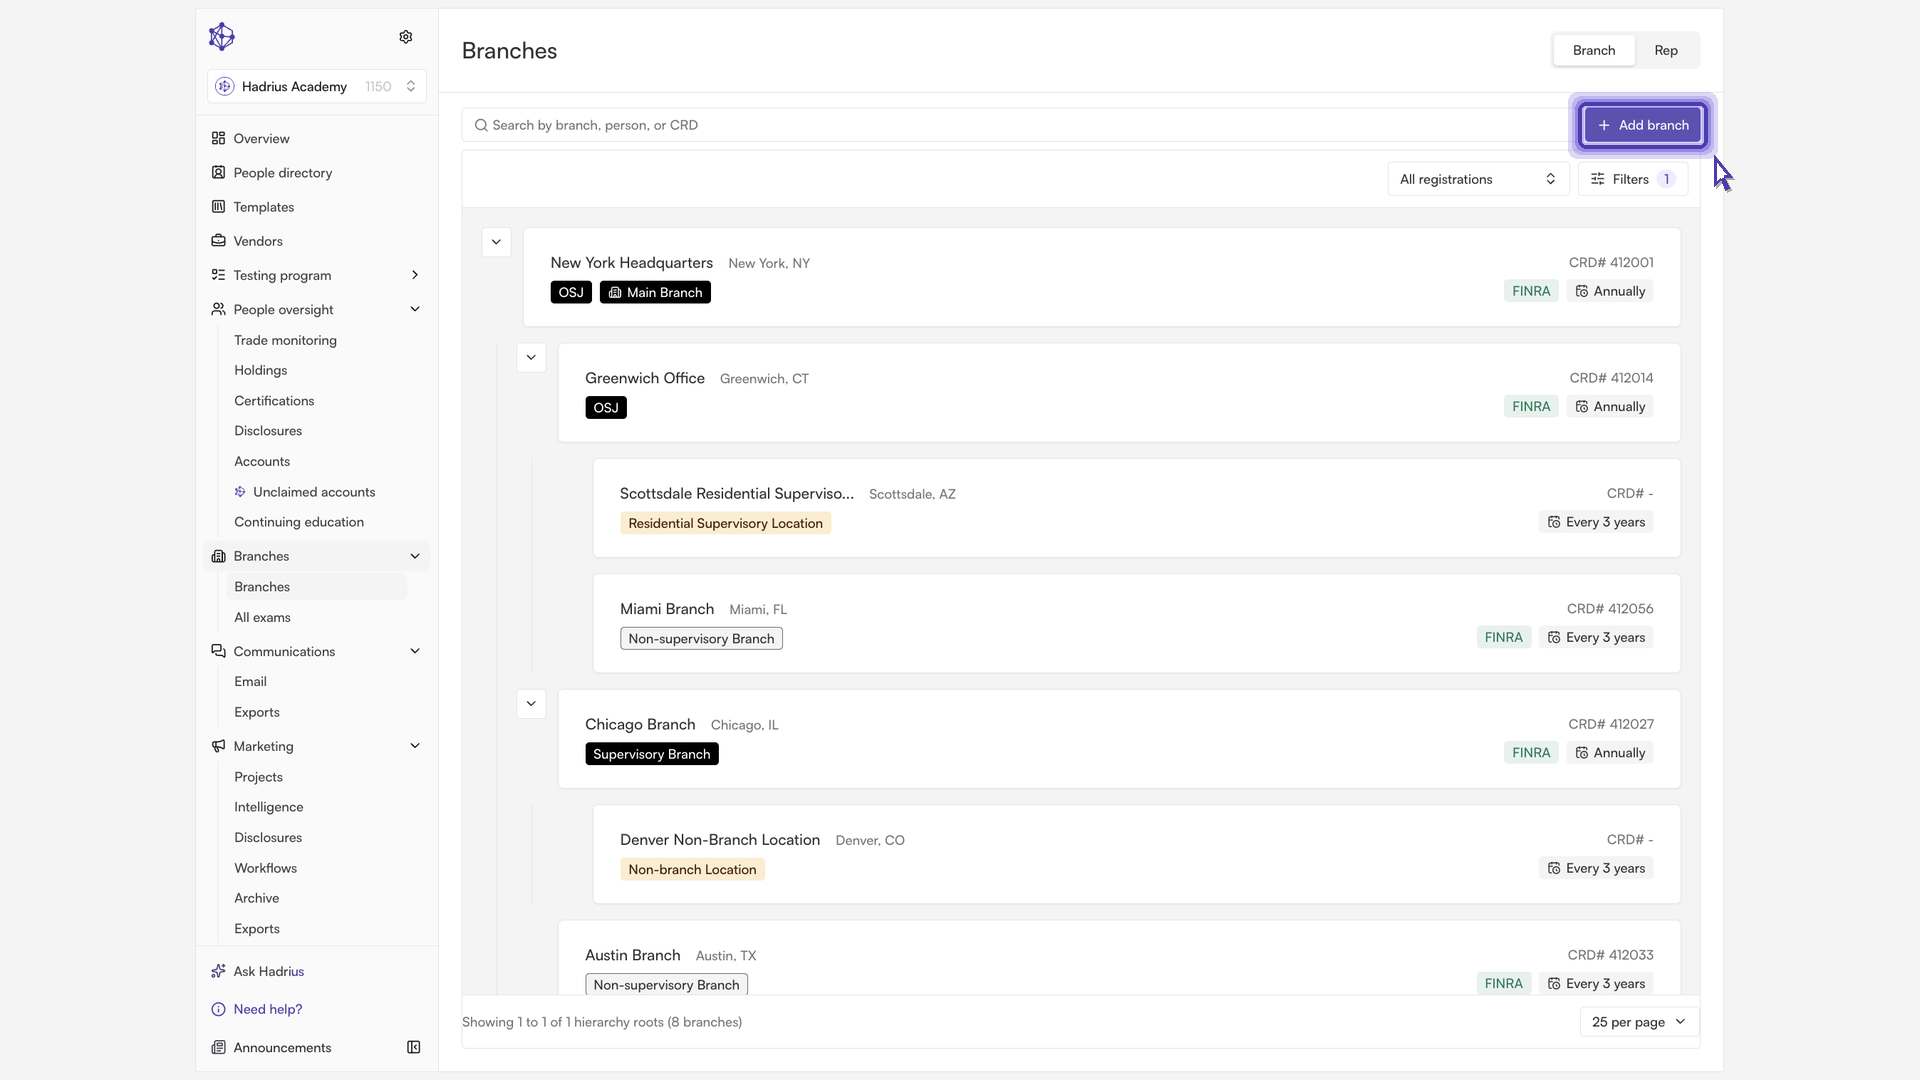
From the Branches page, click Add branch in the top right corner to open the branch setup dialog.
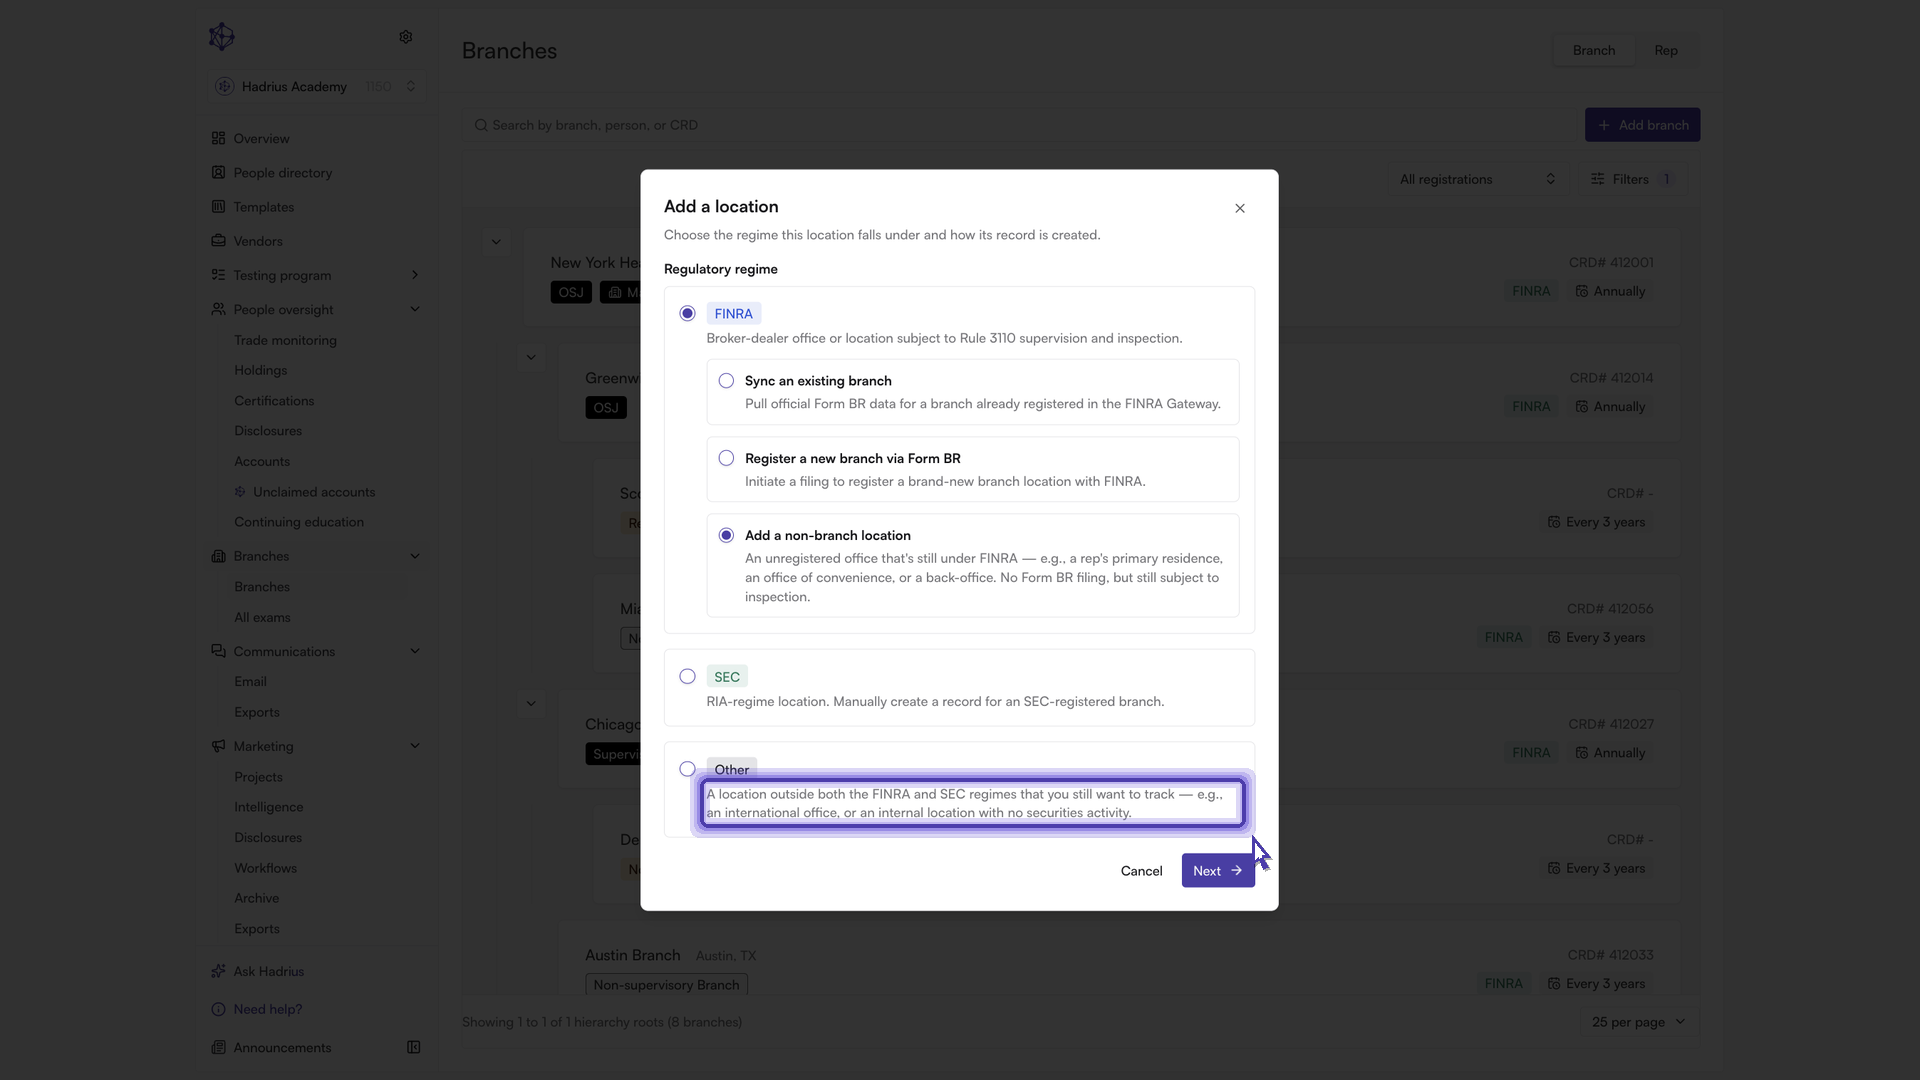
Choose the regulatory regime that applies to the new location:
FINRA — for a broker-dealer office or location subject to supervision and inspection. From here you'll choose one of three paths:
Sync an existing branch — pulls the official Form BR data directly from the FINRA Gateway using the branch's CRD number.
Register a new branch via Form BR — if the office is brand new and hasn't been filed with FINRA yet, this kicks off the Form BR registration filing instead.
Add a non-branch location — for an unregistered office that's still under FINRA oversight (for example, a registered rep's home office or a back-office). These skip the Form BR filing entirely but still stay on the books for inspection.
SEC — for an RIA-regime location that you create manually.
Other — for a location outside both the FINRA and SEC regimes that you still want to track, such as an international office or an internal location with no securities activity.
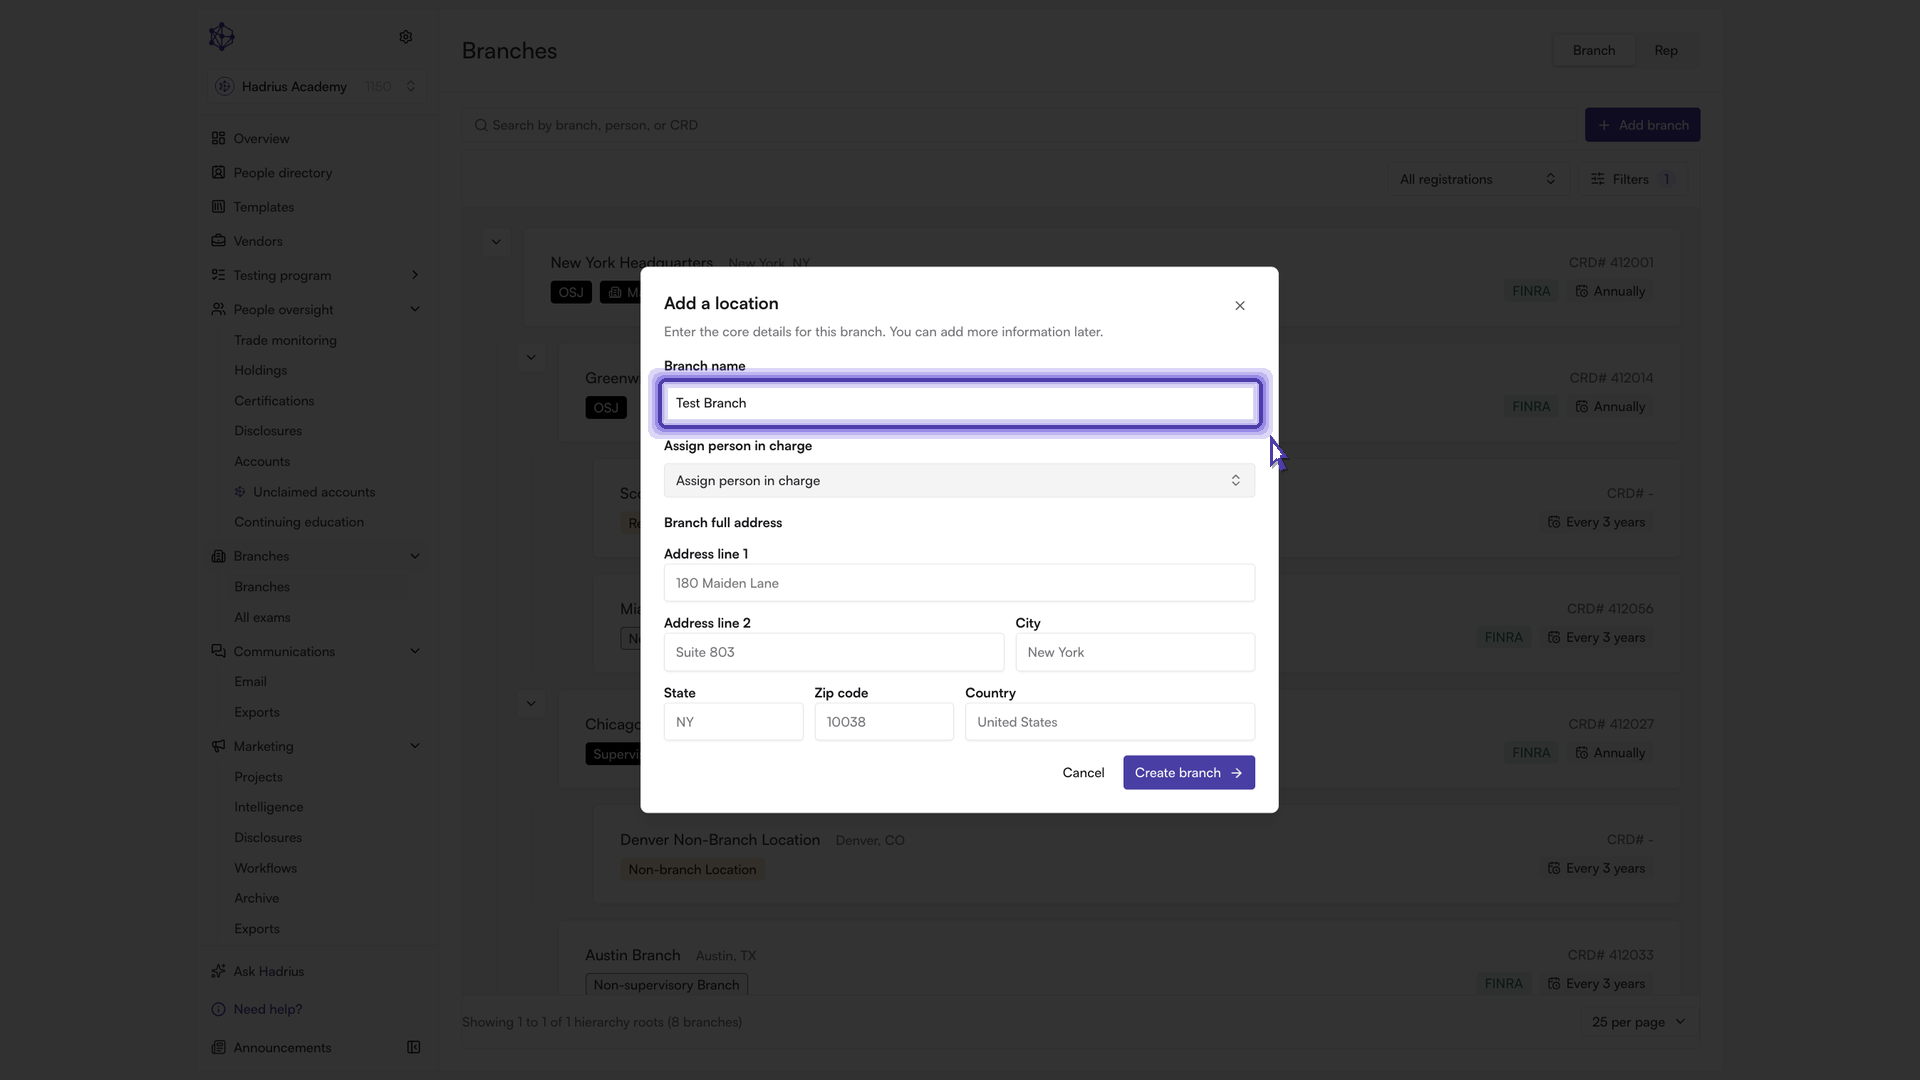
If you're syncing an existing FINRA branch, enter its CRD number and Hadrius will retrieve the official branch data from the FINRA Gateway. For any other path, you'll fill in the profile manually, starting with the branch's name.
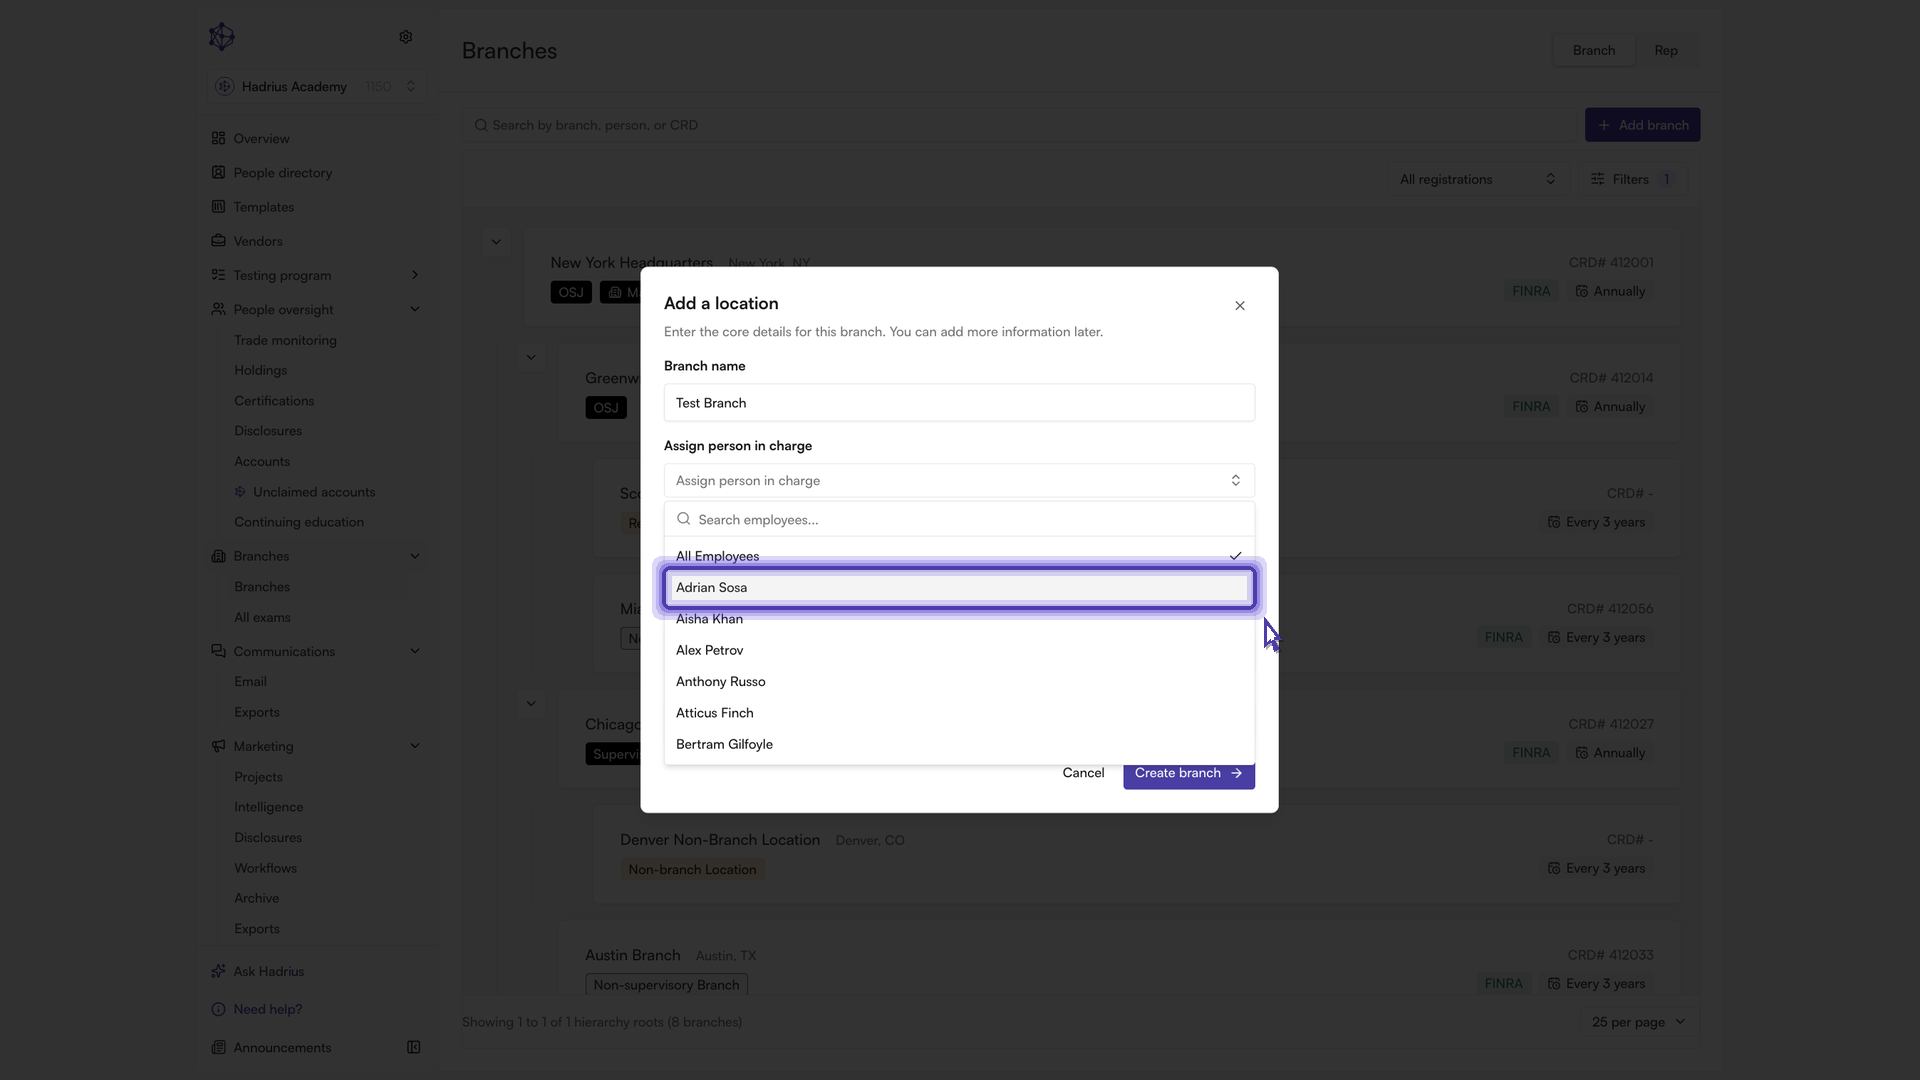
Assign the person in charge — the individual accountable for supervision at that location — by selecting them from your firm's employee roster.
Fill in the remaining details, including the branch's full address, to complete the profile.
Click the button to create the branch (labeled Create branch, Find & sync branch, or Confirm & add branch, depending on the path you chose). The new location is added to your oversight program immediately.
Reviewing a branch profile
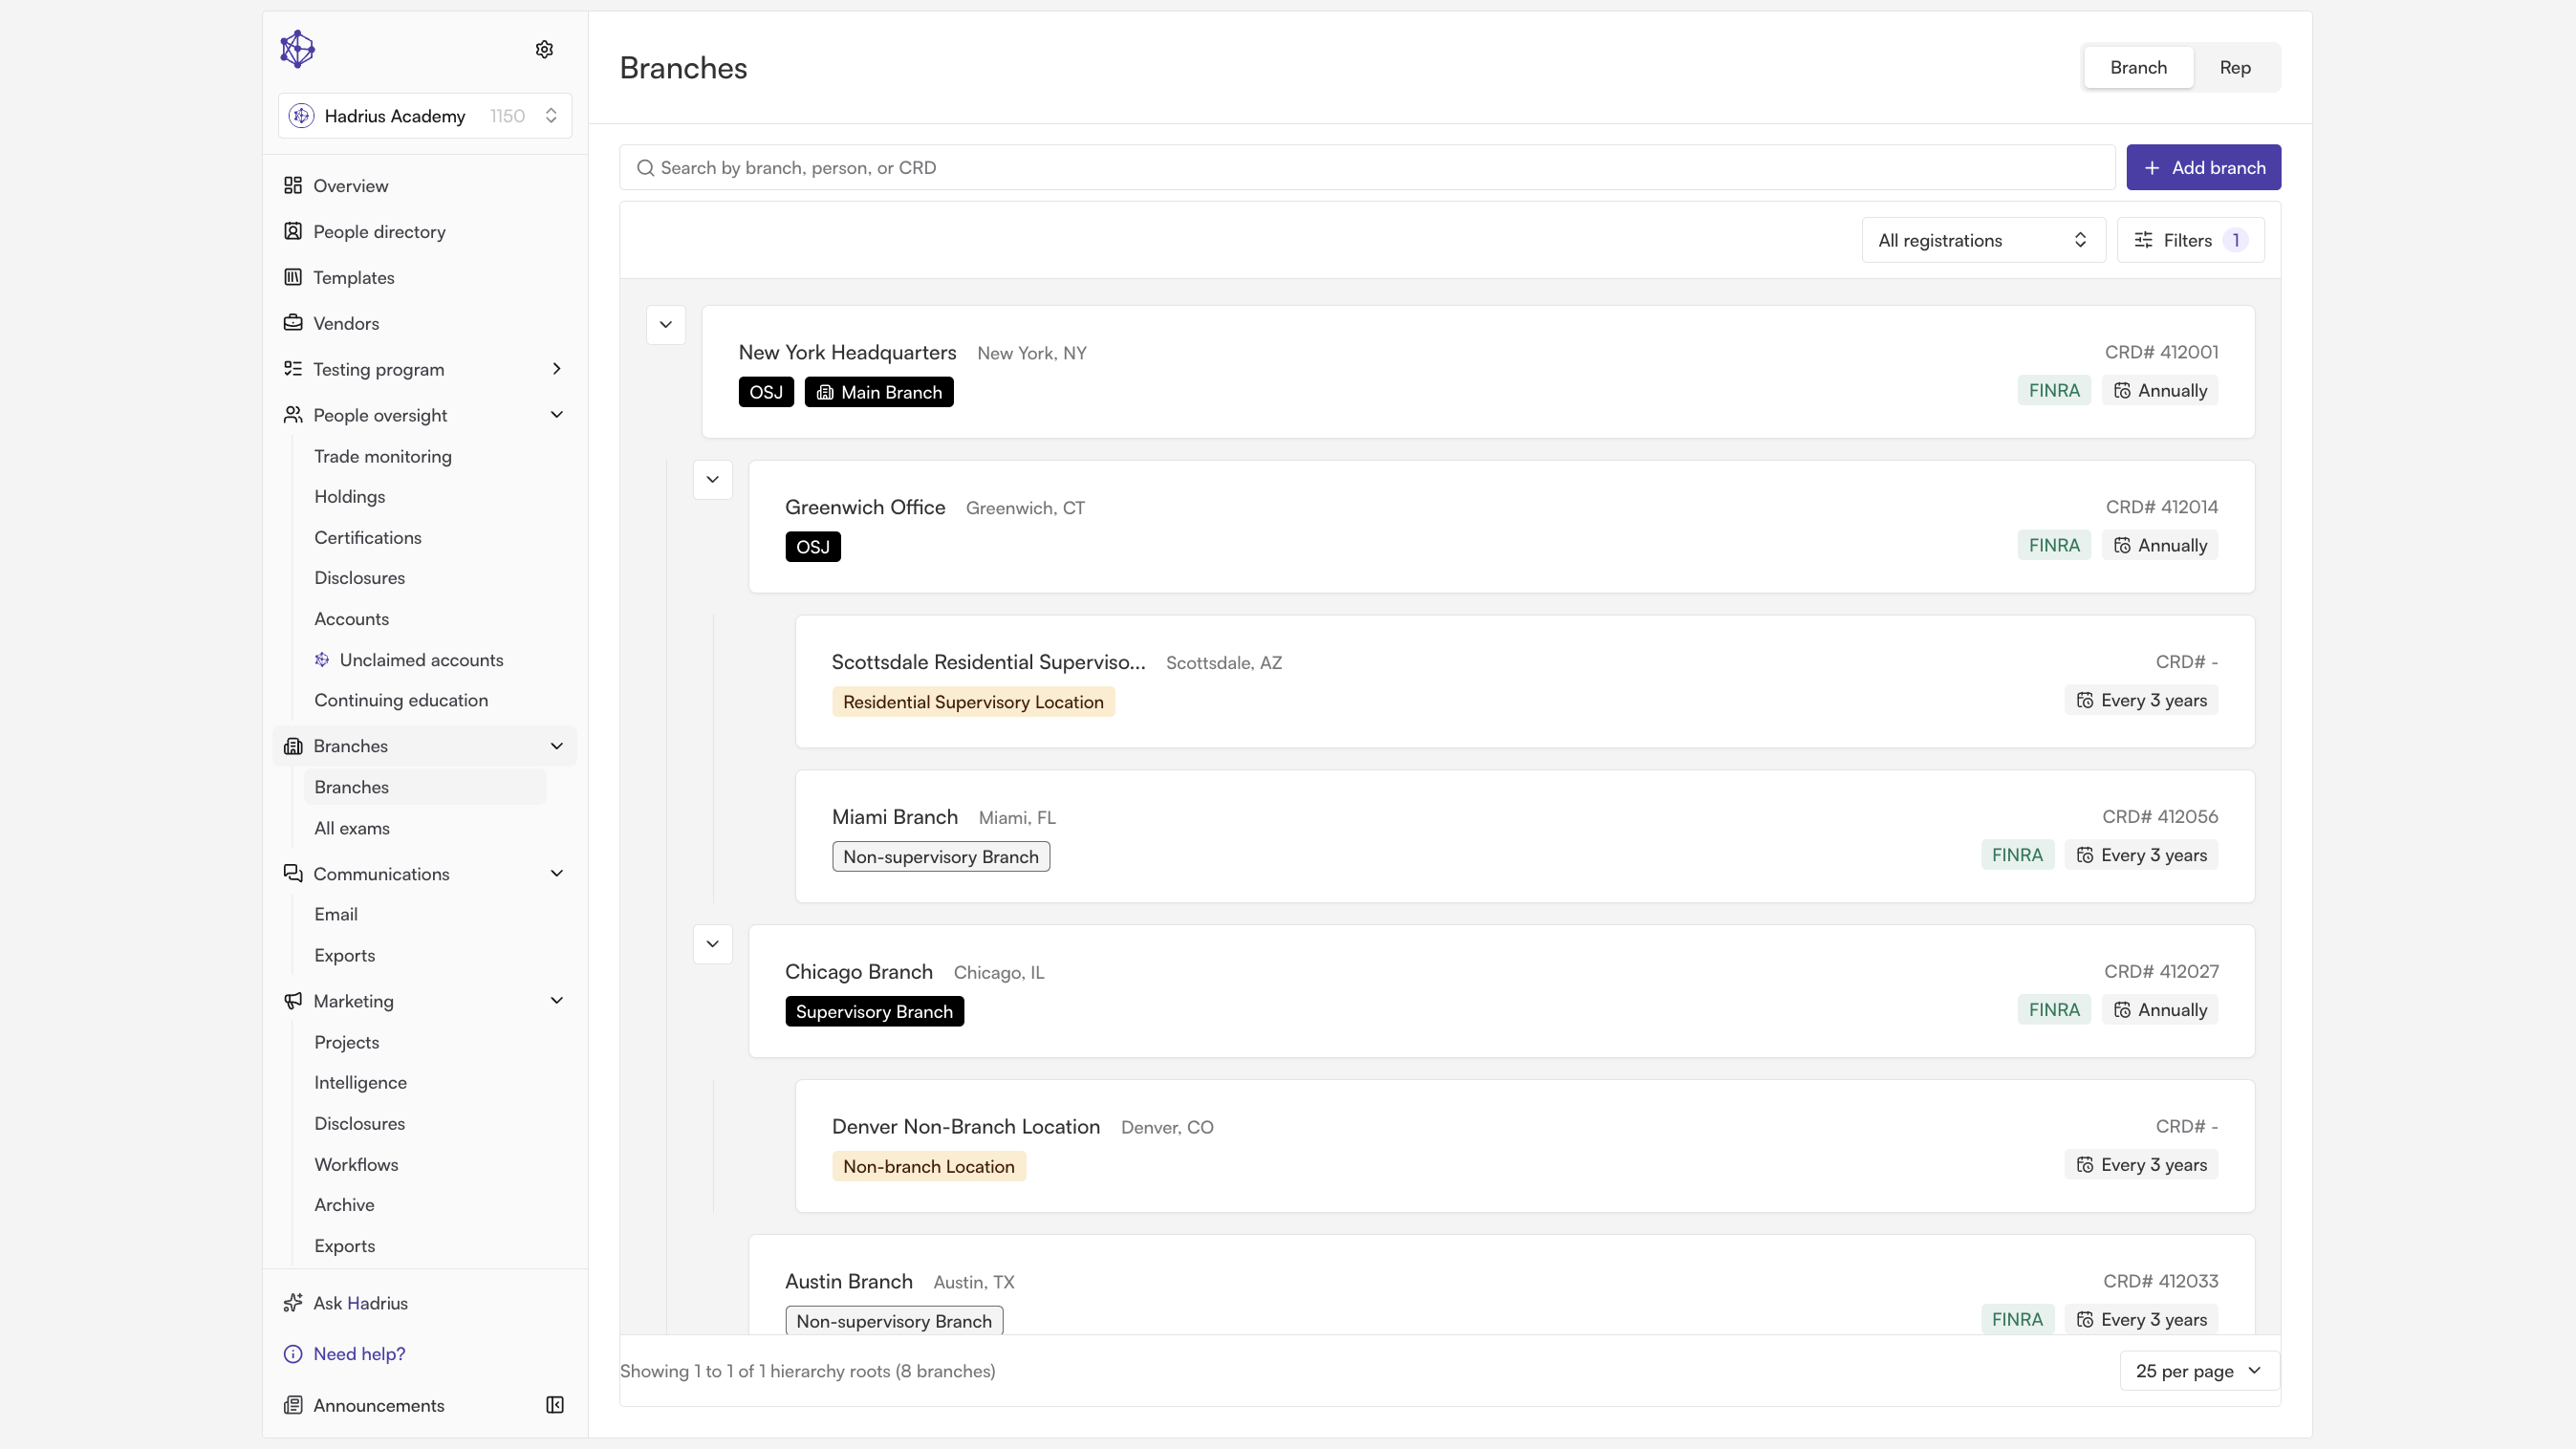
Back on the Branches page, each location appears as a card showing its name, city and state, branch type (such as OSJ), CRD number, FINRA registration status, and inspection cadence — so you can scan your oversight program at a glance without opening anything. Clicking into any branch takes you to its full profile, where you'll find the CRD number, OSJ designation, and inspection cadence together in one place, along with the rest of the branch's details.
What happens next
Once a branch profile is created, it's live in your oversight program right away — it will show up in searches and filters on the Branches page, and it becomes eligible for scheduled inspections based on its assigned exam cycle. If you chose to register a new branch via Form BR, keep an eye on the filing's status until FINRA approves it.