How to customize a branch exam notification email template
Last updated: October 17, 2026
Use this workflow when you need to change the wording of an automated notification email tied to a branch exam — for example, updating the subject line or body copy of the message that goes out to branch personnel when an exam is announced. Templates are configured per exam, so this covers finding the right exam and editing its email copy from the notifications tab.
Find the exam
Start on the branch exams list. You can narrow the list using the prefilter chips above the table — "All," "Overdue," "Deficiencies," and "Not scheduled" — or use the status and branch type dropdowns to filter further. If you're looking for an exam that hasn't been put on the calendar yet, select "Not scheduled." To instead find an exam that already has a start date, clear that filter (or select "Scheduled" from the status dropdown) so the list shows exams that are on the calendar.
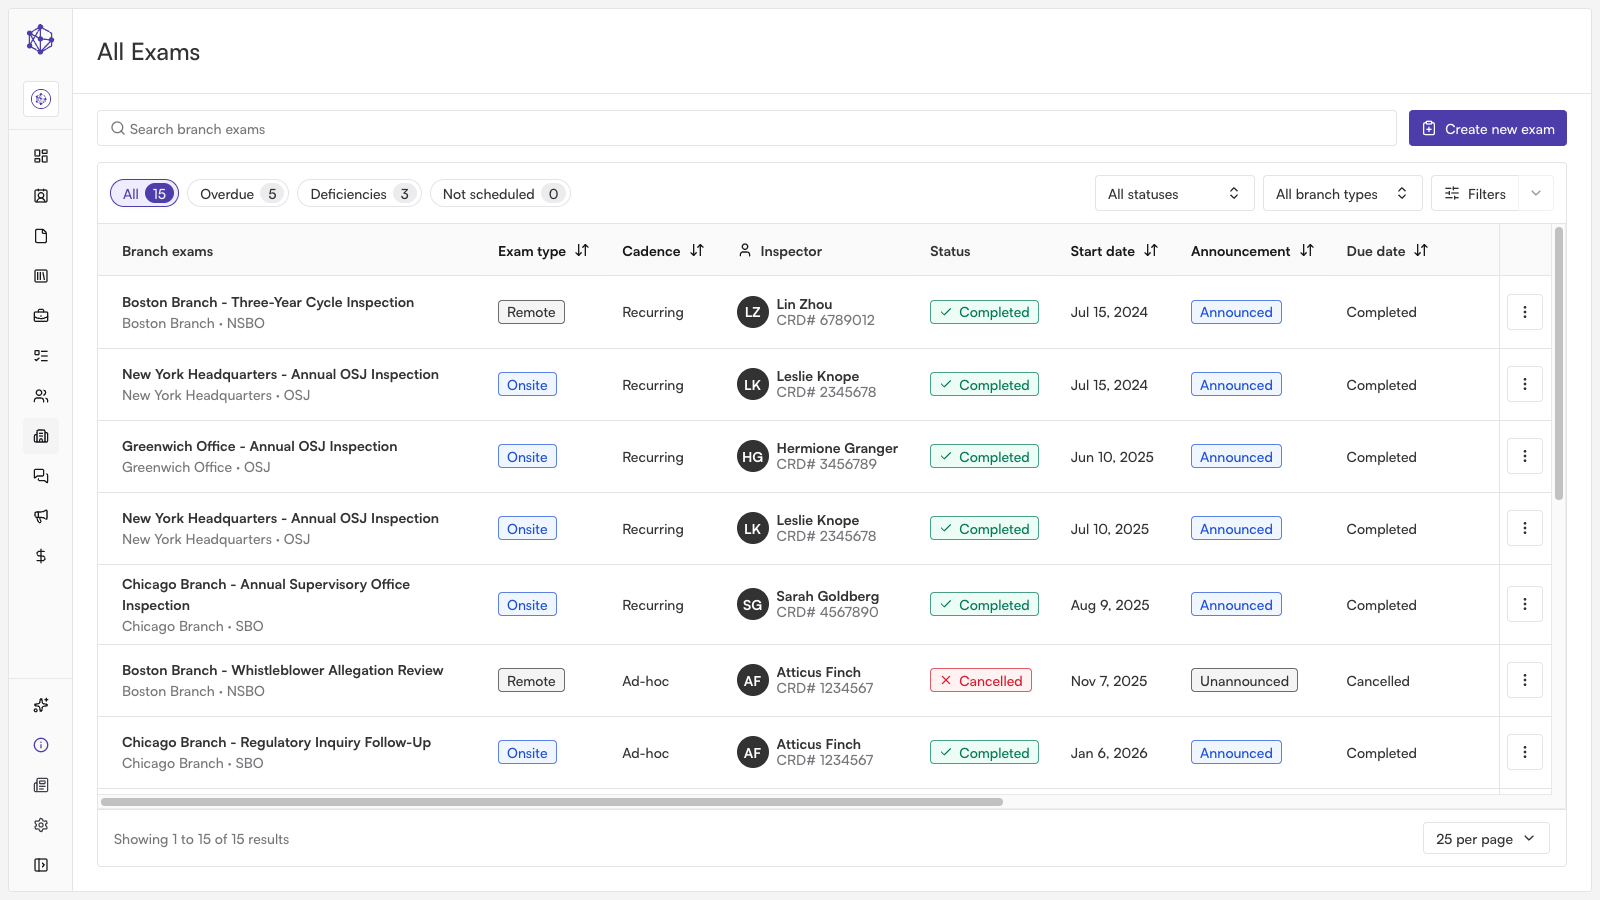
Click the exam you want to configure to open its detail view.
Open the notifications tab
The exam detail view opens on the Overview tab, which summarizes the exam's key details. From there, switch to the Notifications tab to manage how branch personnel are alerted about this exam.
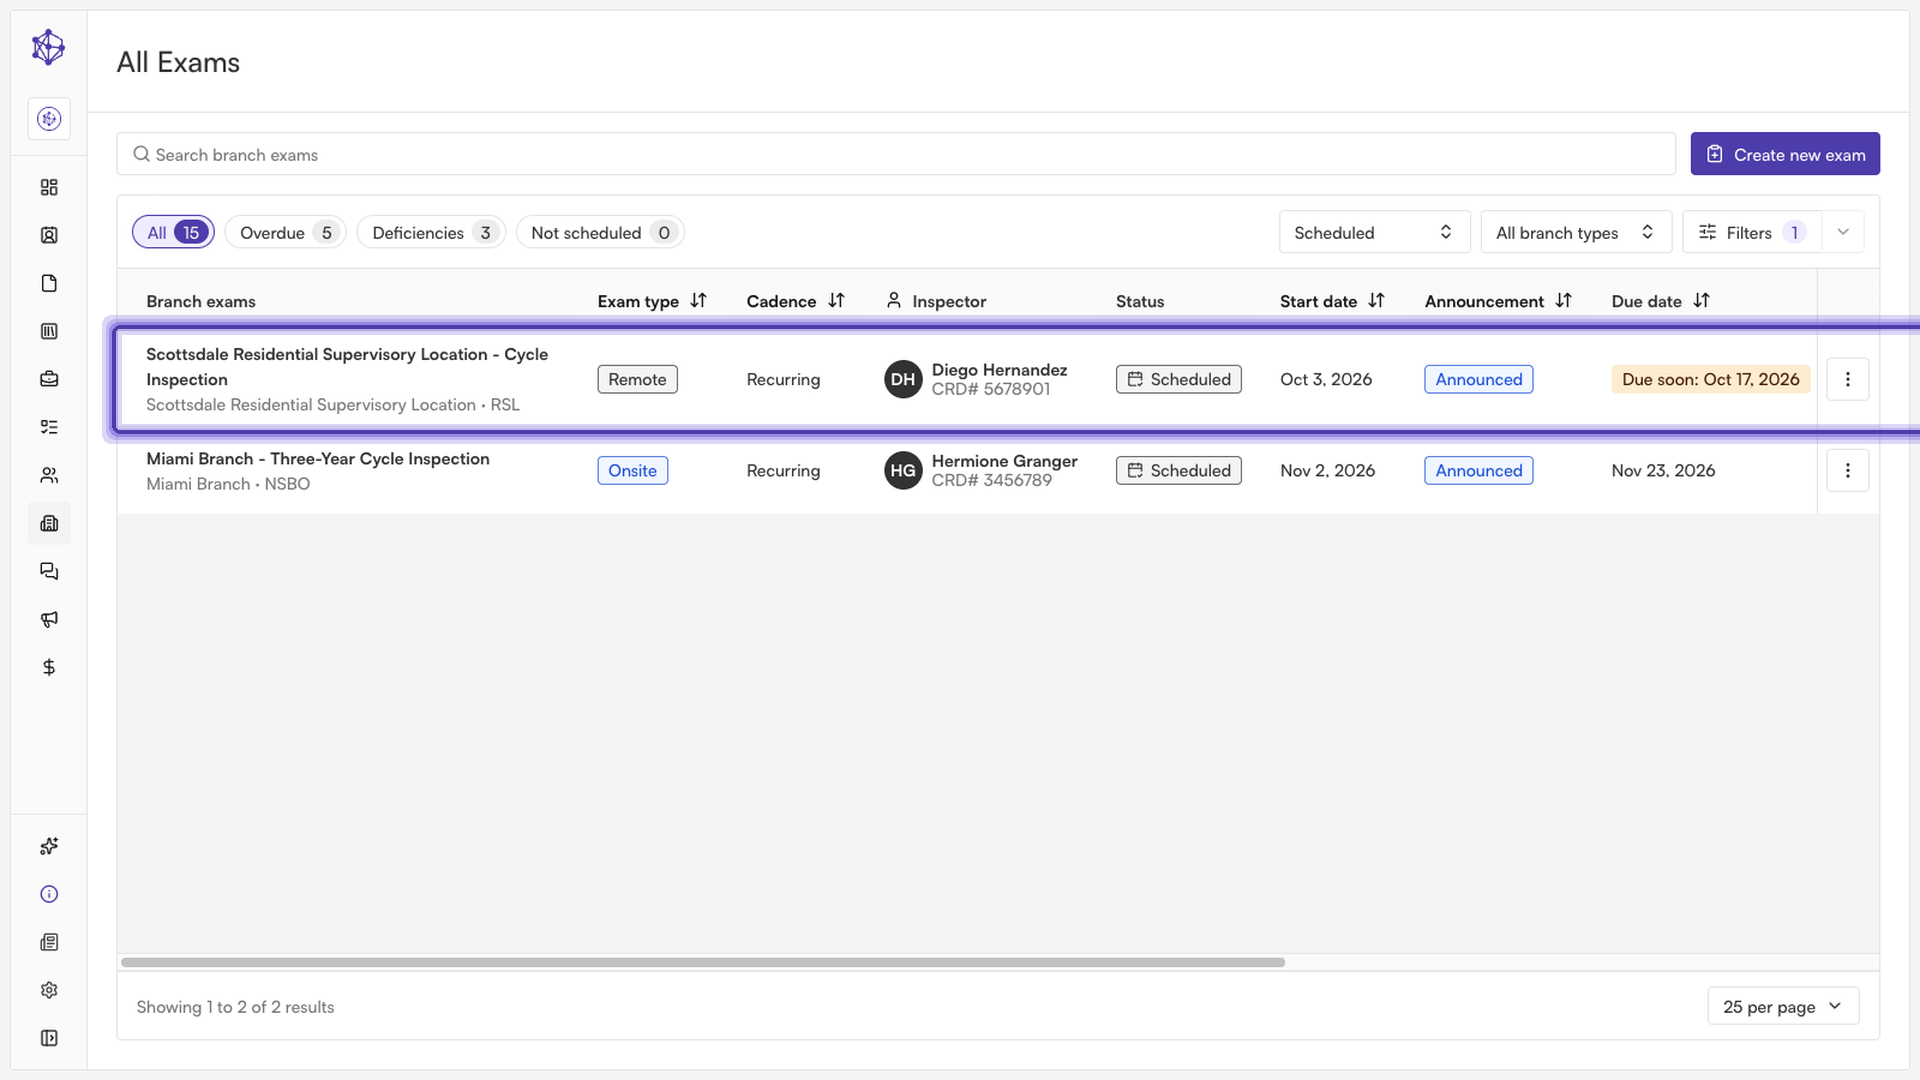
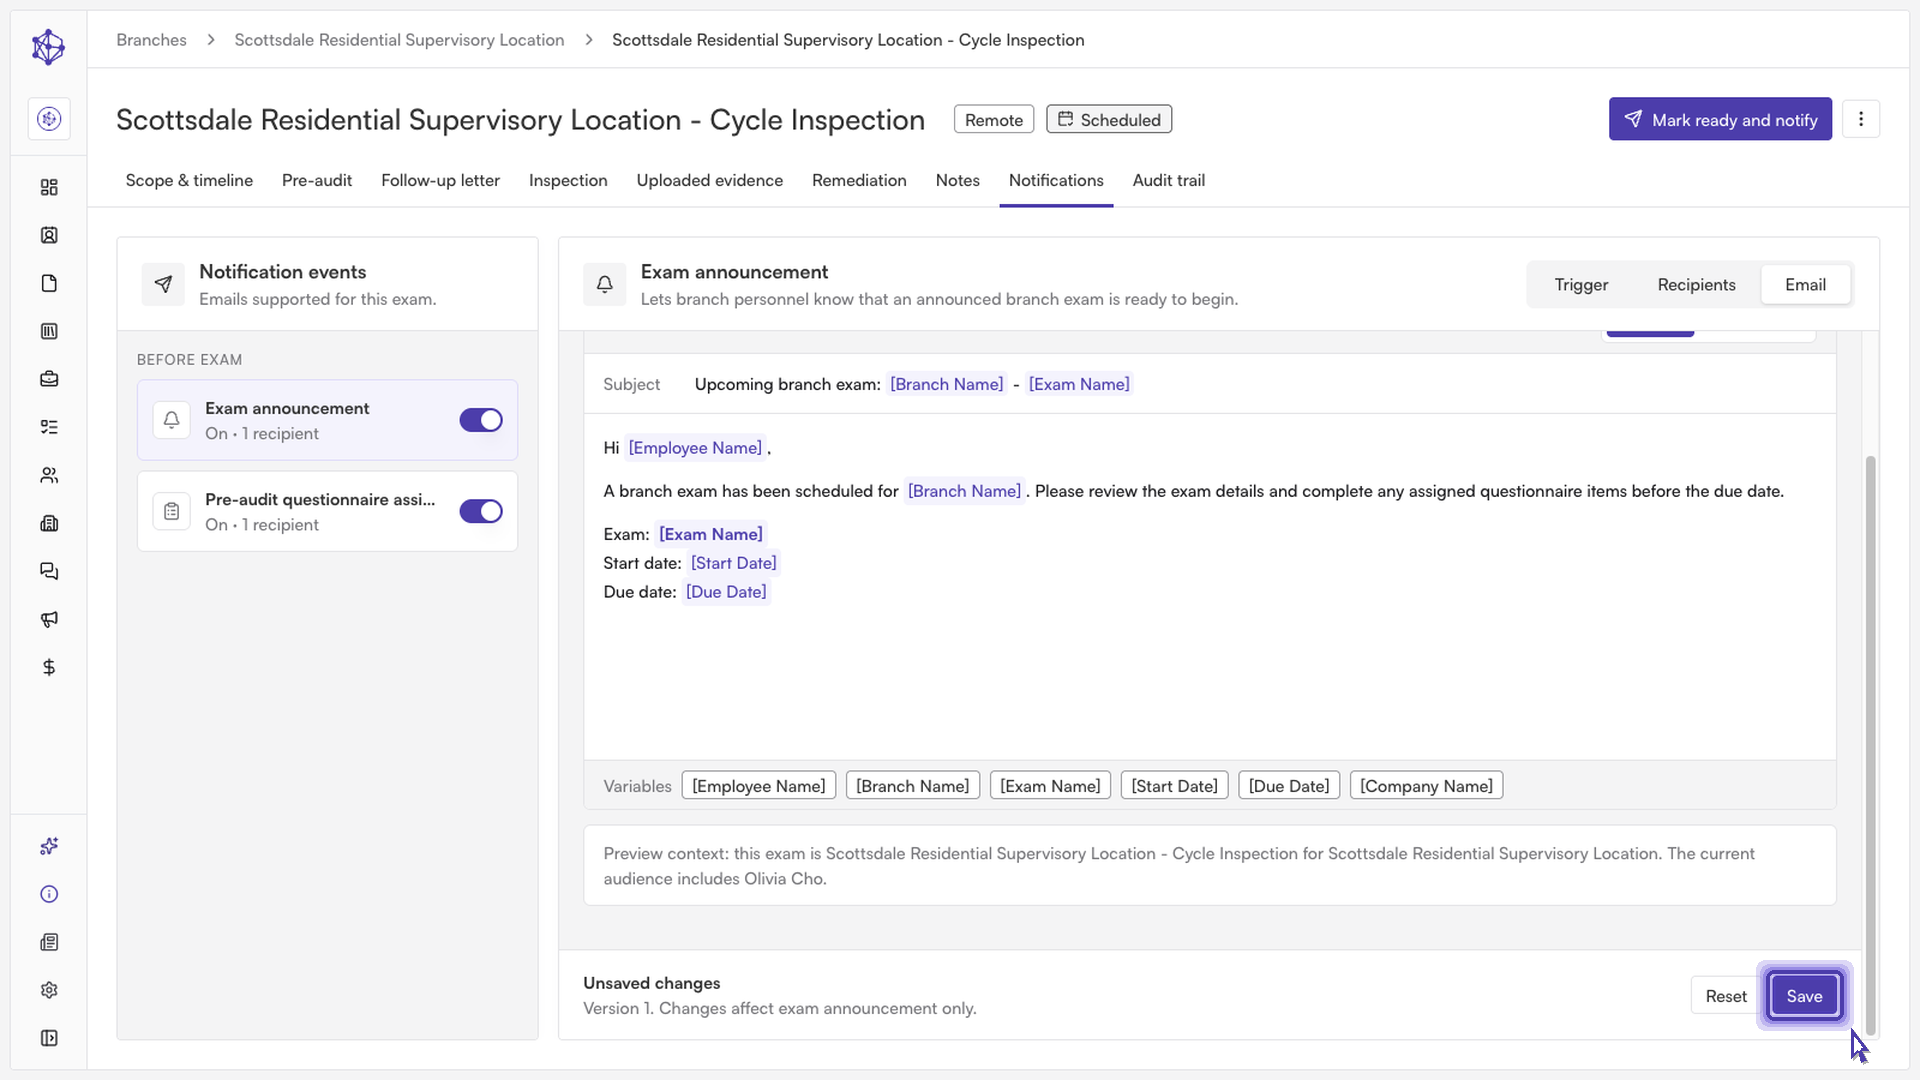
The Notifications tab lists every automated email supported for this exam, grouped under "Before exam." Each entry shows whether it's currently on or off and how many people will receive it. Click an entry — for example, the exam announcement notification — to select it and manage its trigger, recipients, and email copy.
Edit the email copy
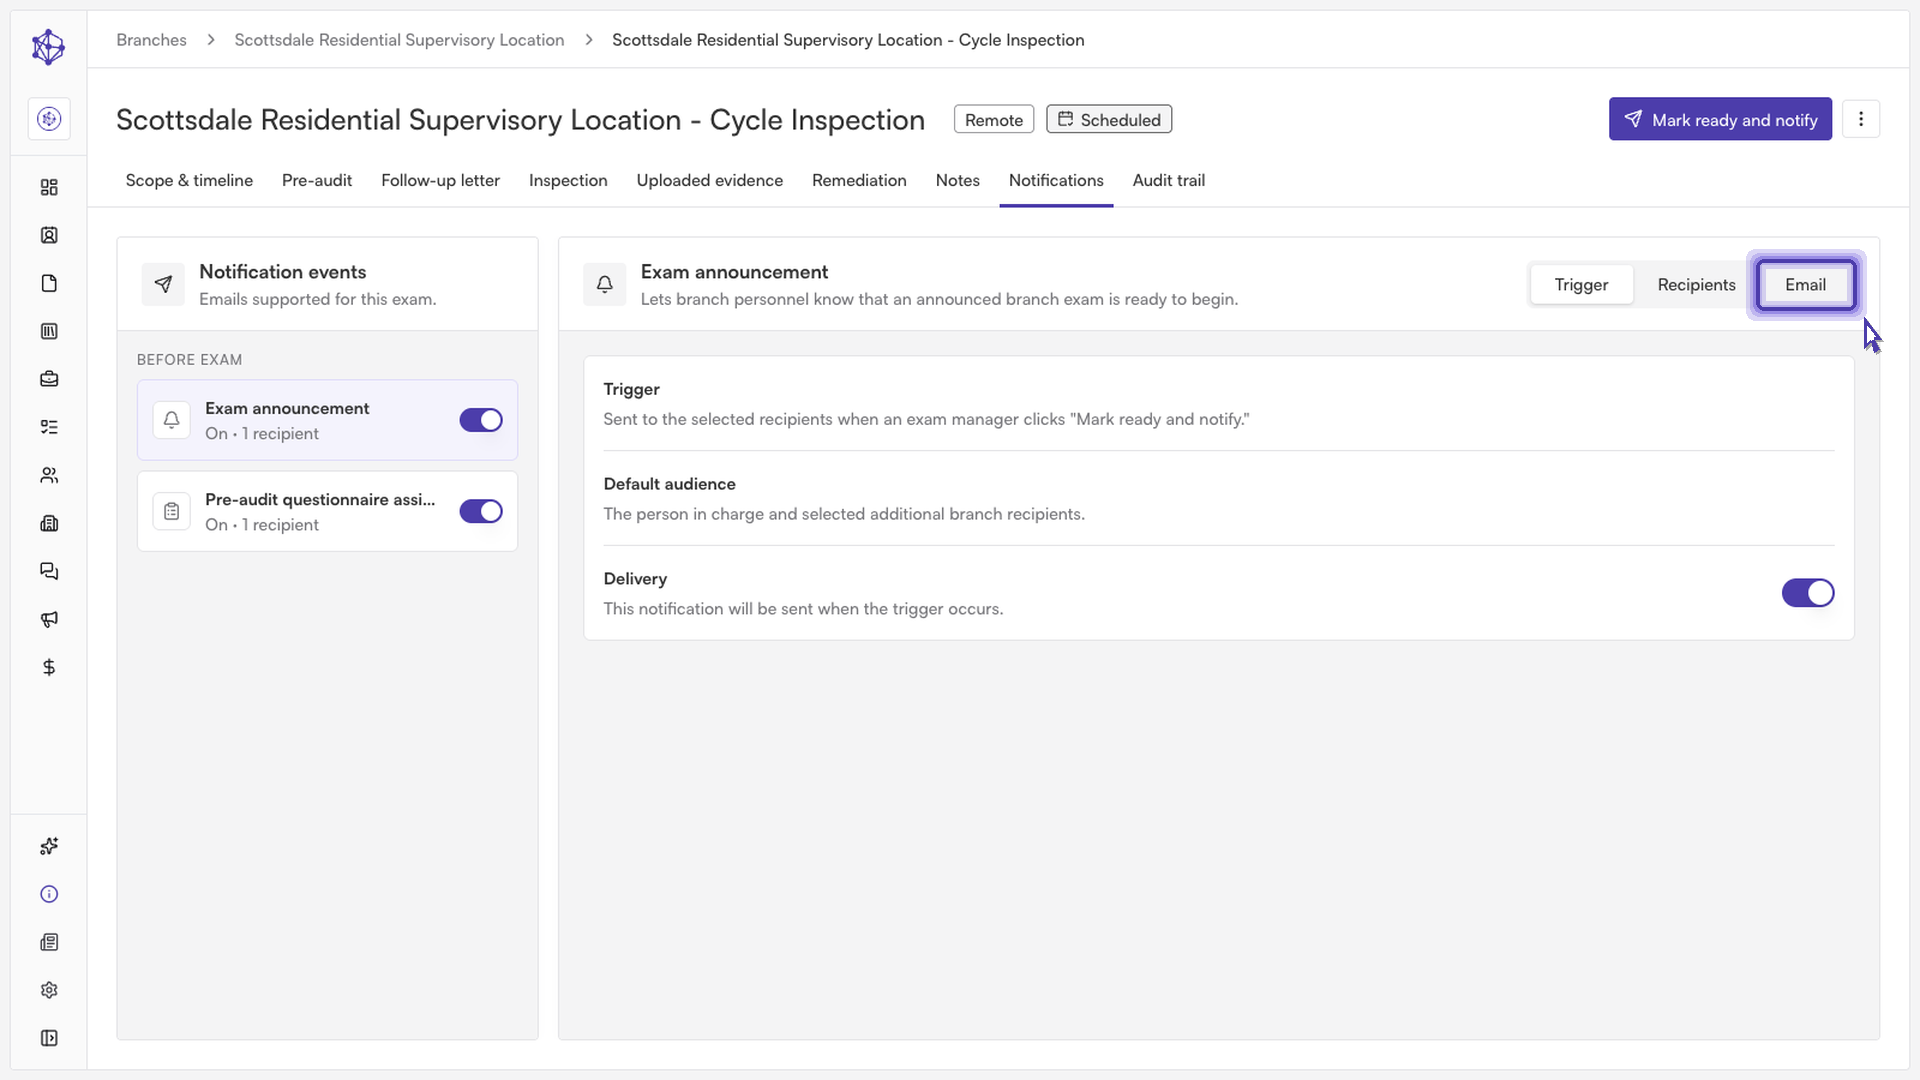
With a notification selected, use the segmented control at the top of the detail panel to switch between Trigger, Recipients, and Email. Select Email to edit the message itself.
The subject line supports variables such as [Branch Name], [Exam Name], [Employee Name], [Start Date], [Due Date], and [Company Name]. Any variable you type is automatically highlighted, and it will be filled in with the actual exam and branch details when the notification is sent.
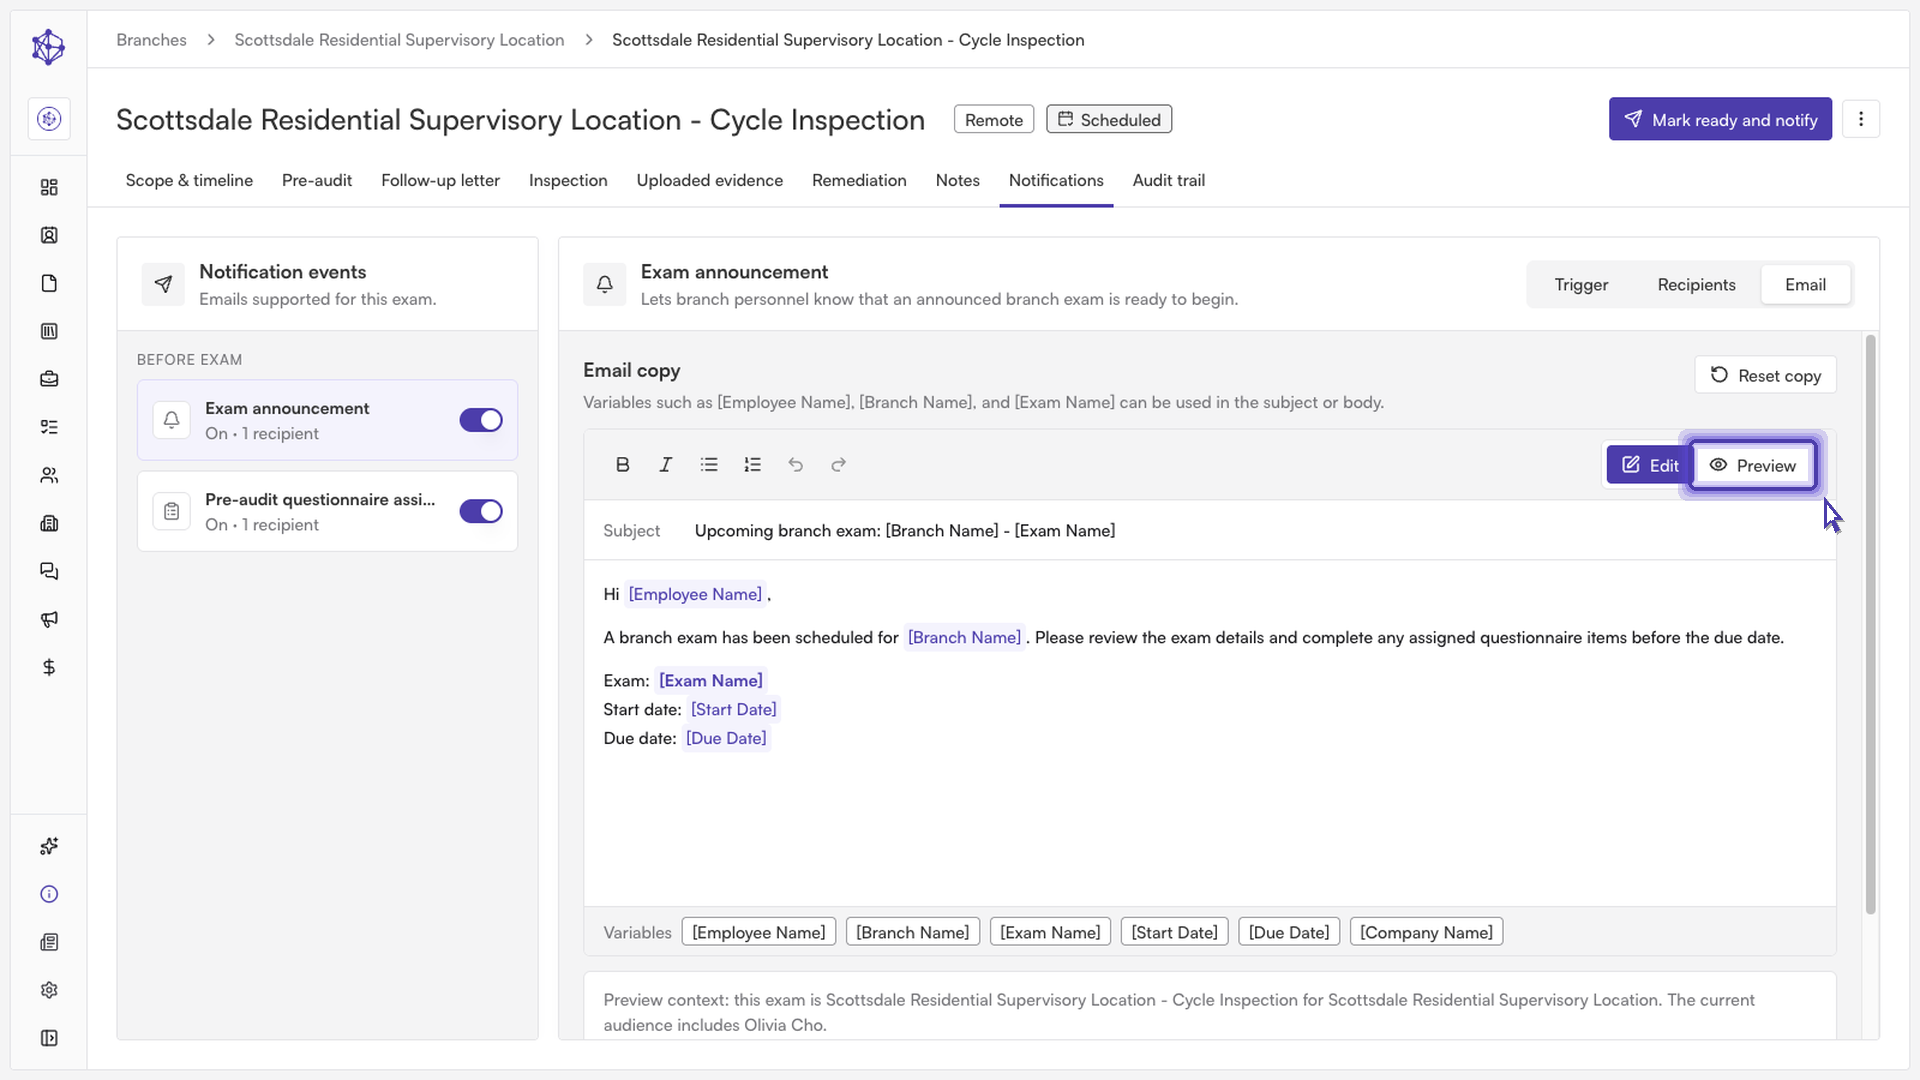
Below the subject line, edit the body of the message using the built-in formatting toolbar (bold, italic, bulleted and numbered lists). The same variables can be used in the body and will be highlighted the same way.
Once you're happy with the copy, click Preview to see exactly what recipients will see, with all variables replaced by real values from the exam. If you want to start over, "Reset copy" restores the default wording for this notification, and "Reset" discards any unsaved edits and reverts to the last saved version.
Save your changes
When the preview looks right, click Save to publish the new subject and body. Until you save, the panel shows "Unsaved changes" and the update only applies once you confirm it. Note that if the exam has already been marked ready, its notification settings are locked and can no longer be edited — you'll only be able to review them.