Launching a Certification Campaign
Last updated: October 2, 2026
Certification campaigns are how you send attestations to employees and keep them coming back on a schedule. This article walks through creating a campaign from scratch in the certifications workspace — naming it, choosing a template, defining the audience, setting the recurrence and coverage period, and launching. Use it whenever you need to stand up a new attestation, whether it's a one-time ad-hoc request or a recurring annual cycle.
Before you start, make sure the template you plan to send has been published in the template library. Draft and archived templates do not appear in the campaign builder's template picker.
Before you begin
You need certification management permissions to create or launch a campaign.
At least one published (non-draft, non-archived) certification template must exist.
If you plan to target by group, confirm the relevant employee groups are set up.
Creating the campaign
Open the certifications workspace. Every campaign your firm runs — active, scheduled, completed, and draft — lives on this page. You can filter by status using the chips above the table, and search by campaign, template, or round name.
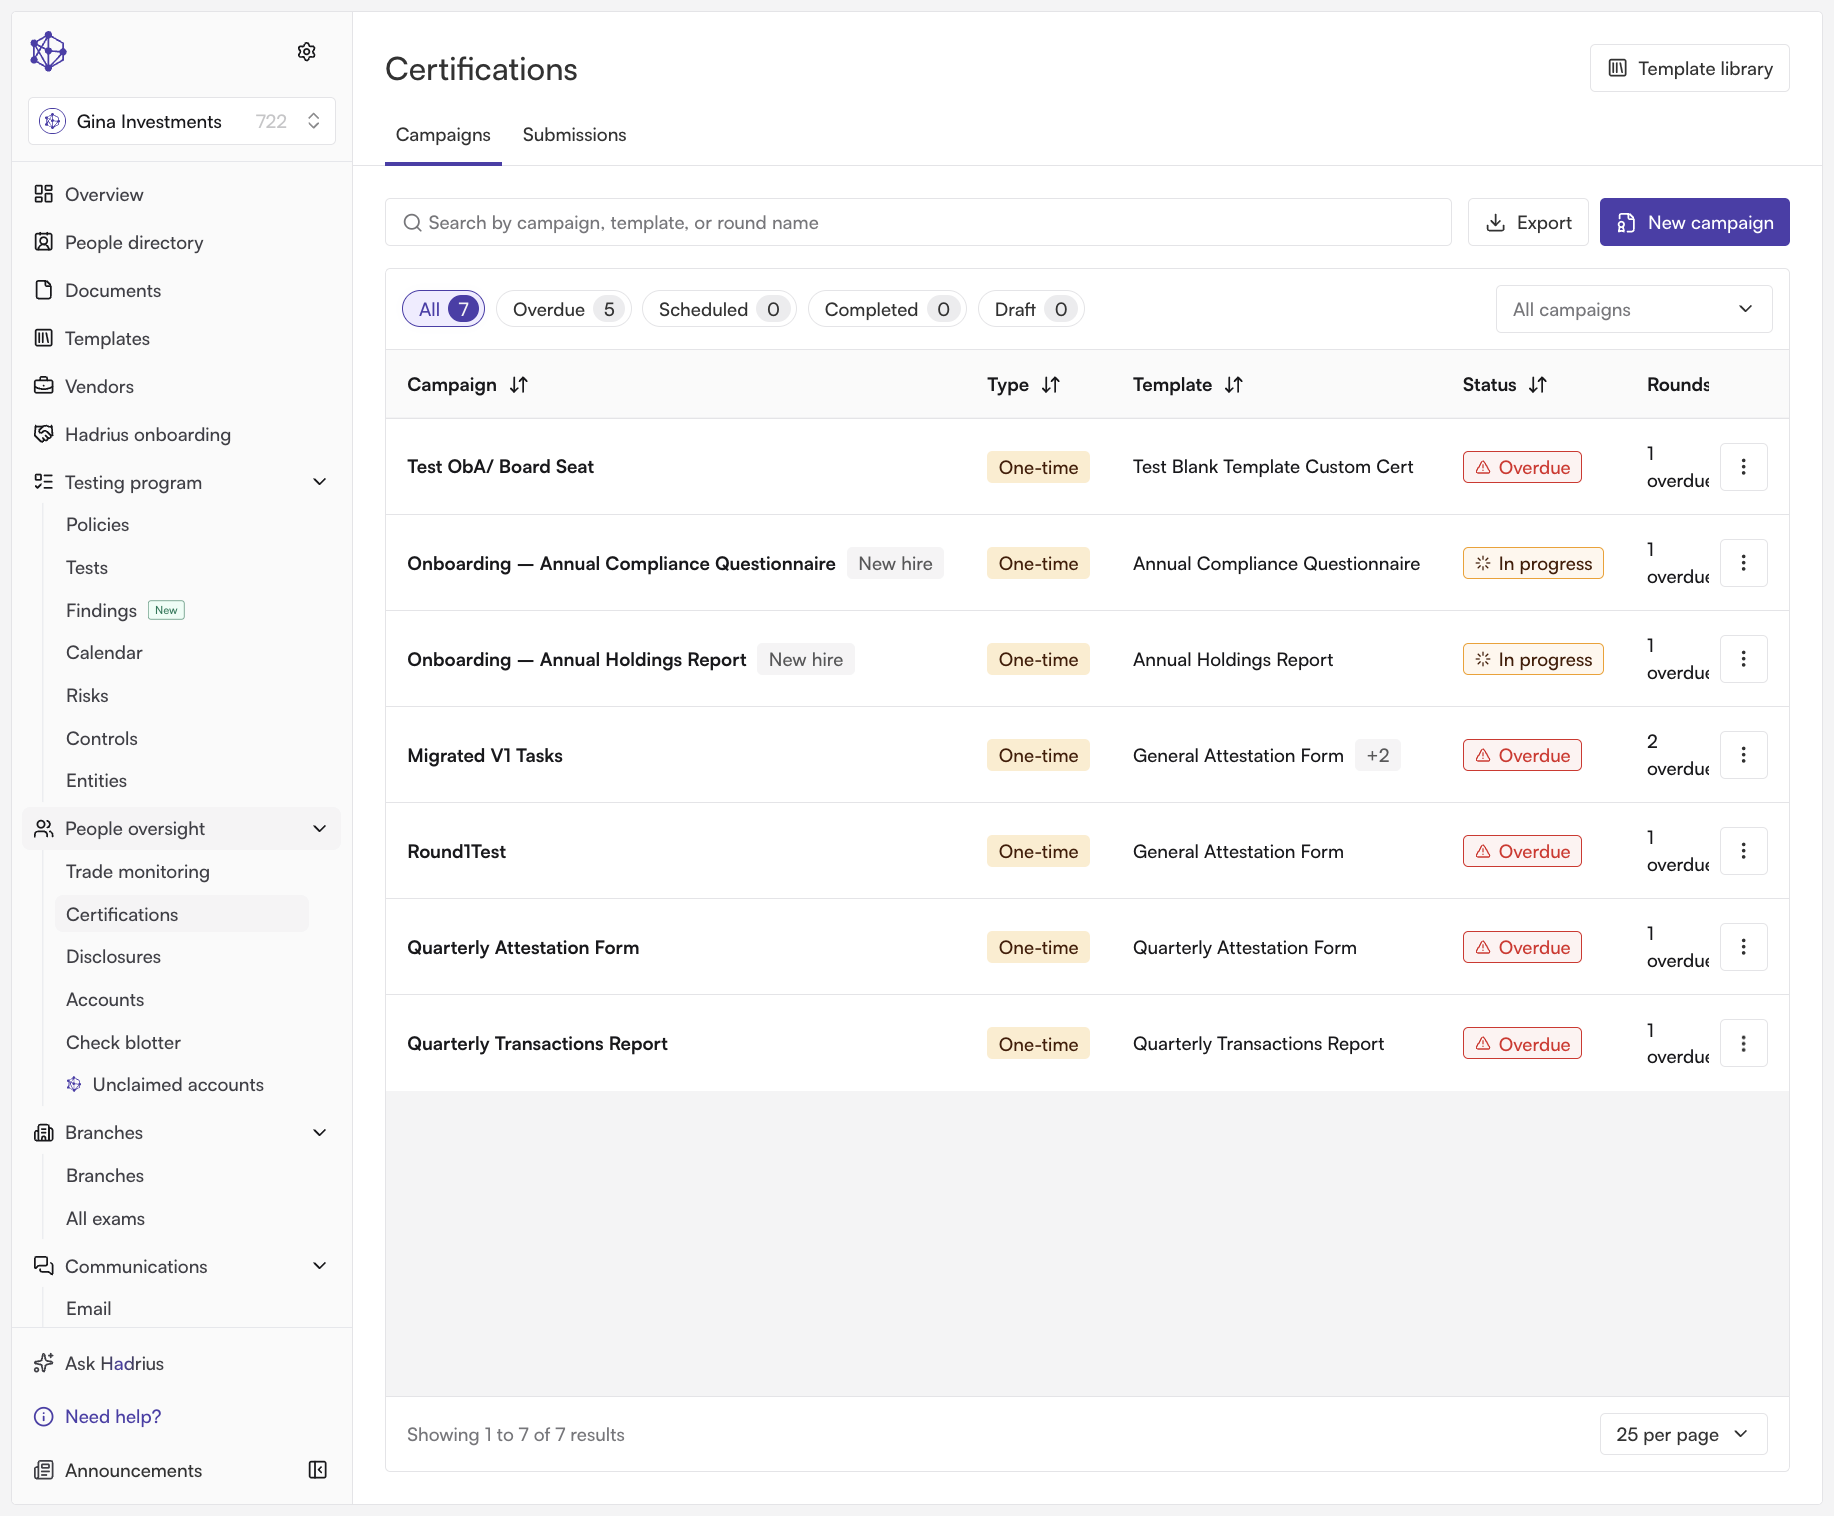
Select New campaign to start the campaign builder. The builder is a four-step wizard: Campaign details, Campaign audience, Schedule campaign, and Review campaign. You can move backward at any time, and you can select Save draft to step away and finish later once you've entered a name, a template, and an audience.
Name the campaign and select the template(s). The campaign name appears on your dashboard and in reviewers' and employees' views, so choose something that makes the scope obvious at a glance.
Under Included templates, select one or more templates. The template determines which questions employees actually answer. Selecting multiple templates sends them as a single "packet" — employees must complete every item to finish the round, and all selected templates share the same due date and audience.
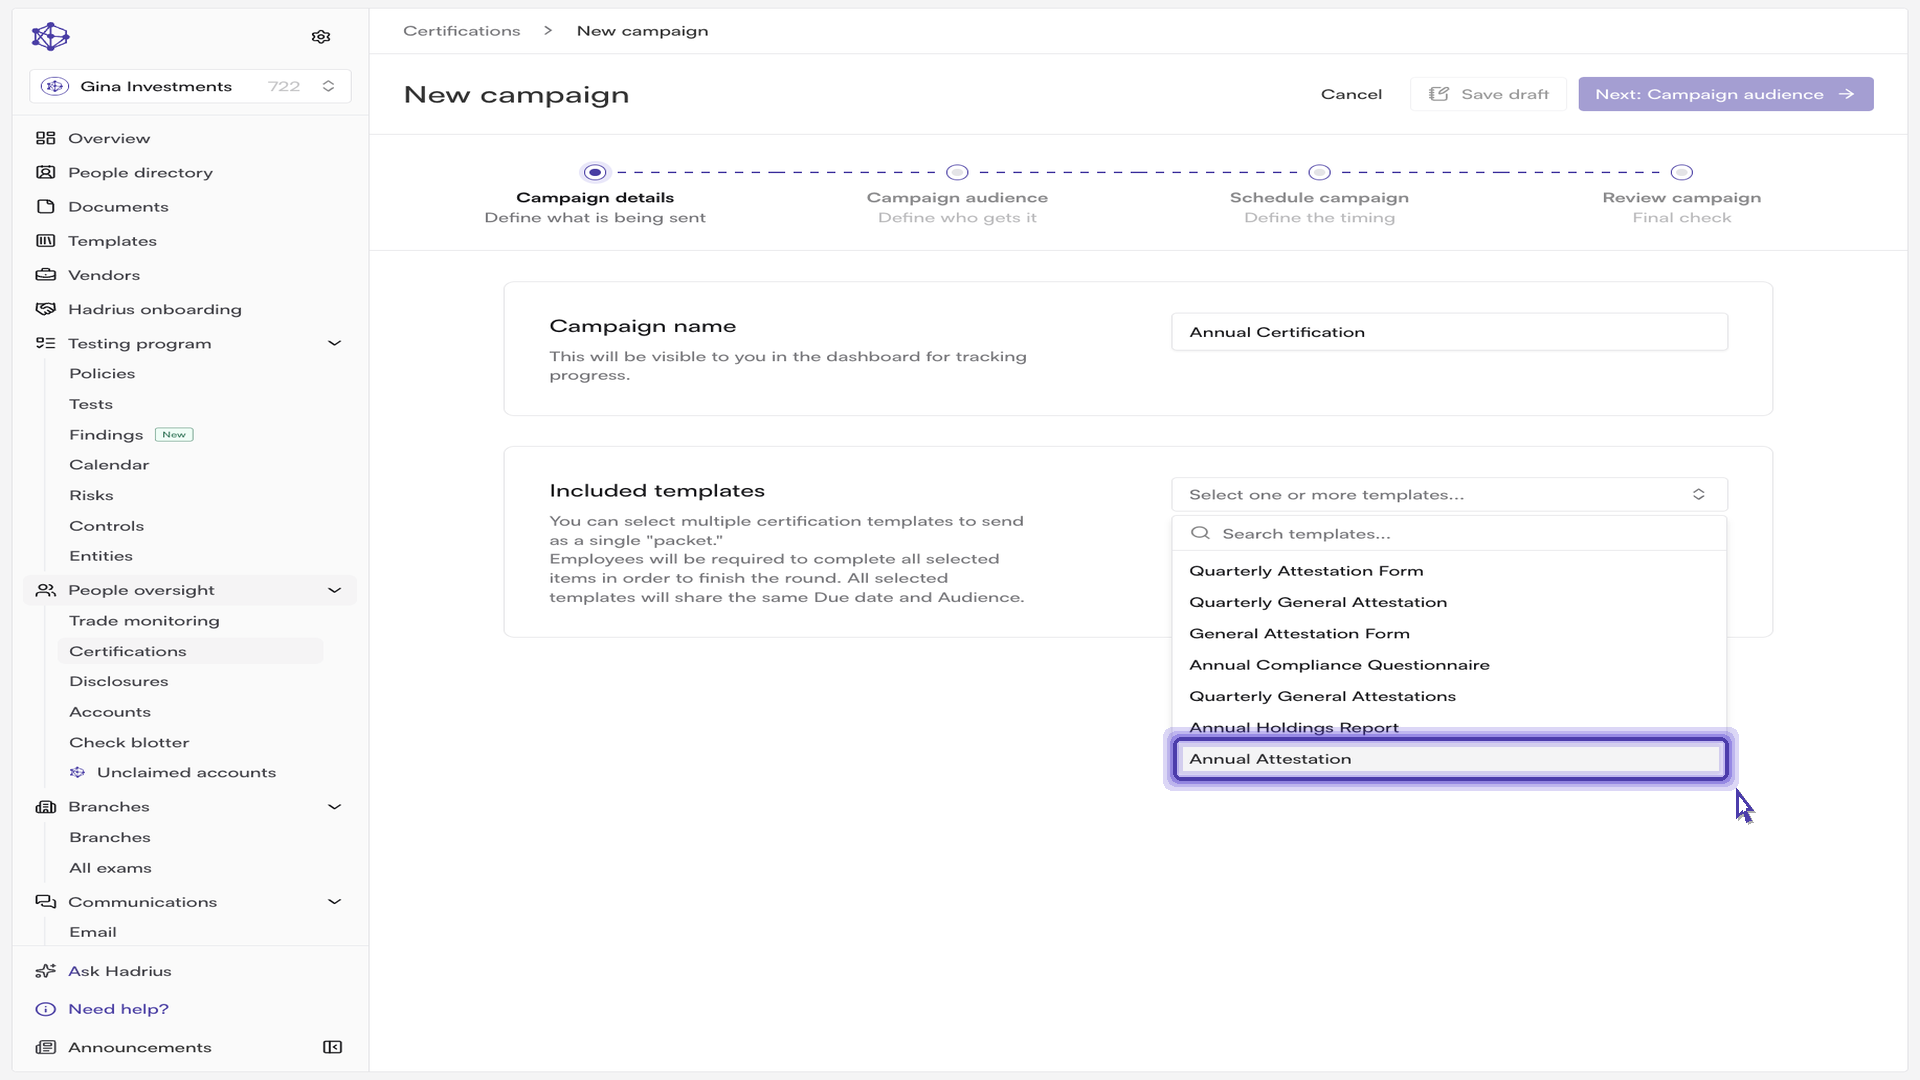
Note: if a template you expect isn't in the list, it is most likely still a draft or has been archived in the template library. Publish it there first, then return to the builder.
Define the audience. On the Campaign audience step, build your recipient list from groups, individuals, or both. Targeting by group is the recommended approach for recurring campaigns: recipients are re-resolved from those groups at the start of every new cycle, so the list stays current as people join and leave without any manual upkeep.
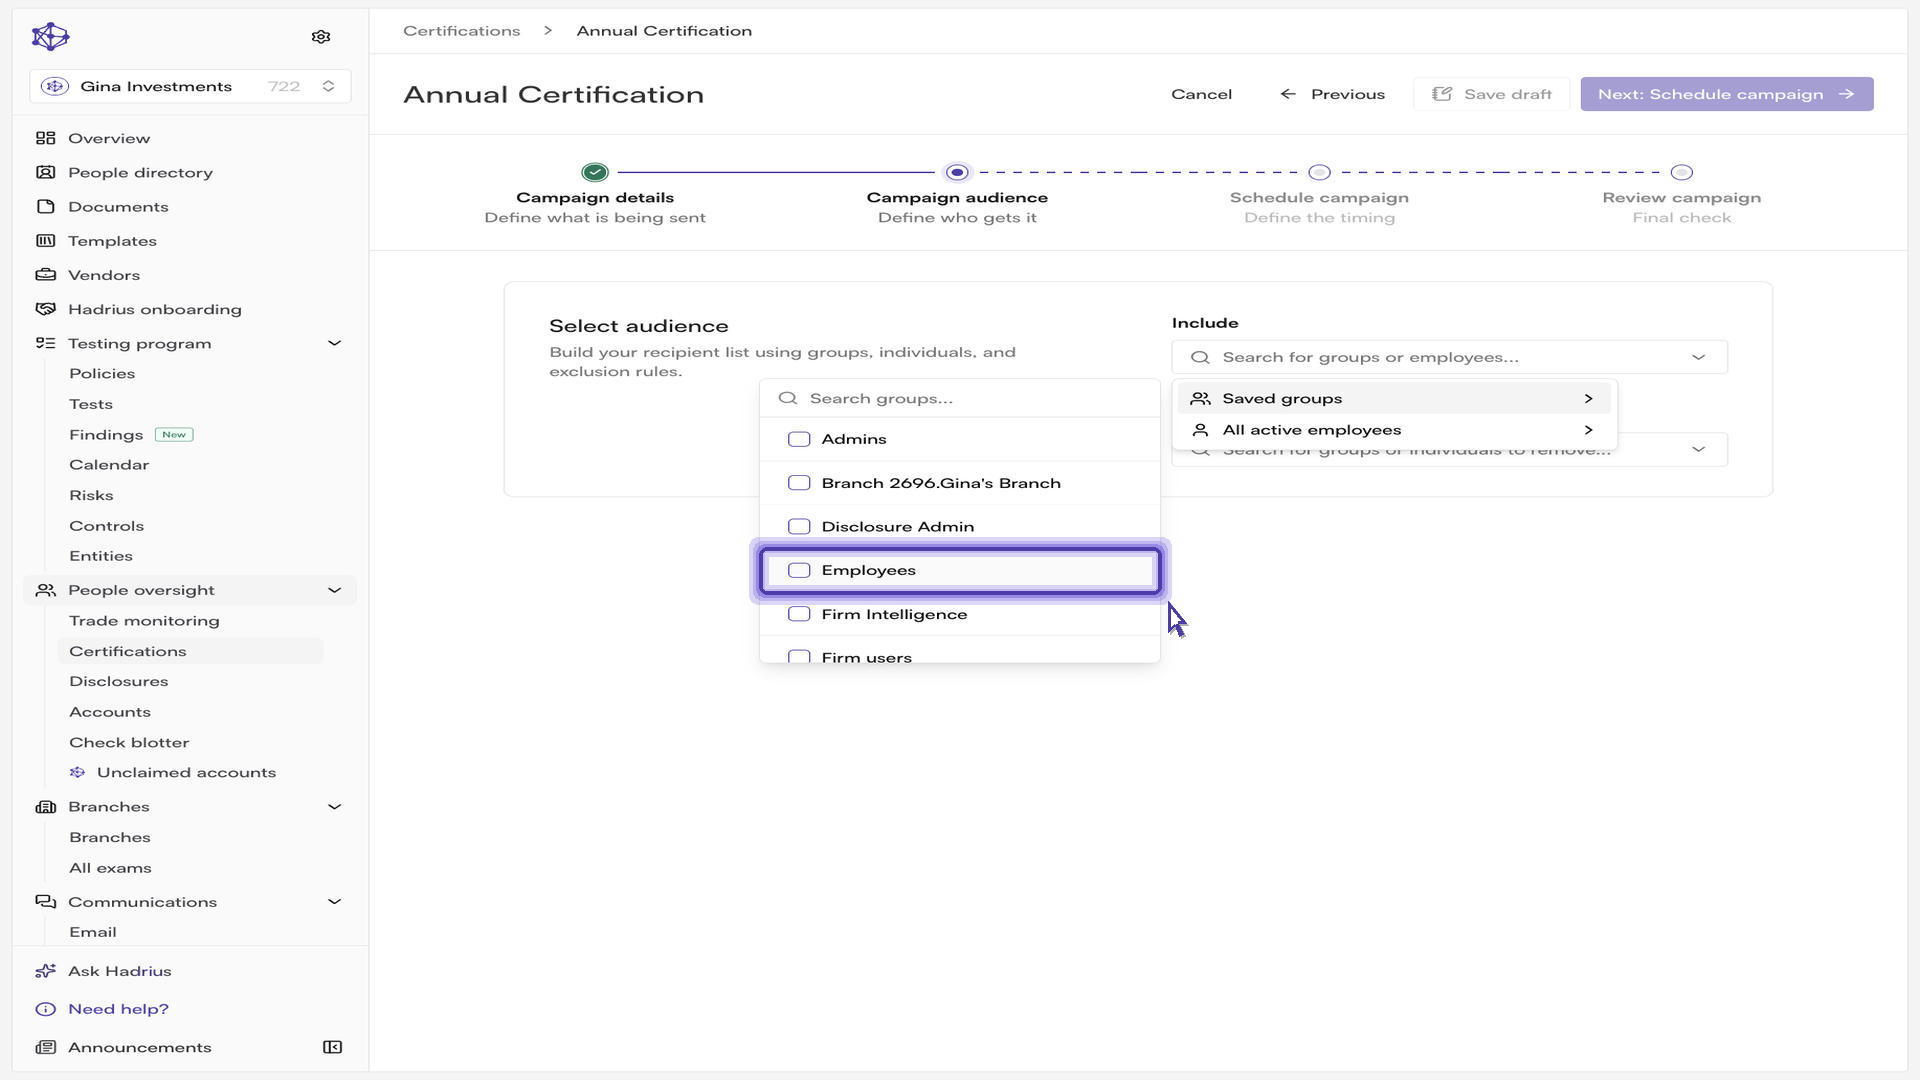
Use the Exclude field to remove specific groups or individuals who shouldn't receive this particular attestation. Exclusions are applied on top of your inclusions. The Selected audience header shows the resolved employee count; select See all to review the full recipient list before moving on.
Set the schedule. On the Schedule campaign step, choose a Campaign type: One-time for a single, ad-hoc round, or Recurring for a campaign the platform reissues on a schedule you define. Campaign type cannot be changed after the campaign is created, so confirm this choice before continuing.
For a recurring campaign, set the Frequency — for example, Annually for a yearly attestation, which opens one cycle per year. Then set the First start date. This anchors the series: it becomes the start date of the first cycle, and every future cycle is calculated forward from it.
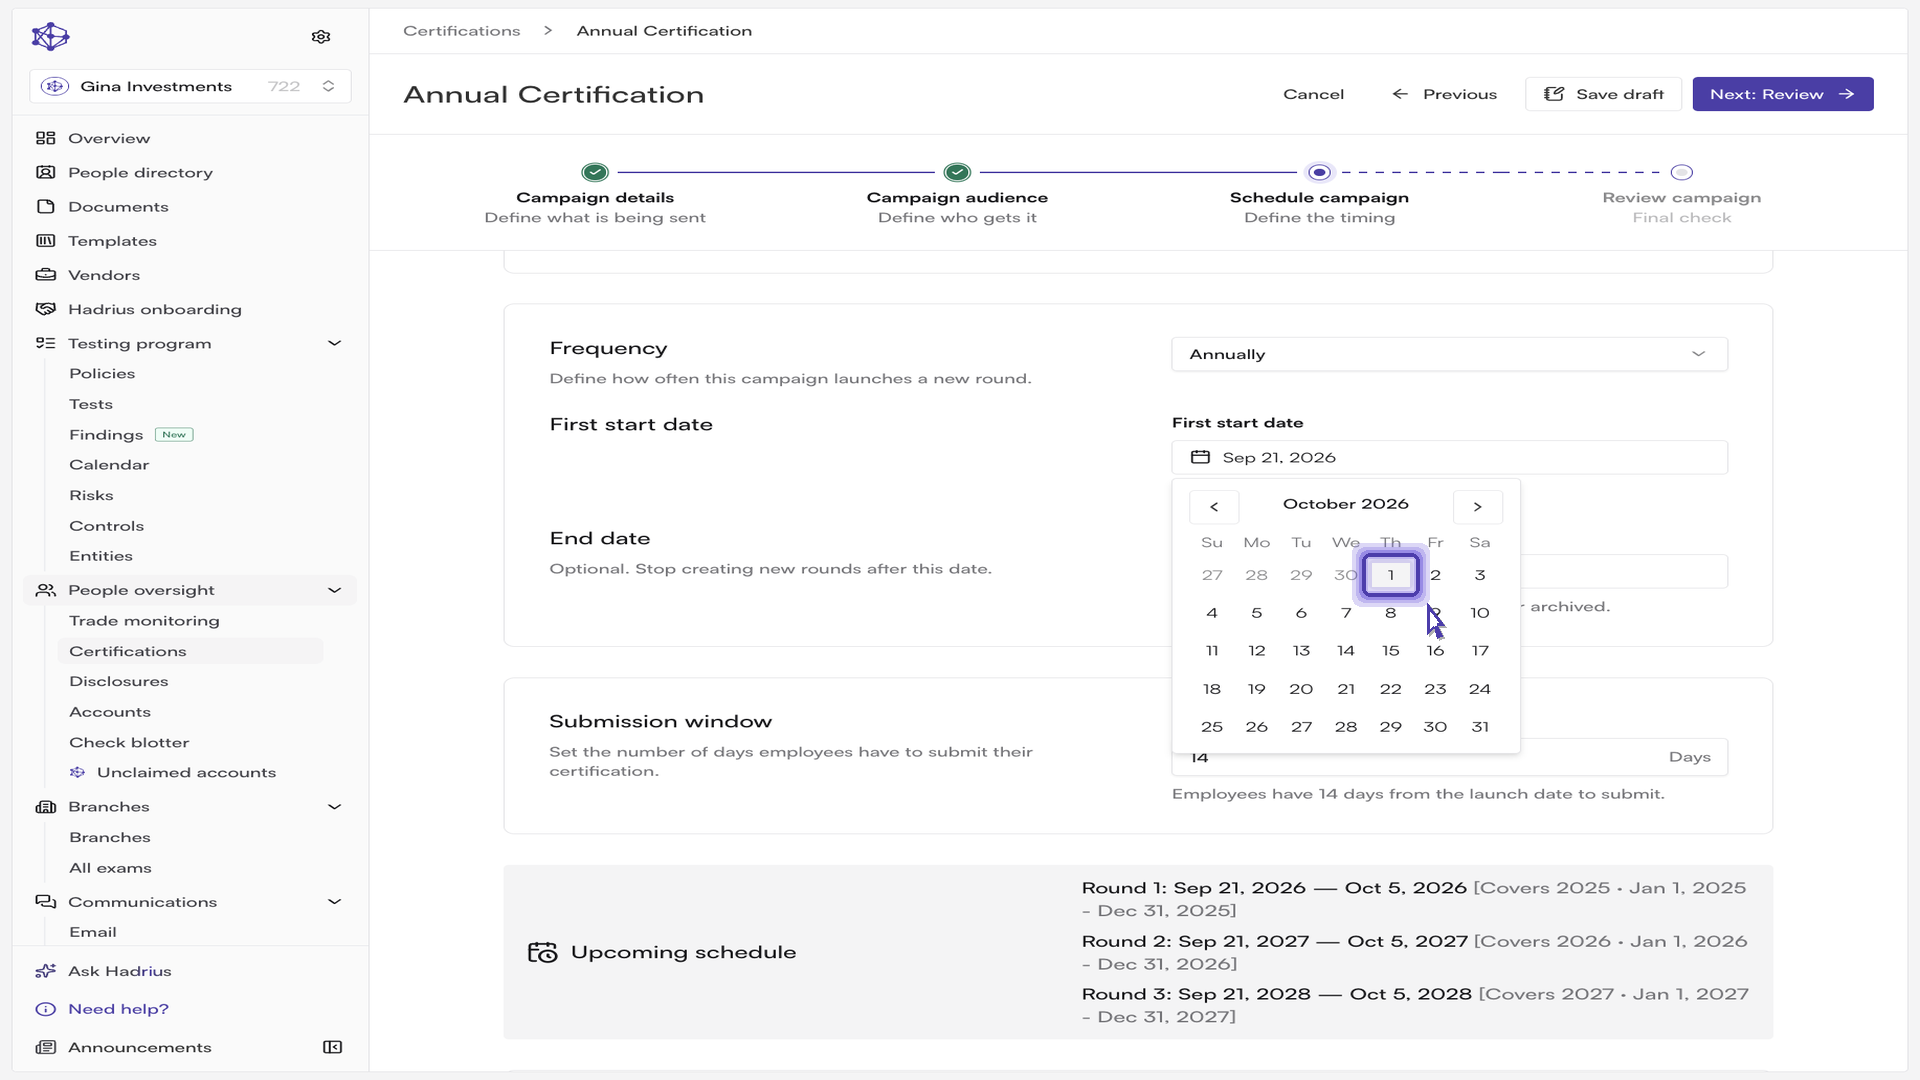
You can also set an optional End date to stop creating new rounds after a given date, and a Submission window controlling how many days employees have to submit. An Upcoming schedule preview below shows the next few cycles and the period each one covers.
Choose the coverage period. The coverage period defines which data each cycle asks employees to certify. For an annual attestation, Previous calendar year captures the full prior year, which produces clean, complete, audit-friendly cycles. Other options include current or previous month and quarter, year-to-date, period-to-date, and a custom date range.
Configure notifications and auto-approval. Still on the schedule step, the Notifications section controls which reminder emails go out before the due date, whether overdue reminders are sent and how often, and whether reminders are skipped on weekends.
Under Options, enable Auto-approve submissions without flags so that submissions with no flagged responses are approved automatically. With this on, reviewers only spend time on the responses that actually need attention.
Review and launch. The Review campaign step is your final look at the whole configuration before anything reaches employees: general information, the resolved audience and exclusions, the timeline and coverage period, and your notification and auto-approval settings.
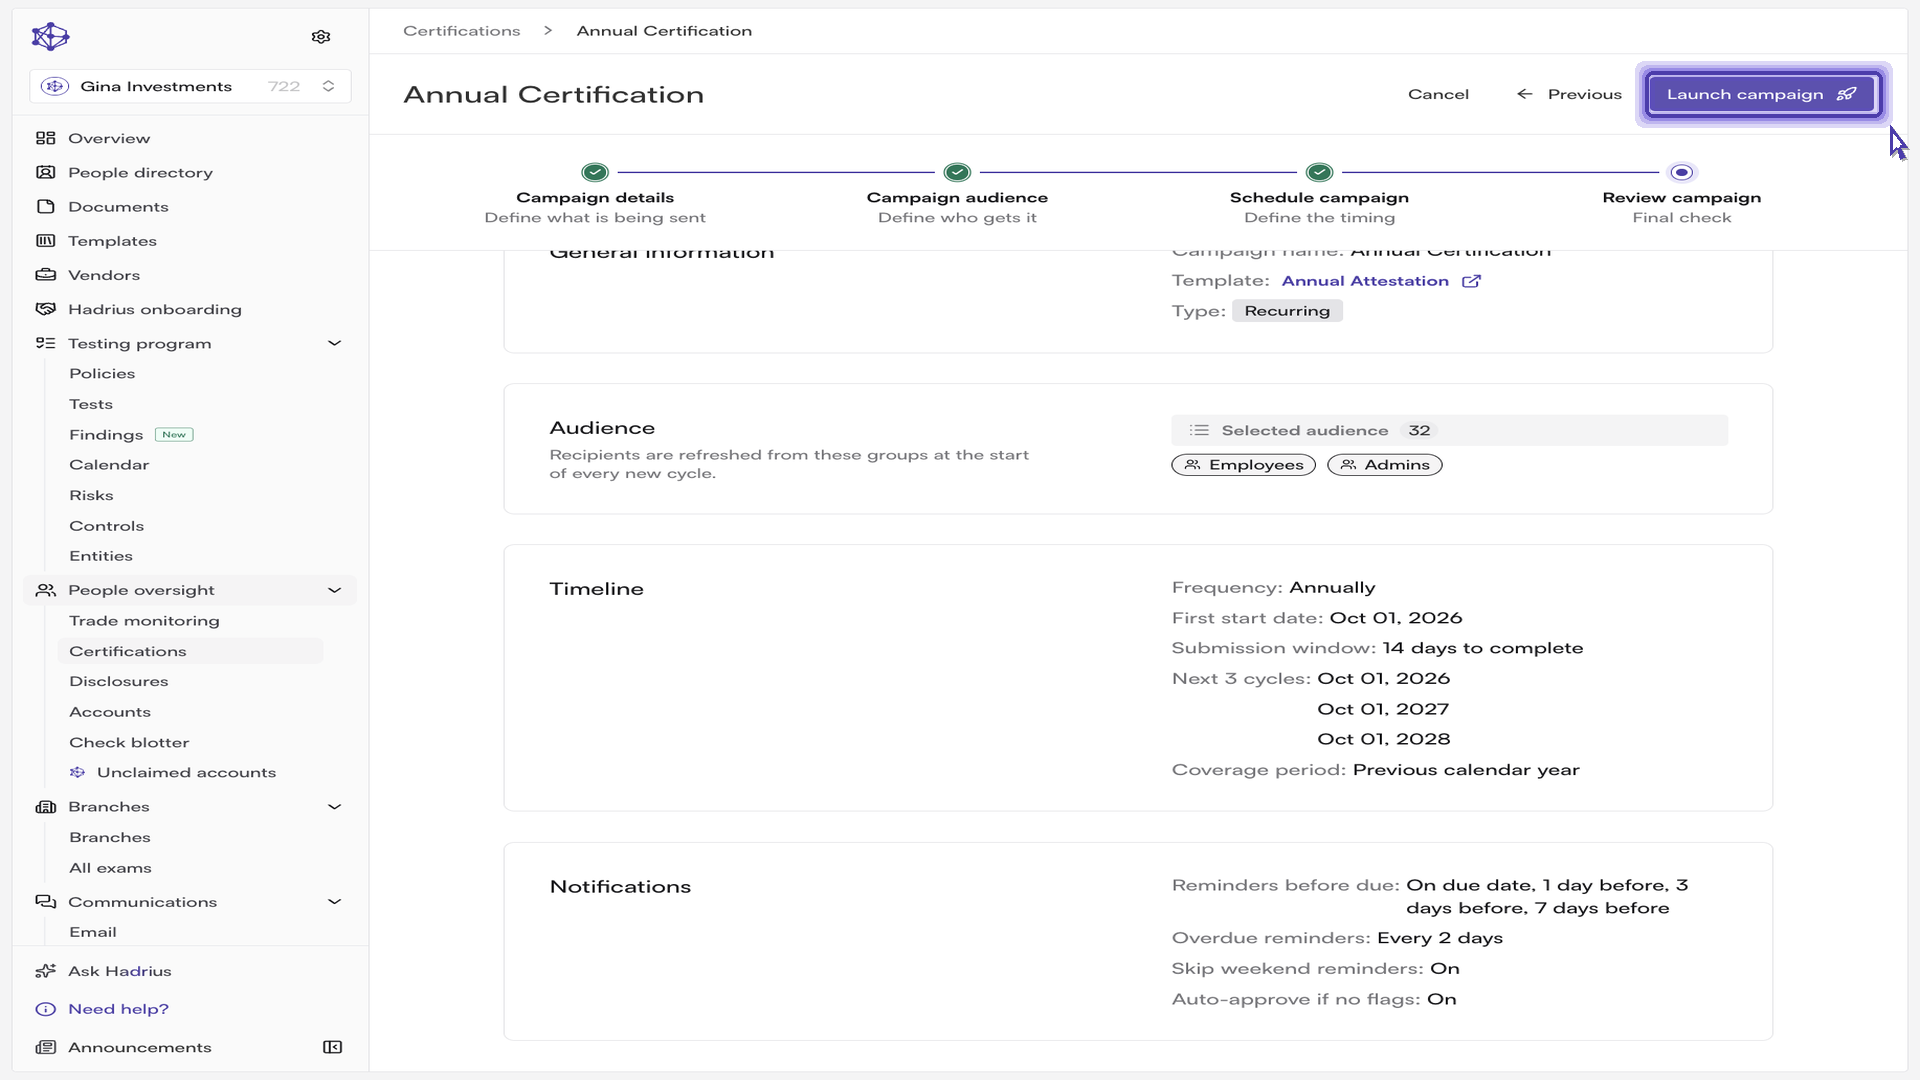
When everything looks right, select Launch campaign and confirm in the dialog. If the start date is today, certification tasks are dispatched and emails go out shortly after you launch.
What happens next
Once the campaign is live, the platform handles assignment, reminders, and every subsequent cycle for you. The campaign appears in the certifications workspace, where you can track progress, see how many submissions need review, and open the campaign to view individual rounds. You can edit a live campaign later — the builder will show you the impact of any change before you apply it — though campaign type cannot be changed after creation.