How to create a routing rule to auto-assign projects to a workflow
Last updated: October 17, 2026
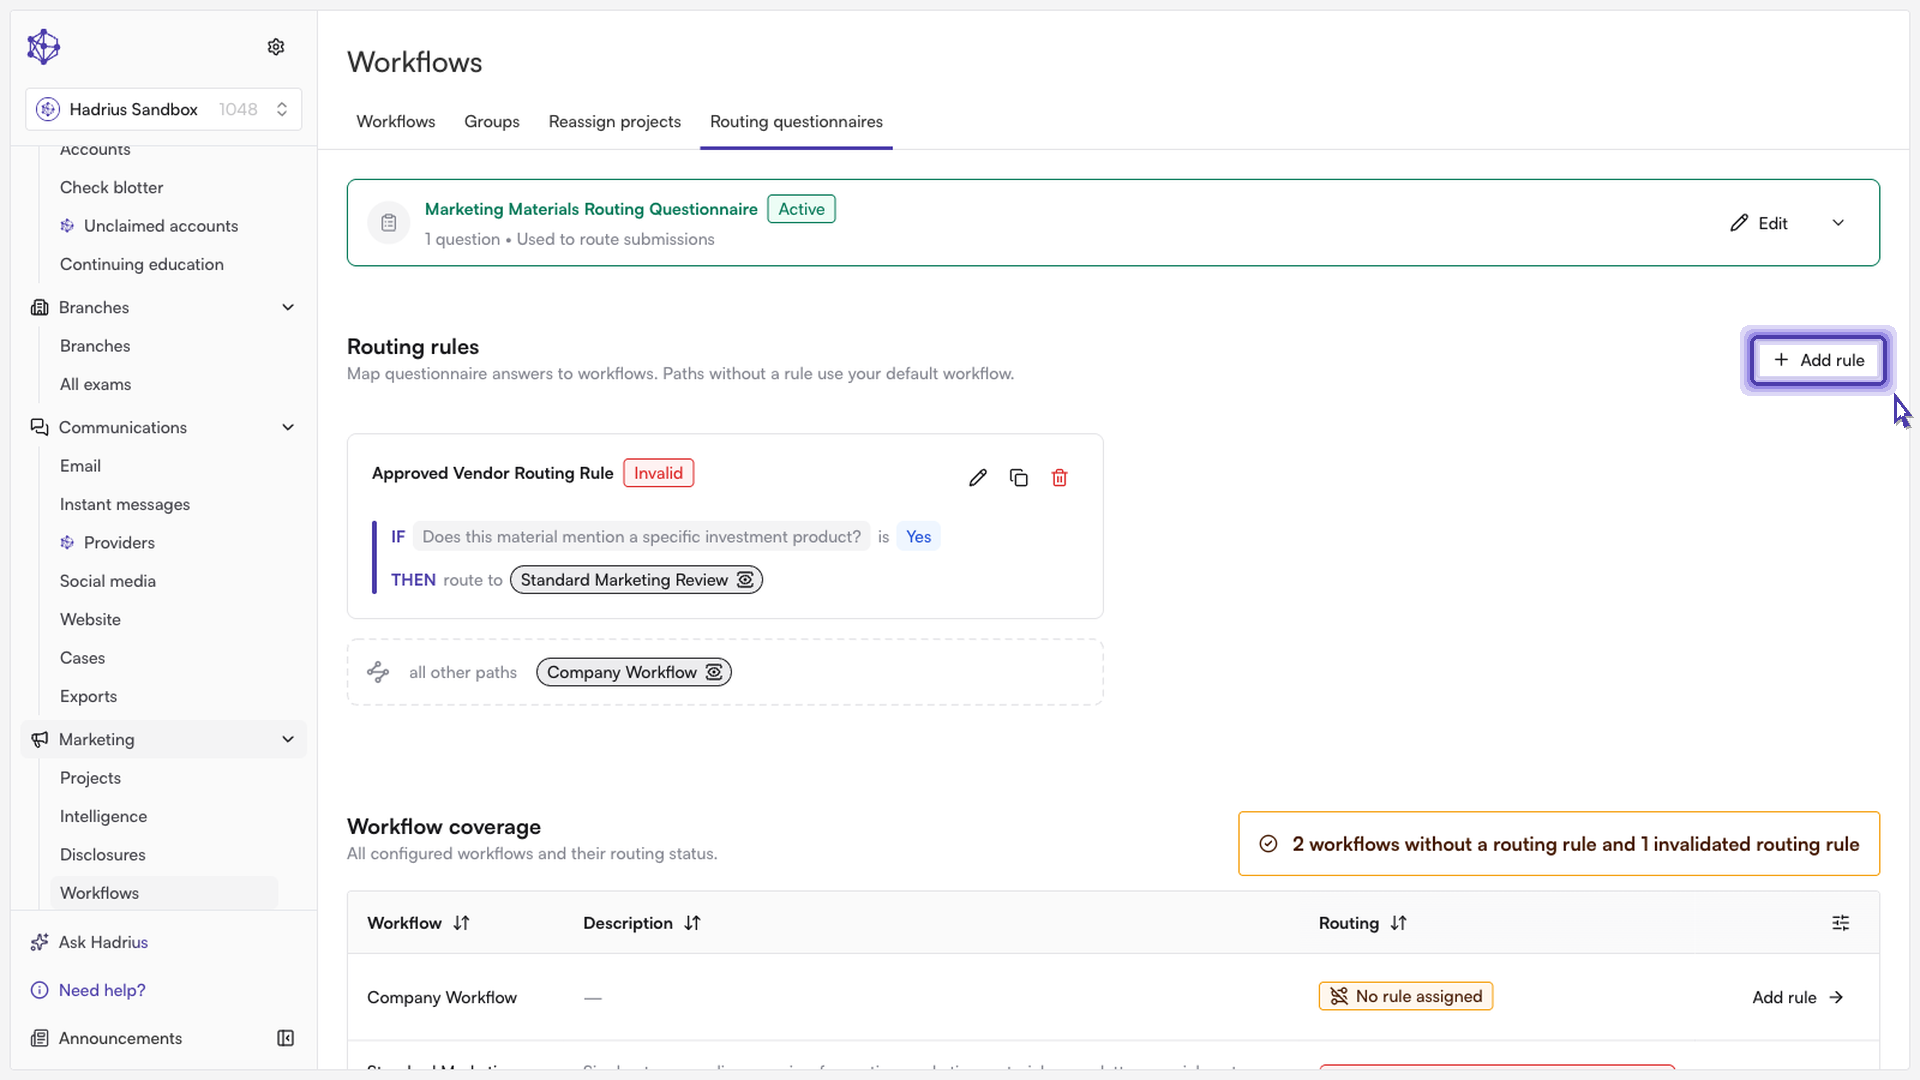
Routing rules determine which review workflow a piece of marketing content is automatically assigned to, based on how a reviewer answers the routing questionnaire. Use this workflow when you want certain types of content — for example, material that references a specific investment product — to be routed to a particular review path without a compliance team member having to assign it manually.
Before you start
Routing rules live under a workflow's routing questionnaire. Open the workflow you want to configure, then go to the Routing Questionnaires tab. Each rule you create there ties one or more questionnaire answers to a specific workflow, so the questionnaire must already have the question you want to key off of, and the target workflow must be Active before it can be selected as a routing destination.
Creating a new rule
From the Routing Questionnaires tab, select the option to build a new rule. This opens a three-step rule builder:
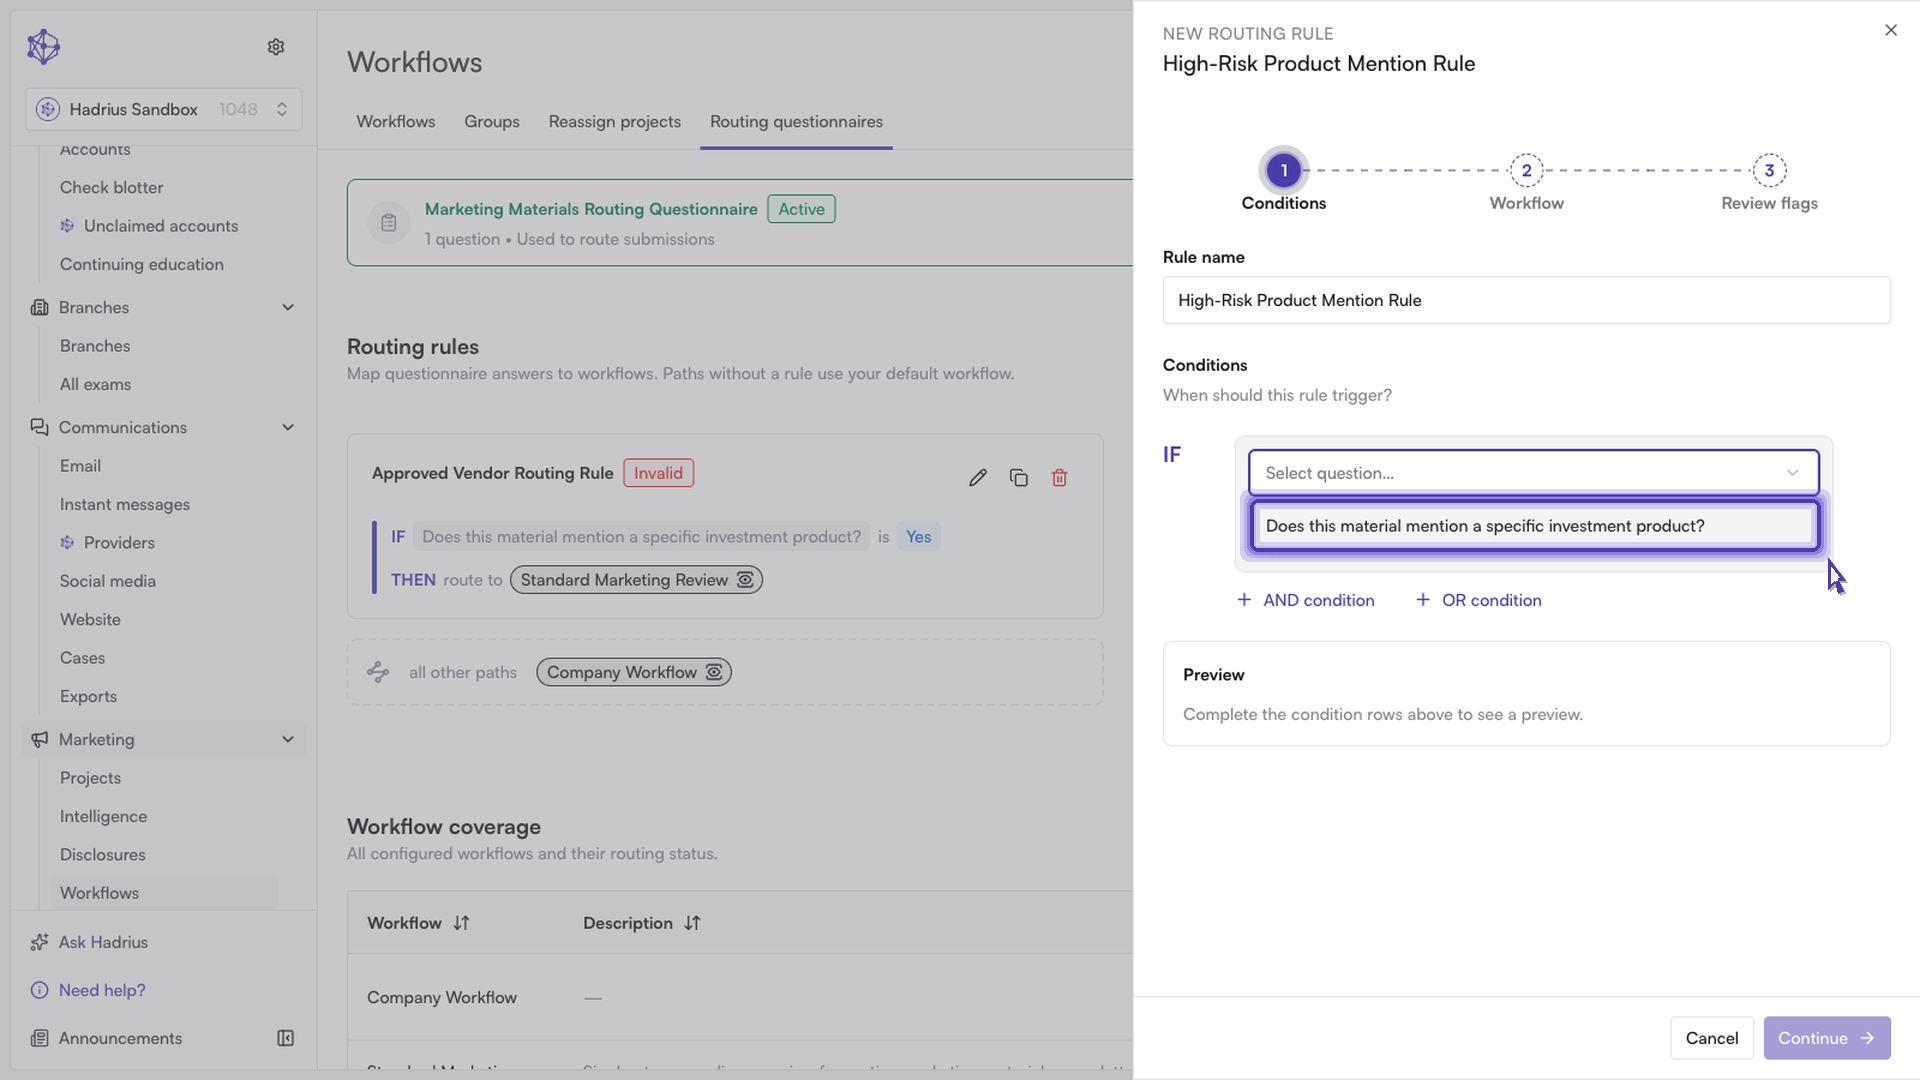
Conditions — Give the rule a clear name (for example, something that tells the compliance team exactly what the rule catches), then define the trigger. Choose the question this rule should key off of, and select the answer that should activate it. A "Yes" answer, for instance, might indicate the content touches on a specific product and therefore carries a higher risk profile. You can add additional AND or OR conditions if the rule should trigger on more than one answer combination. As you complete each condition row, a preview at the bottom of the step shows the resulting IF/AND/OR logic in plain language. If the conditions you've entered exactly match an existing rule, the builder flags this as a duplicate configuration and lets you jump to the existing rule instead of creating a redundant one.
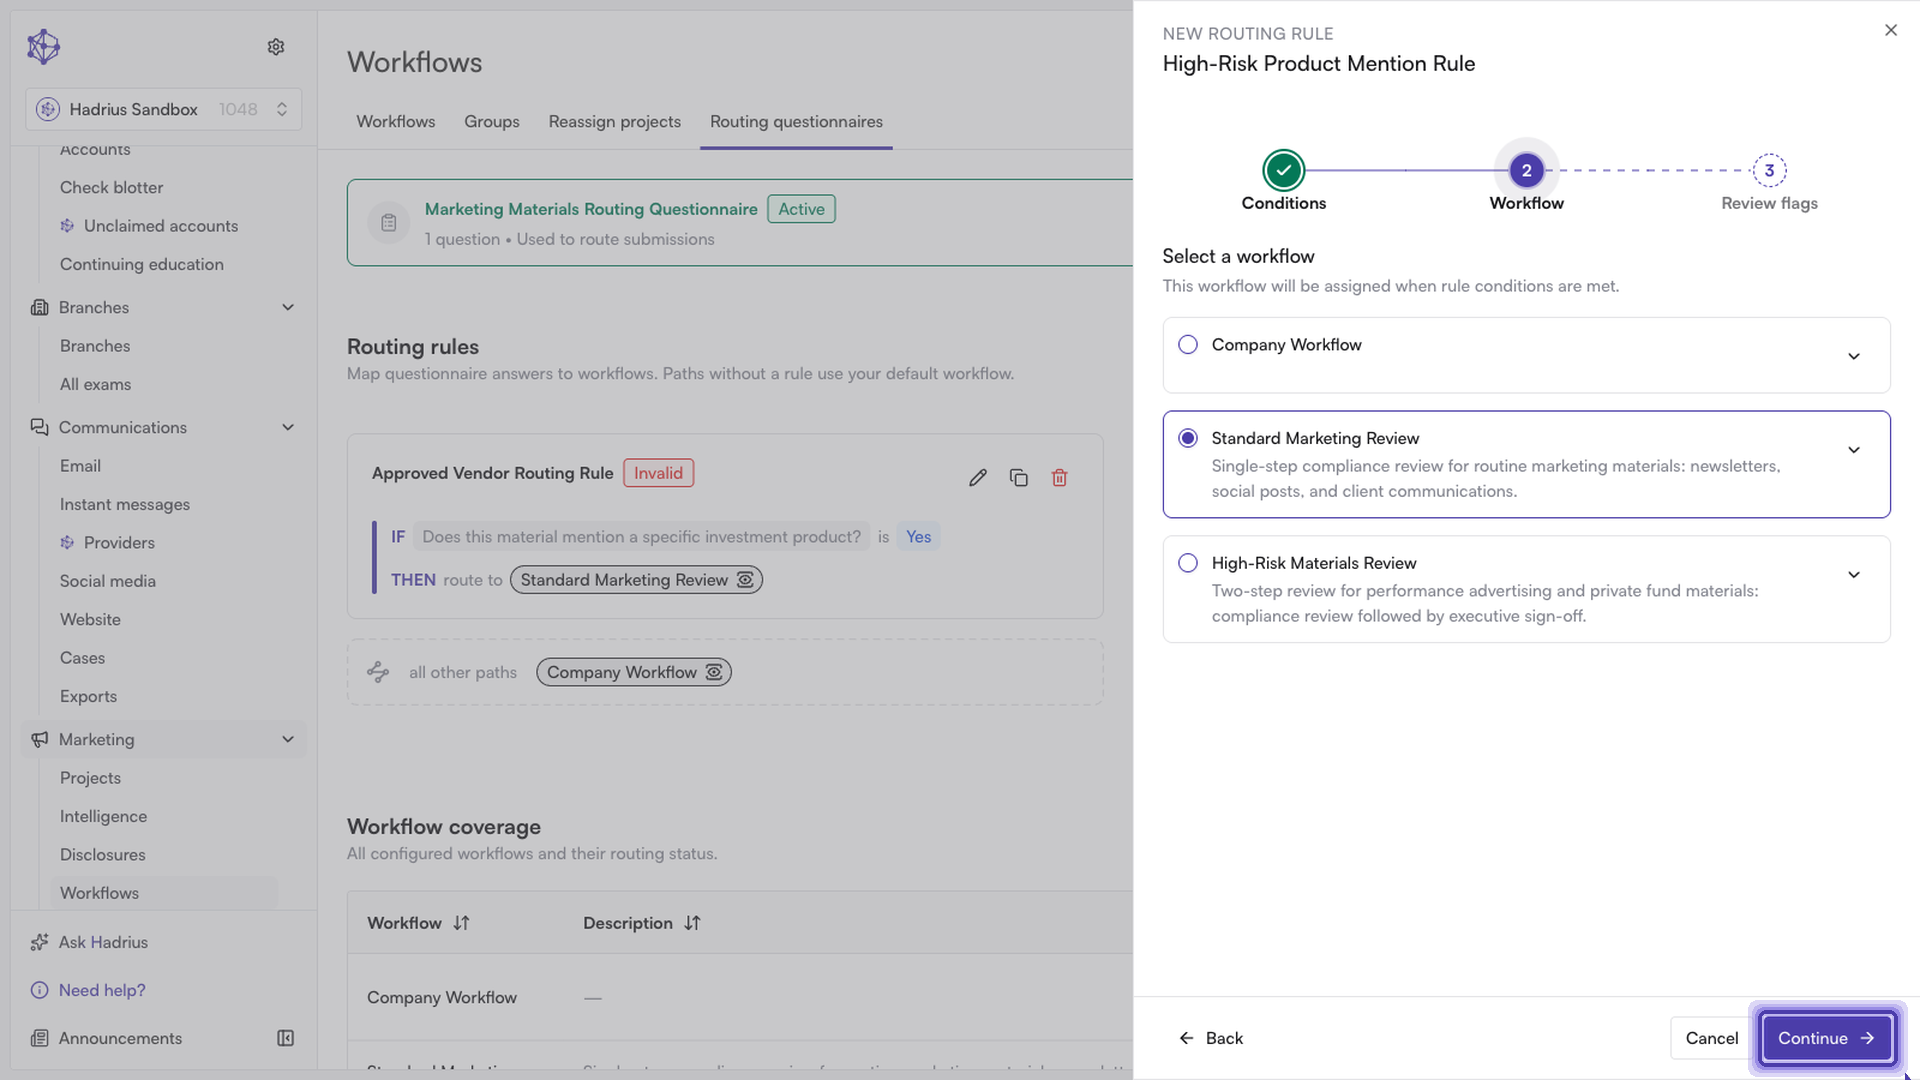
Workflow — With the trigger set, choose where flagged content should be routed. Only workflows with an Active status appear as options; routing to Standard Marketing Review, for instance, ensures matching content gets the appropriate level of scrutiny before it goes out. Each workflow option can be expanded to preview its review steps before you commit to it. If no active workflows exist yet, you'll need to create and activate one first.
Review flags — Optionally select default flags to apply to the destination workflow. These aren't specific to this rule — they're stored on the workflow itself, so every document submitted to that workflow picks them up automatically, regardless of which routing rule sent it there. This step also shows a full summary of the rule: its conditions, its destination workflow, and any flags that will be applied.
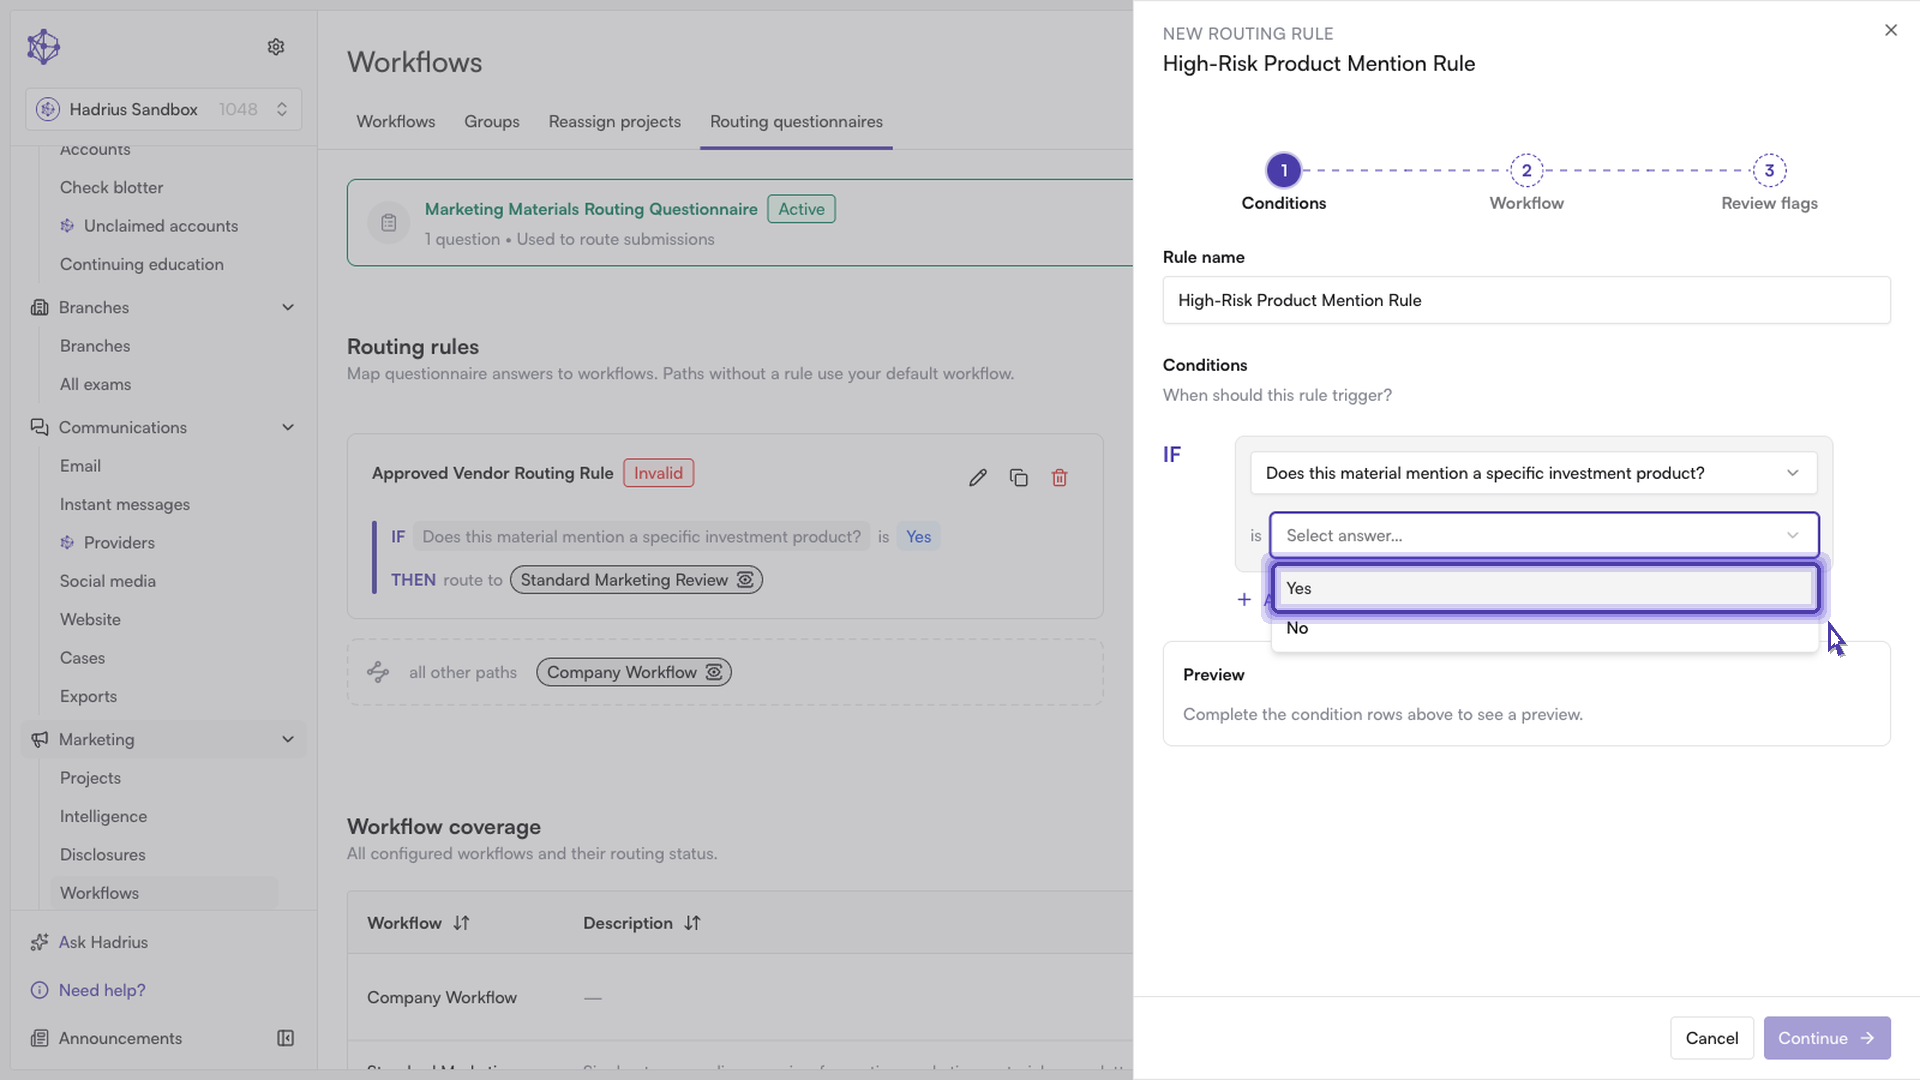
Use "Continue" to move between steps and "Back" to revisit a previous one. When you're satisfied with the summary on the final step, select "Create rule" to save it.
What happens next
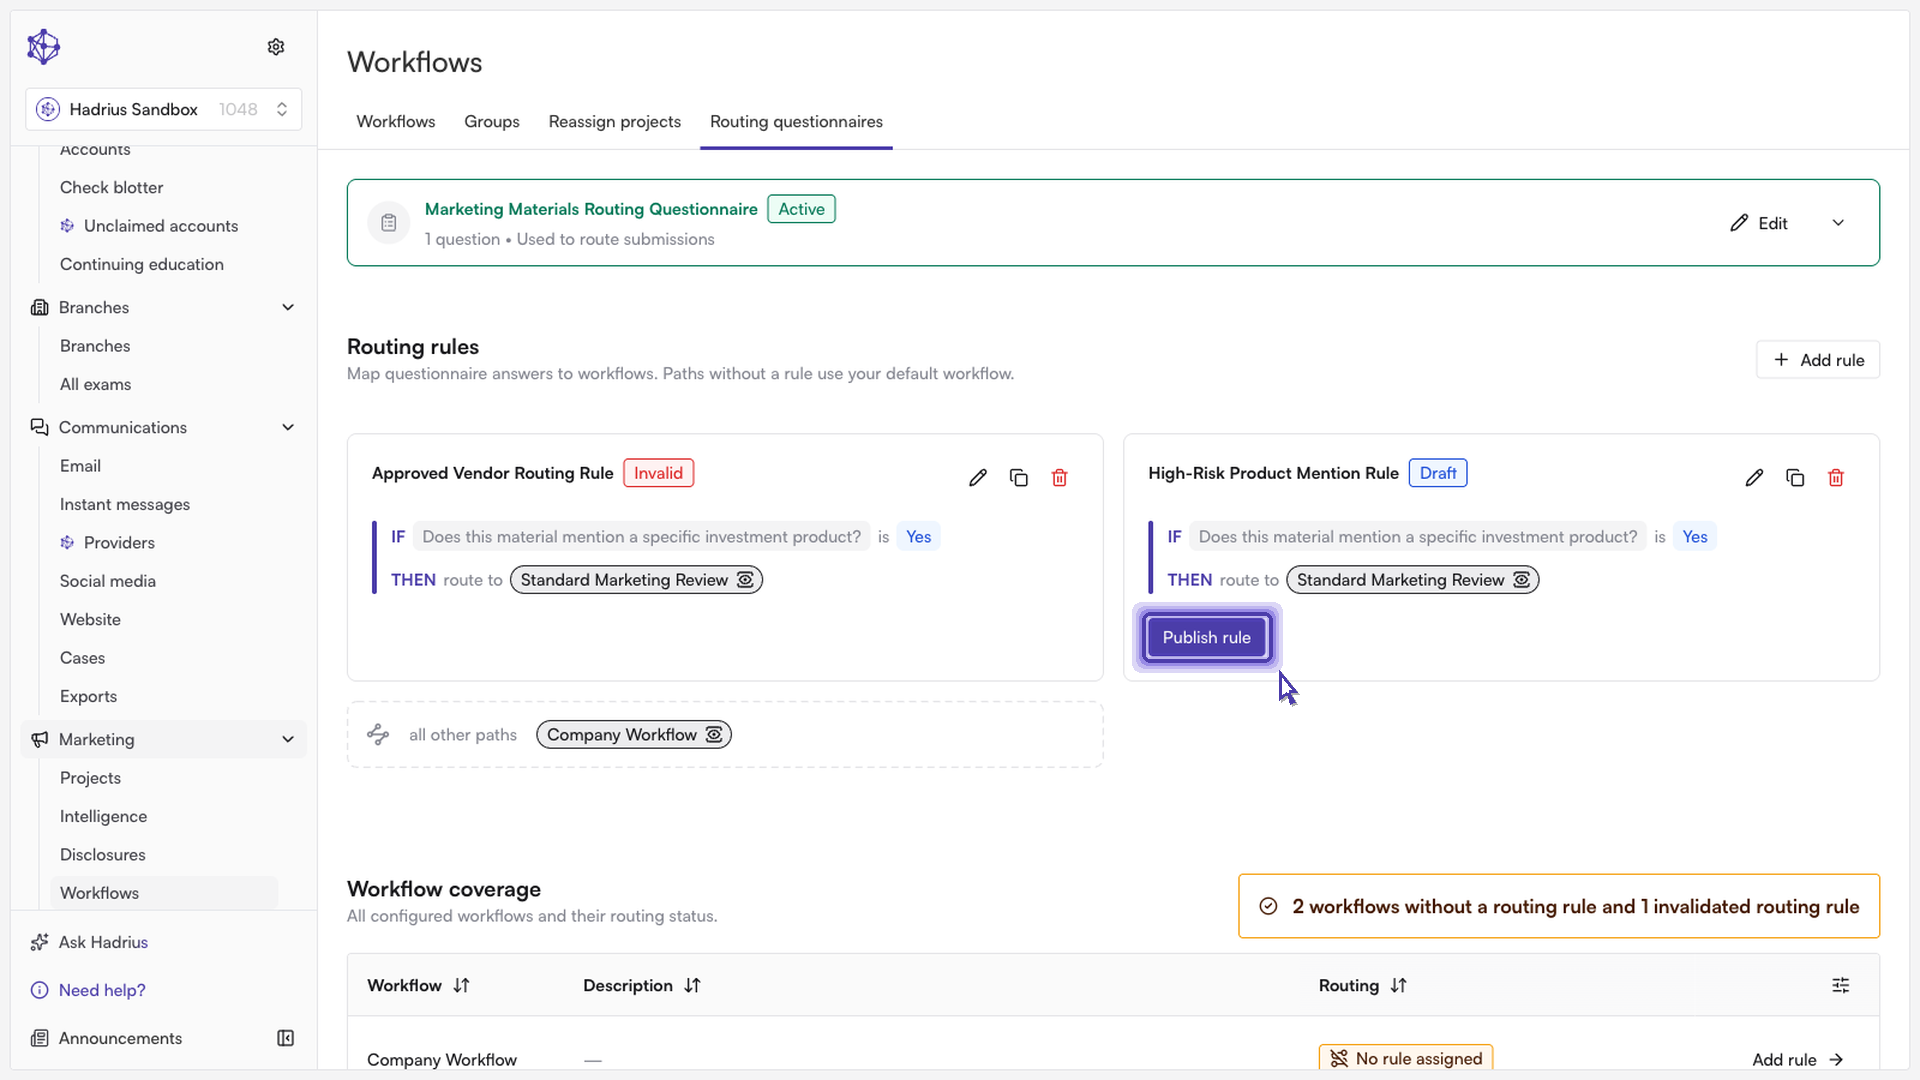
Creating the rule saves it in Draft status. A draft rule is stored but does not yet take effect — it needs to be published before it will actually route incoming content. Once published, any new content that matches the rule's conditions is automatically assigned to the selected workflow.
If you later edit a rule, keep in mind that changes only apply to new projects going forward — anything already submitted under the rule's previous conditions is not retroactively reassigned.