How to Import Employees
Last updated: November 13, 2026
Use this article to add new employees to your Hadrius account. You can add people one at a time with a short form, or bring in a whole group at once with a CSV upload — useful during onboarding, after a hire, or when migrating a roster from another system. Both paths start from the same place and end with the new employees appearing in your People Directory.
Step 1: Open the People Directory and start the import
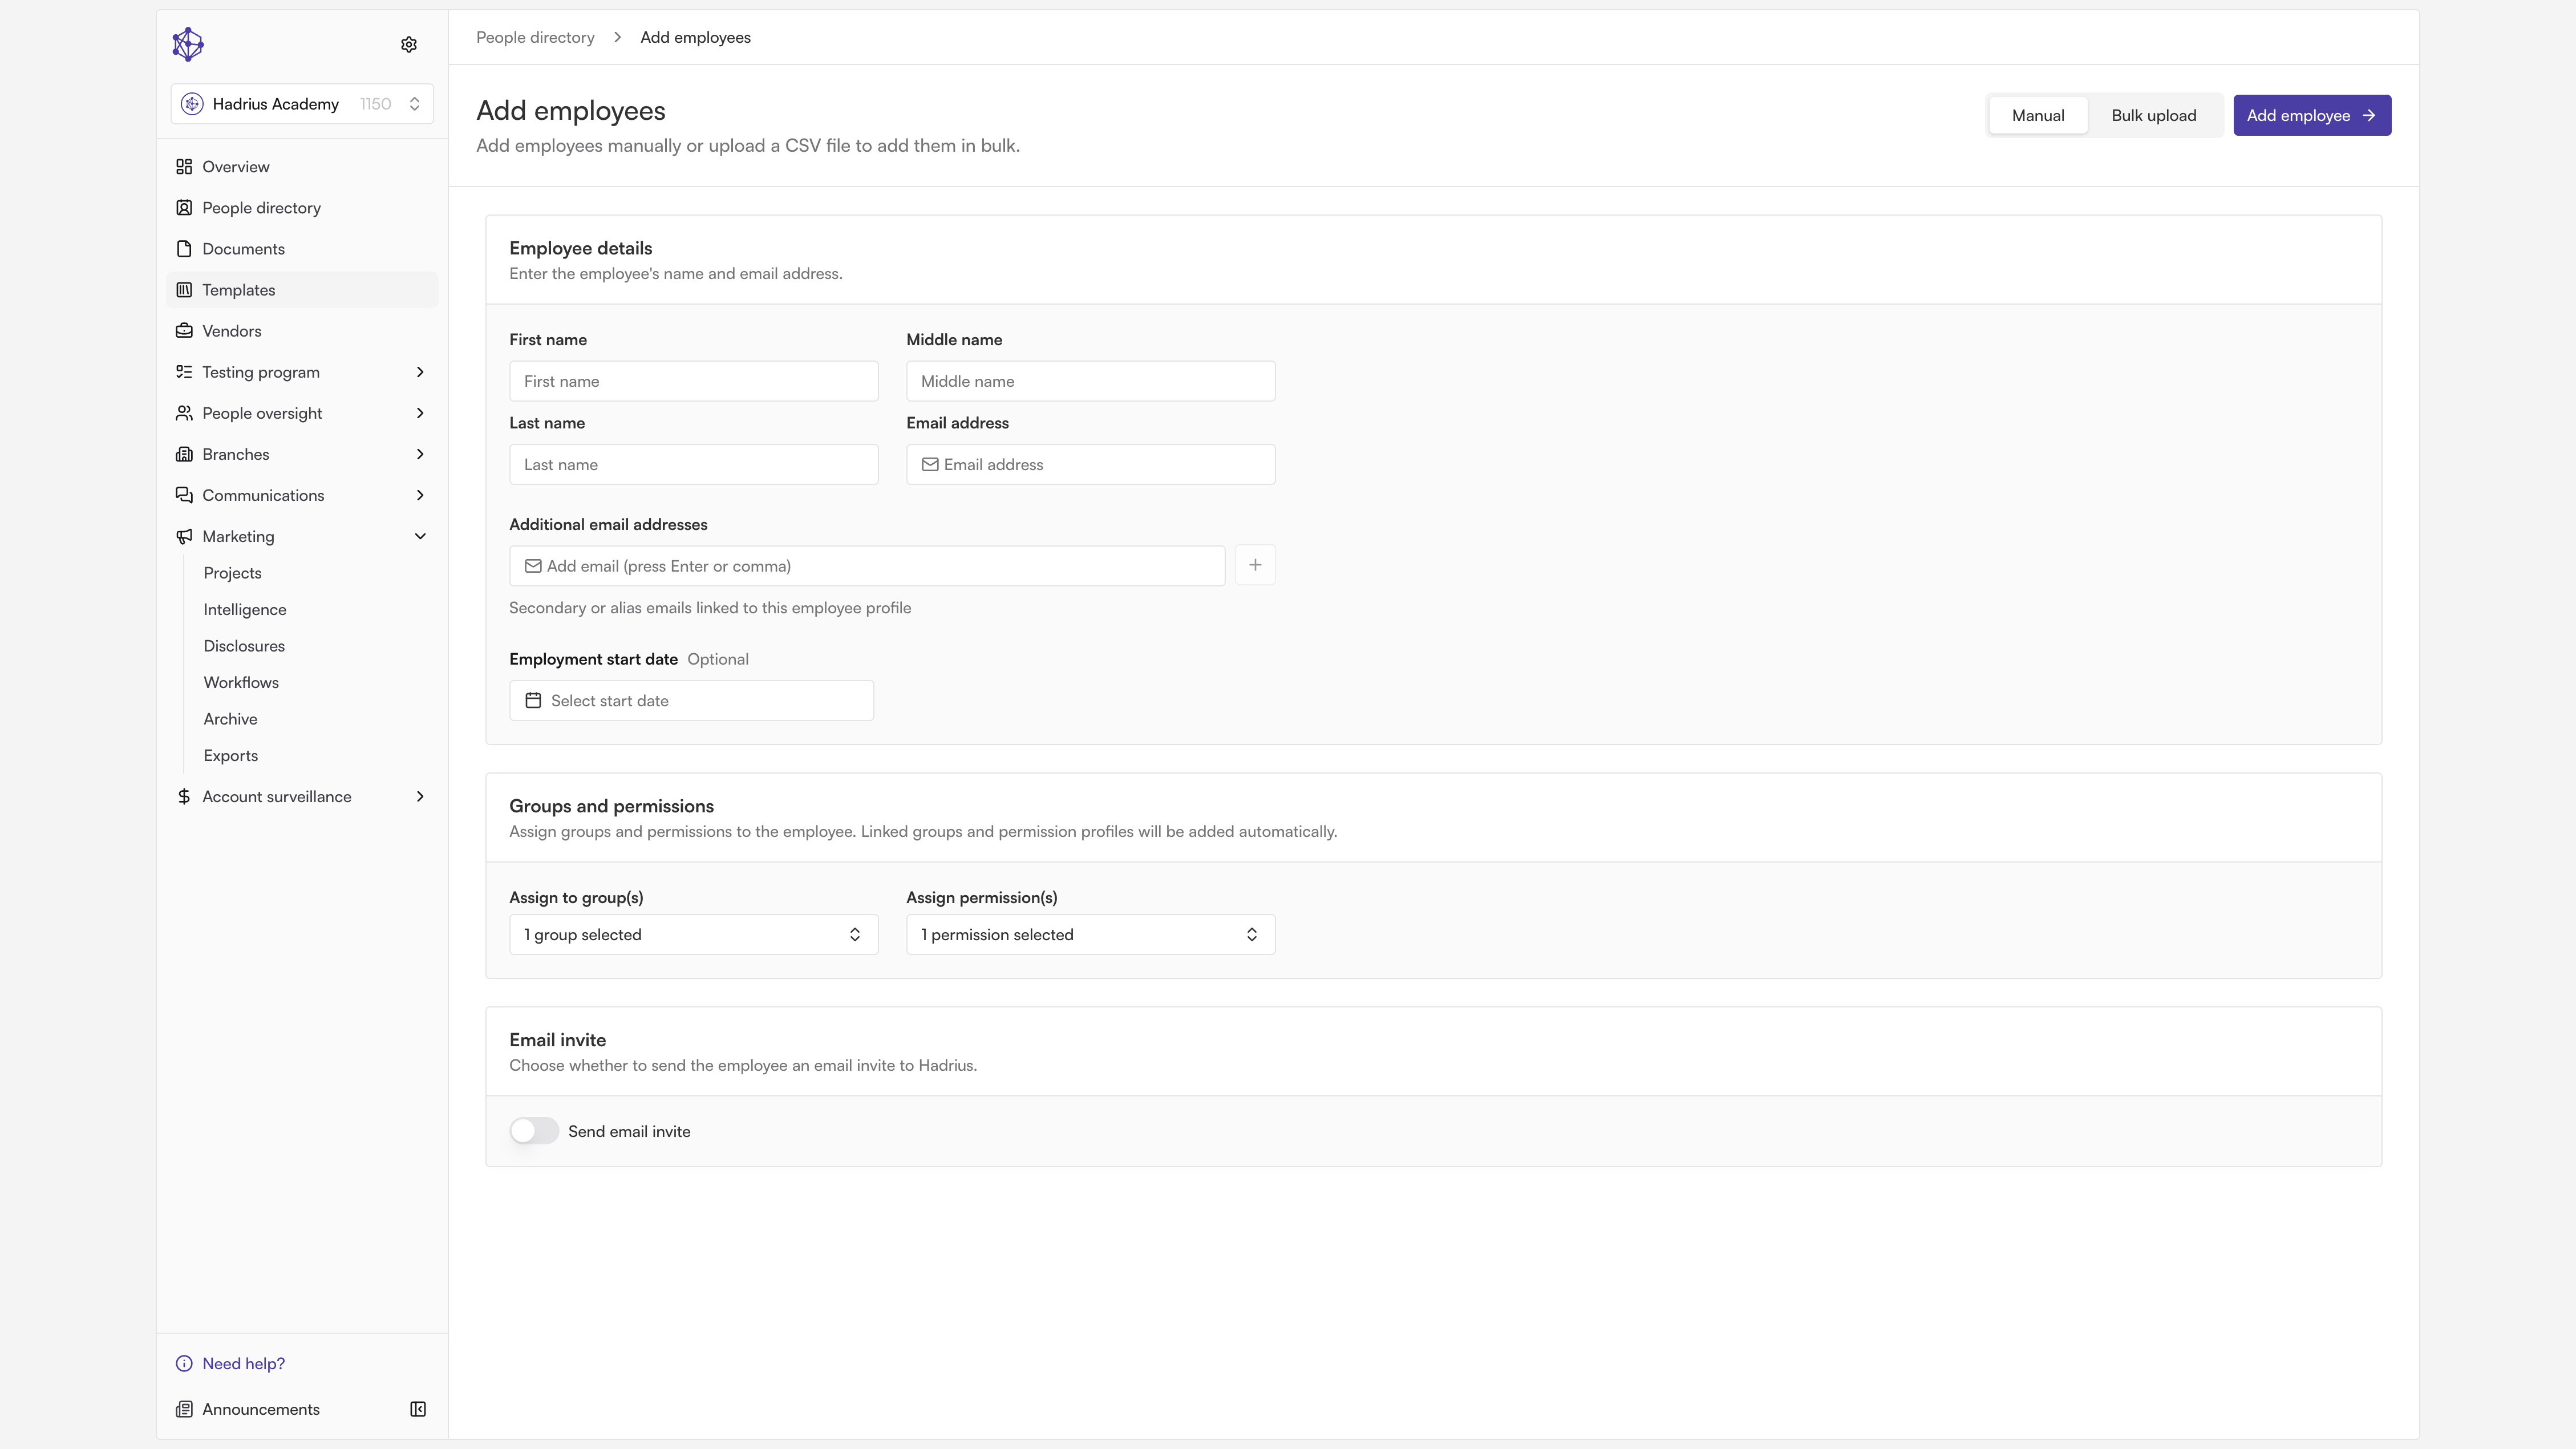
Every employee record in the platform lives in the People Directory. From there, click Add employees to begin. You'll be asked to choose how you want to add people: Manual, for adding employees one at a time, or Bulk upload, for adding a group at once from a file.
Step 2a: Adding an employee individually
If you choose Manual, you'll fill in the core identity and contact details the platform uses to recognize each employee: first name, last name, and email address. A middle name field is also available — it isn't required, but including it helps keep the record consistent with official documents.
Next, assign the employee's permissions. Permissions determine what an employee can see and do in the platform. By default, Hadrius distinguishes between two roles:
Admin — typically compliance team members who take actions such as sending out certifications, reviewing communication messages, and completing tests.
Employee — people who complete actions on their own behalf, such as linking brokerage accounts and submitting trade clearances.
(Your firm may rename these roles or add additional ones — check your permissions list if the names you see differ.)
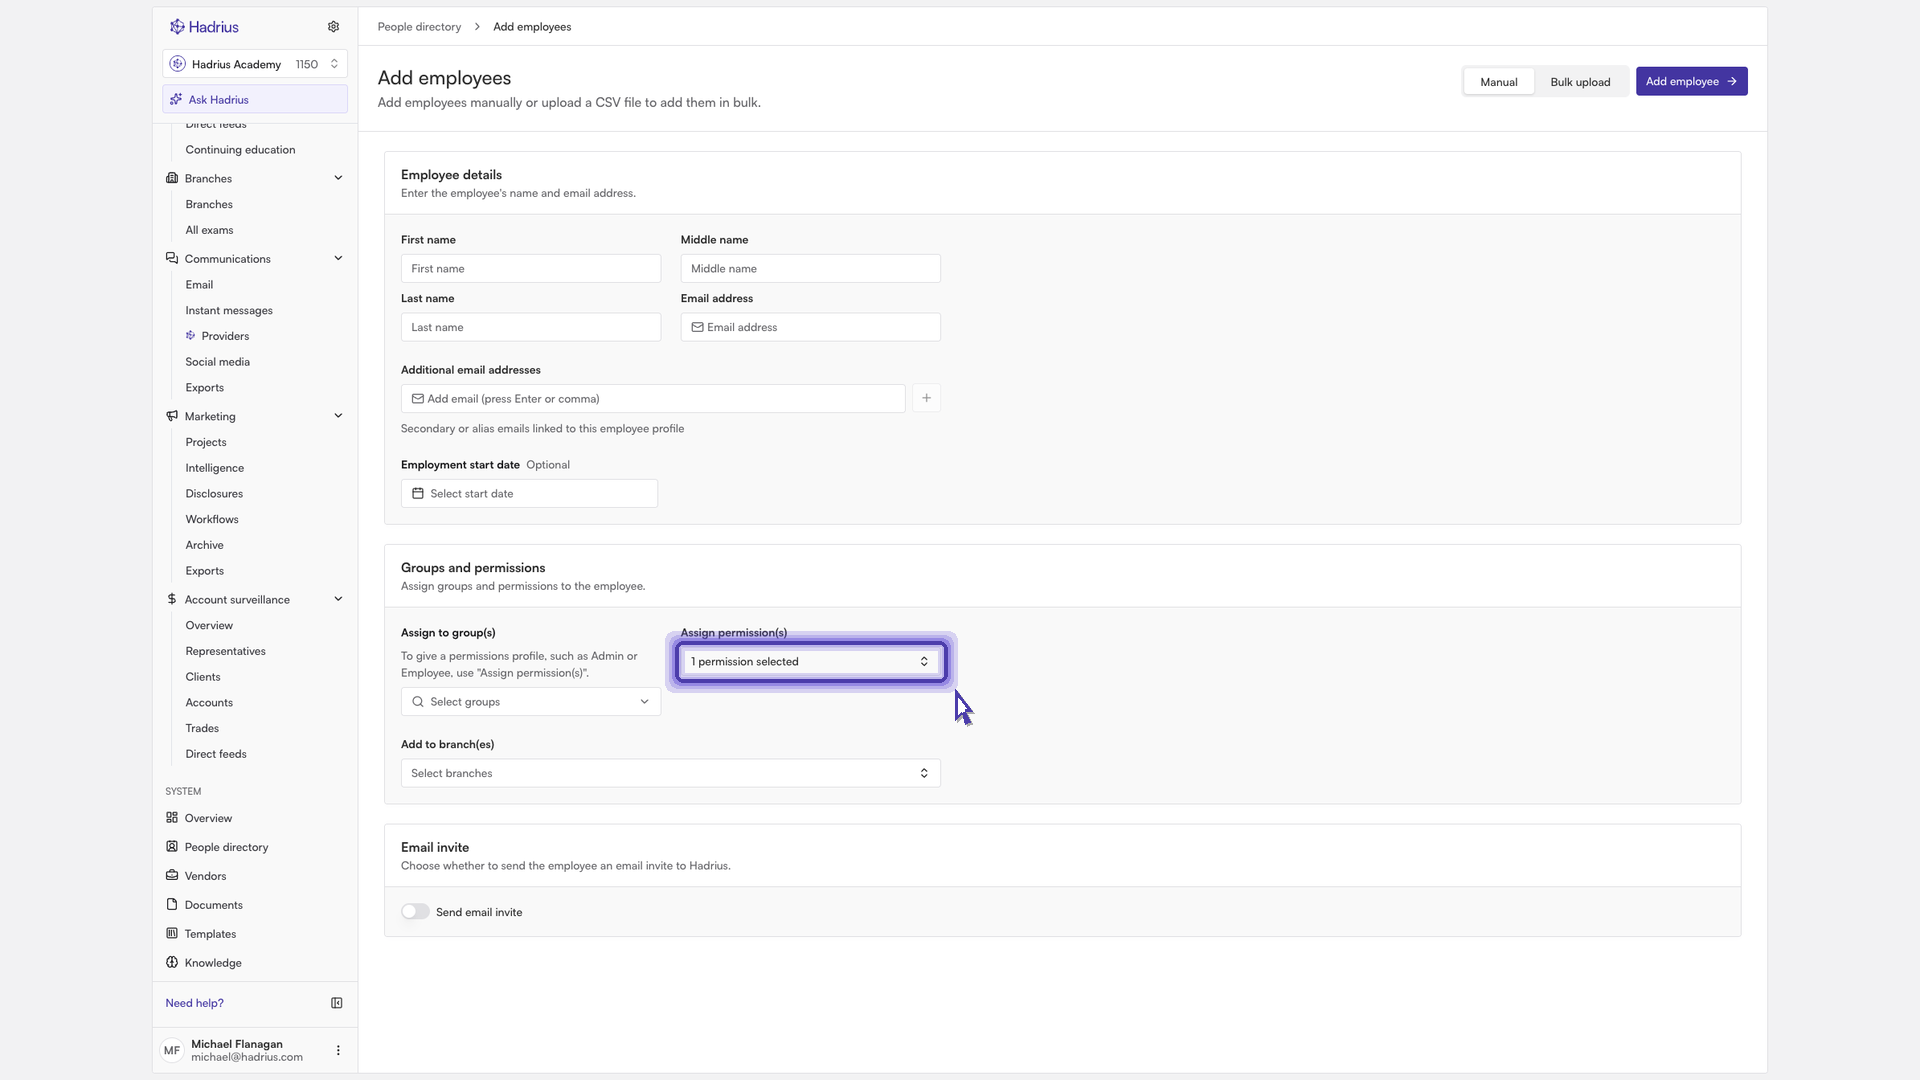
Finally, use the Send email invite toggle to control whether the new employee receives an invitation email right away. Turn it off if you'd rather add the record now and send the invitation later. When everything looks right, click Add employee to create the record.
Step 2b: Adding employees in bulk
If you choose Bulk upload instead, start by clicking Download CSV template. This gives you a file with the exact columns the platform expects for each employee, so you can fill it in without guessing at formatting.
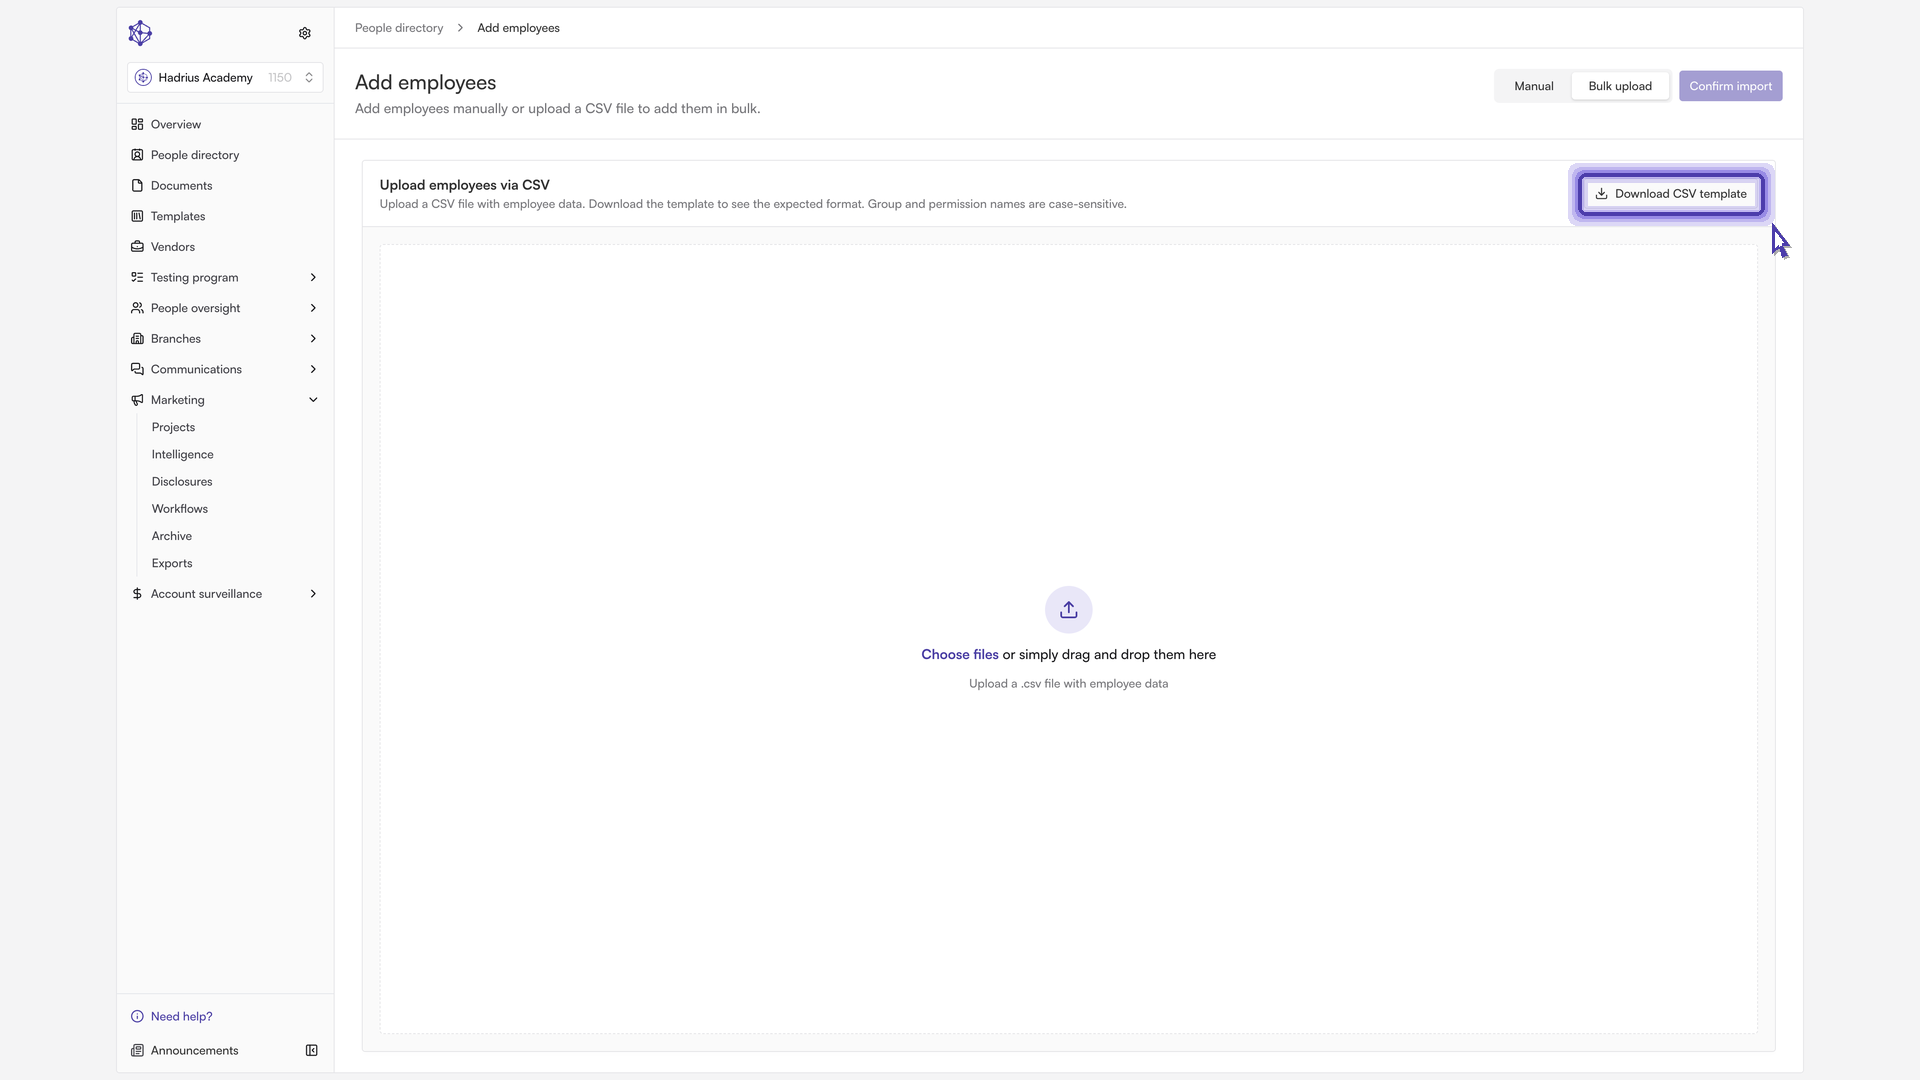
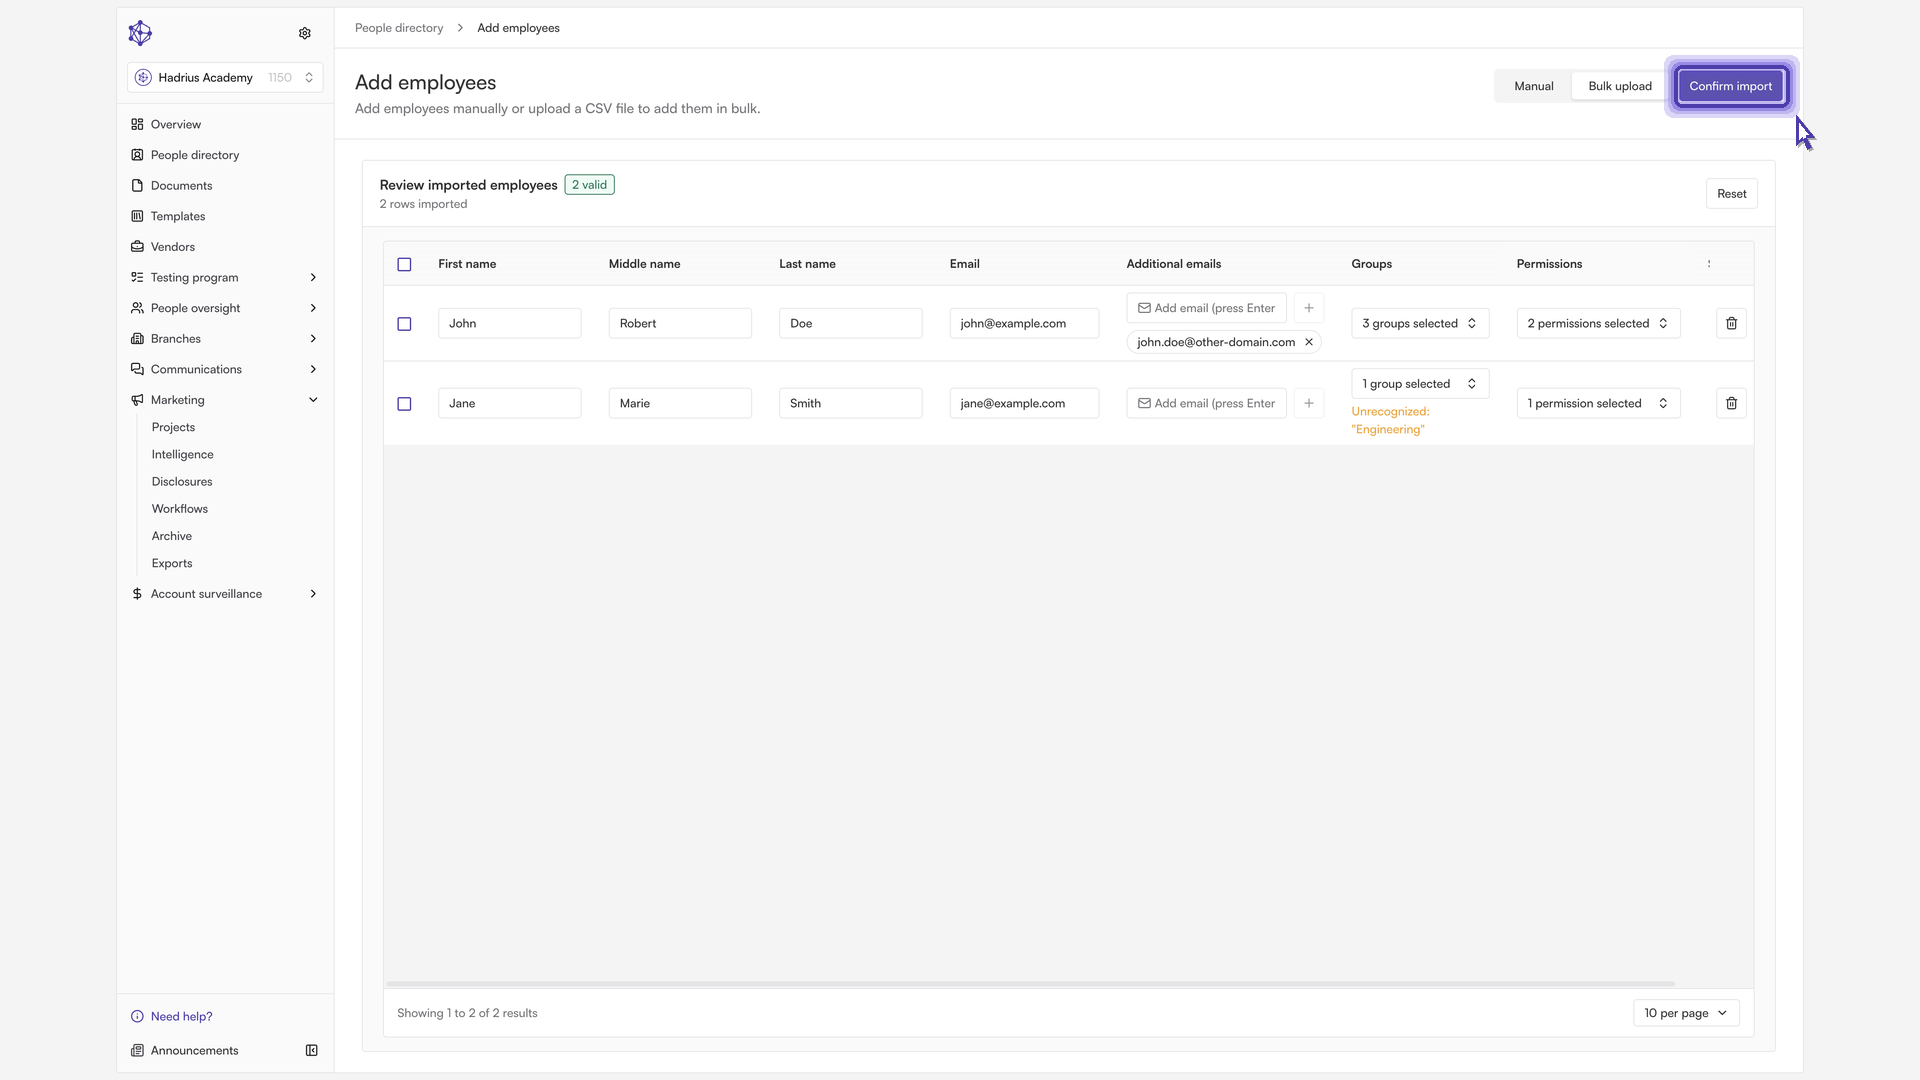
Once the template is filled out, upload the completed file. The platform reads every employee's details in a single pass and shows you a review screen with the results. Any rows with missing or flagged details — such as a formatting issue or a duplicate email within the file — are called out here so you can correct them before anything is created.
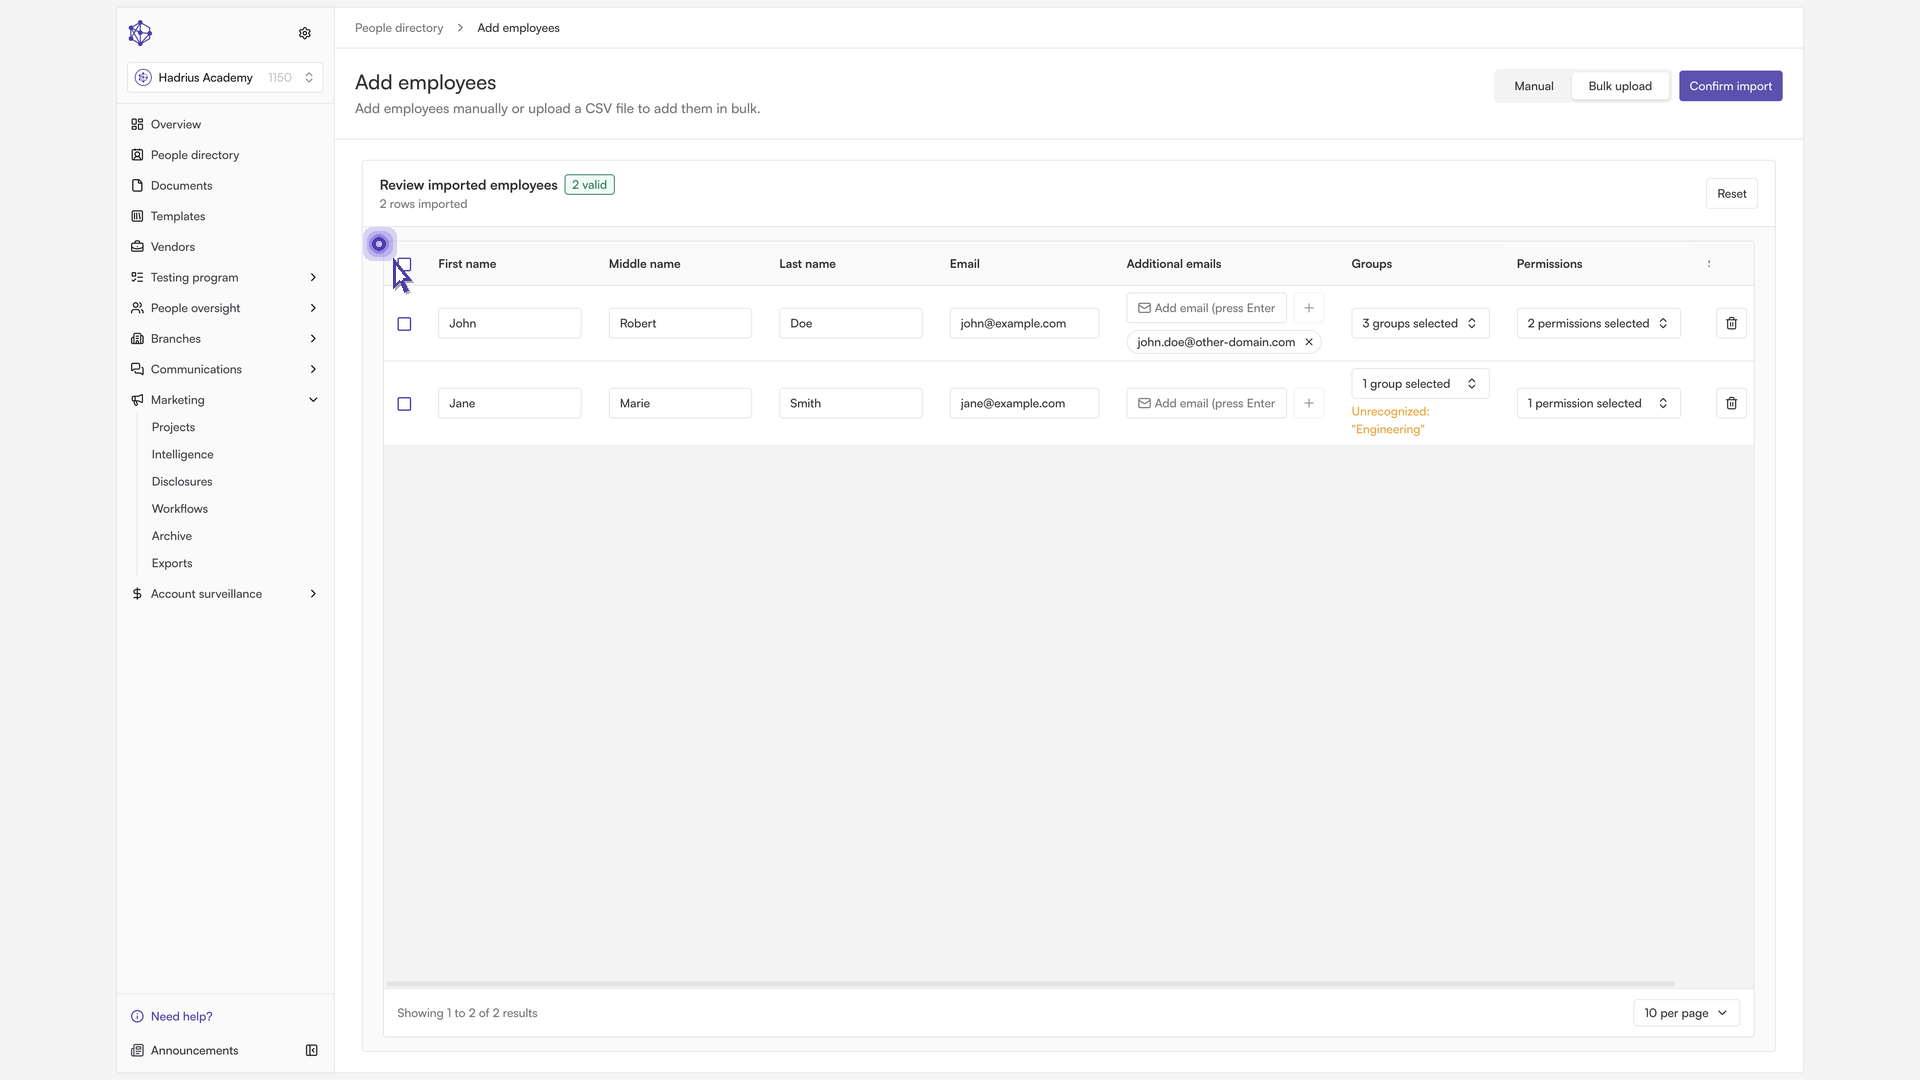
When you're satisfied with the review, click Confirm import. The platform checks each row against your existing employee records — for example, flagging an email address that's already in use — before creating any new employees, so you won't end up with duplicate records.
Finding employees afterward
Once your new employees are added, you can find them from the People Directory's search bar — typing a name narrows the list to exactly who you're looking for. The People Directory link in the navigation always brings you back to the full list if you need to start over or check on someone else.
What happens next
Employees added with the invite toggle on will receive an email invitation to set up their account. Employees added without an invitation, or added in bulk, can be invited later from their individual record in the People Directory.