Making Changes to a Certification Campaign
Last updated: October 17, 2026
When you edit a certification campaign, you can change its name, who receives it, and its schedule without rebuilding it. This article covers editing an existing campaign. You might do this when you need to add employees who weren't part of an earlier round, set an end date for a recurring campaign, or give employees more time to submit.
Open the campaign for editing
Go to Certifications. Every campaign your firm runs is listed here.
Find the campaign you want to change, open its options menu and select "Edit campaign". Archived campaigns can't be edited, so this option doesn't appear for them.
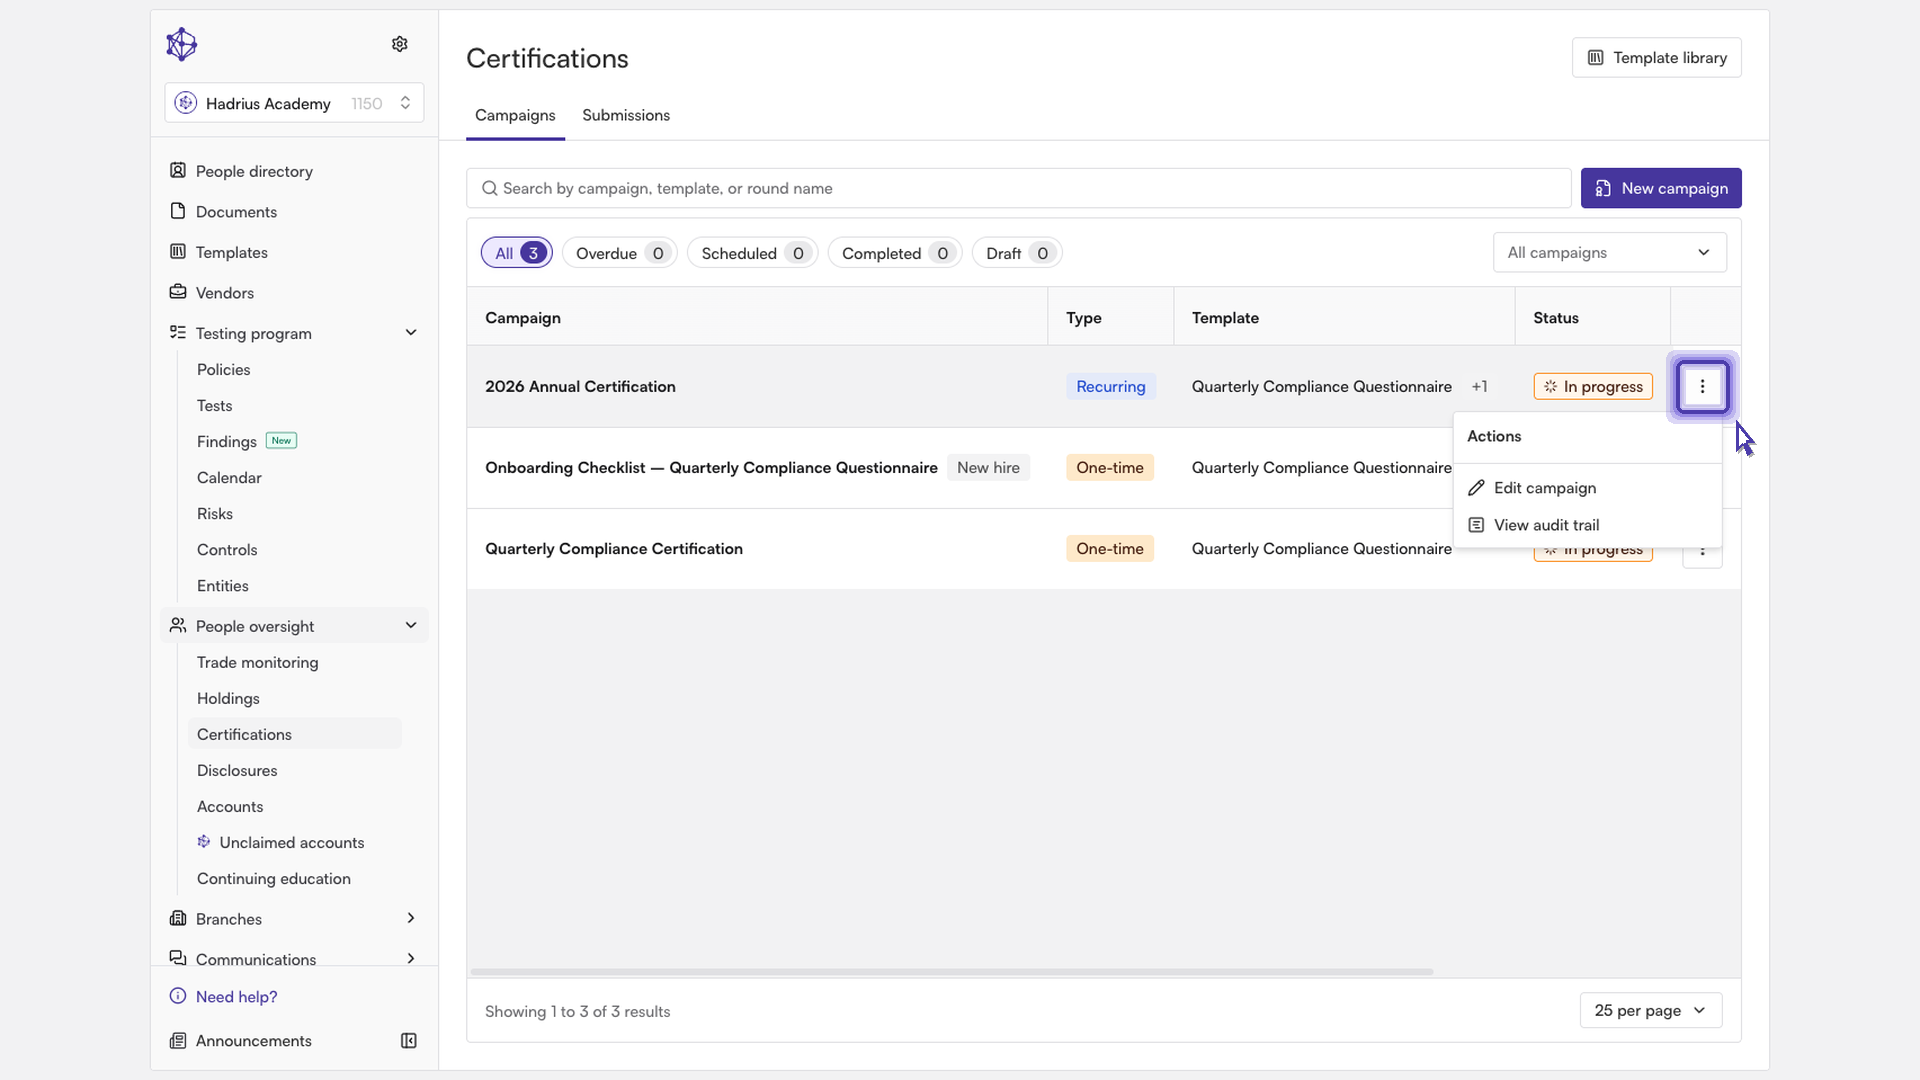
Editing a campaign opens the same guided setup you used to create it, with all of the campaign's current settings filled in. The page header shows "Currently editing" with the campaign's name. You can move between the steps with the next button or "Previous". To leave without saving, click "Cancel".
Step 1: Campaign details
The first step covers the basics. To update the campaign name, edit it here. Choose a name that will be easy to recognize in your list of certifications and in your employees' tasks.
Step 2: Campaign audience
On the audience step, search for the groups or individual employees who should certify, and add them to the campaign. For example, you can add employees who didn't receive the previous round so they're included in the next one.
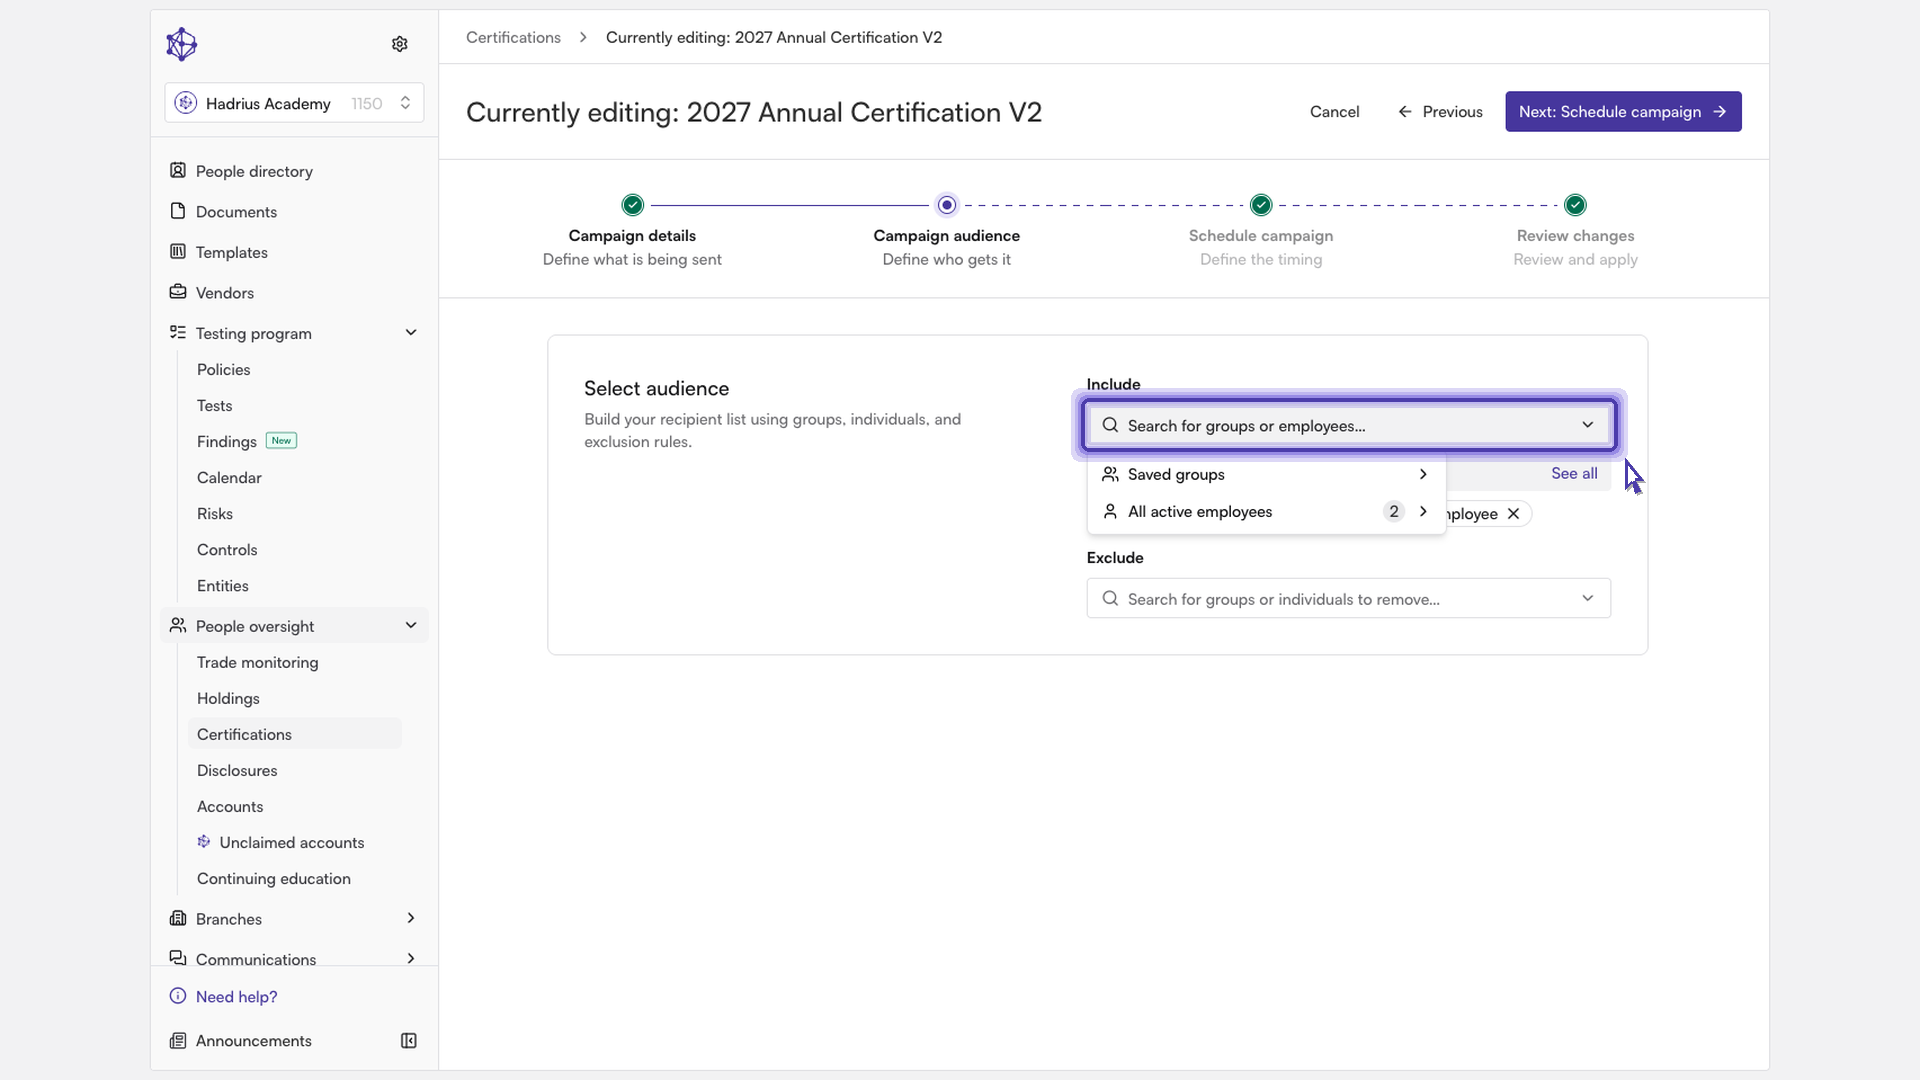
Three settings work together to decide exactly who receives the campaign:
Included groups: everyone in the selected groups.
Included employees: specific people you add one by one.
Exclusions: groups or employees who should not receive the campaign, even if they would otherwise be included.
Step 3: Schedule campaign
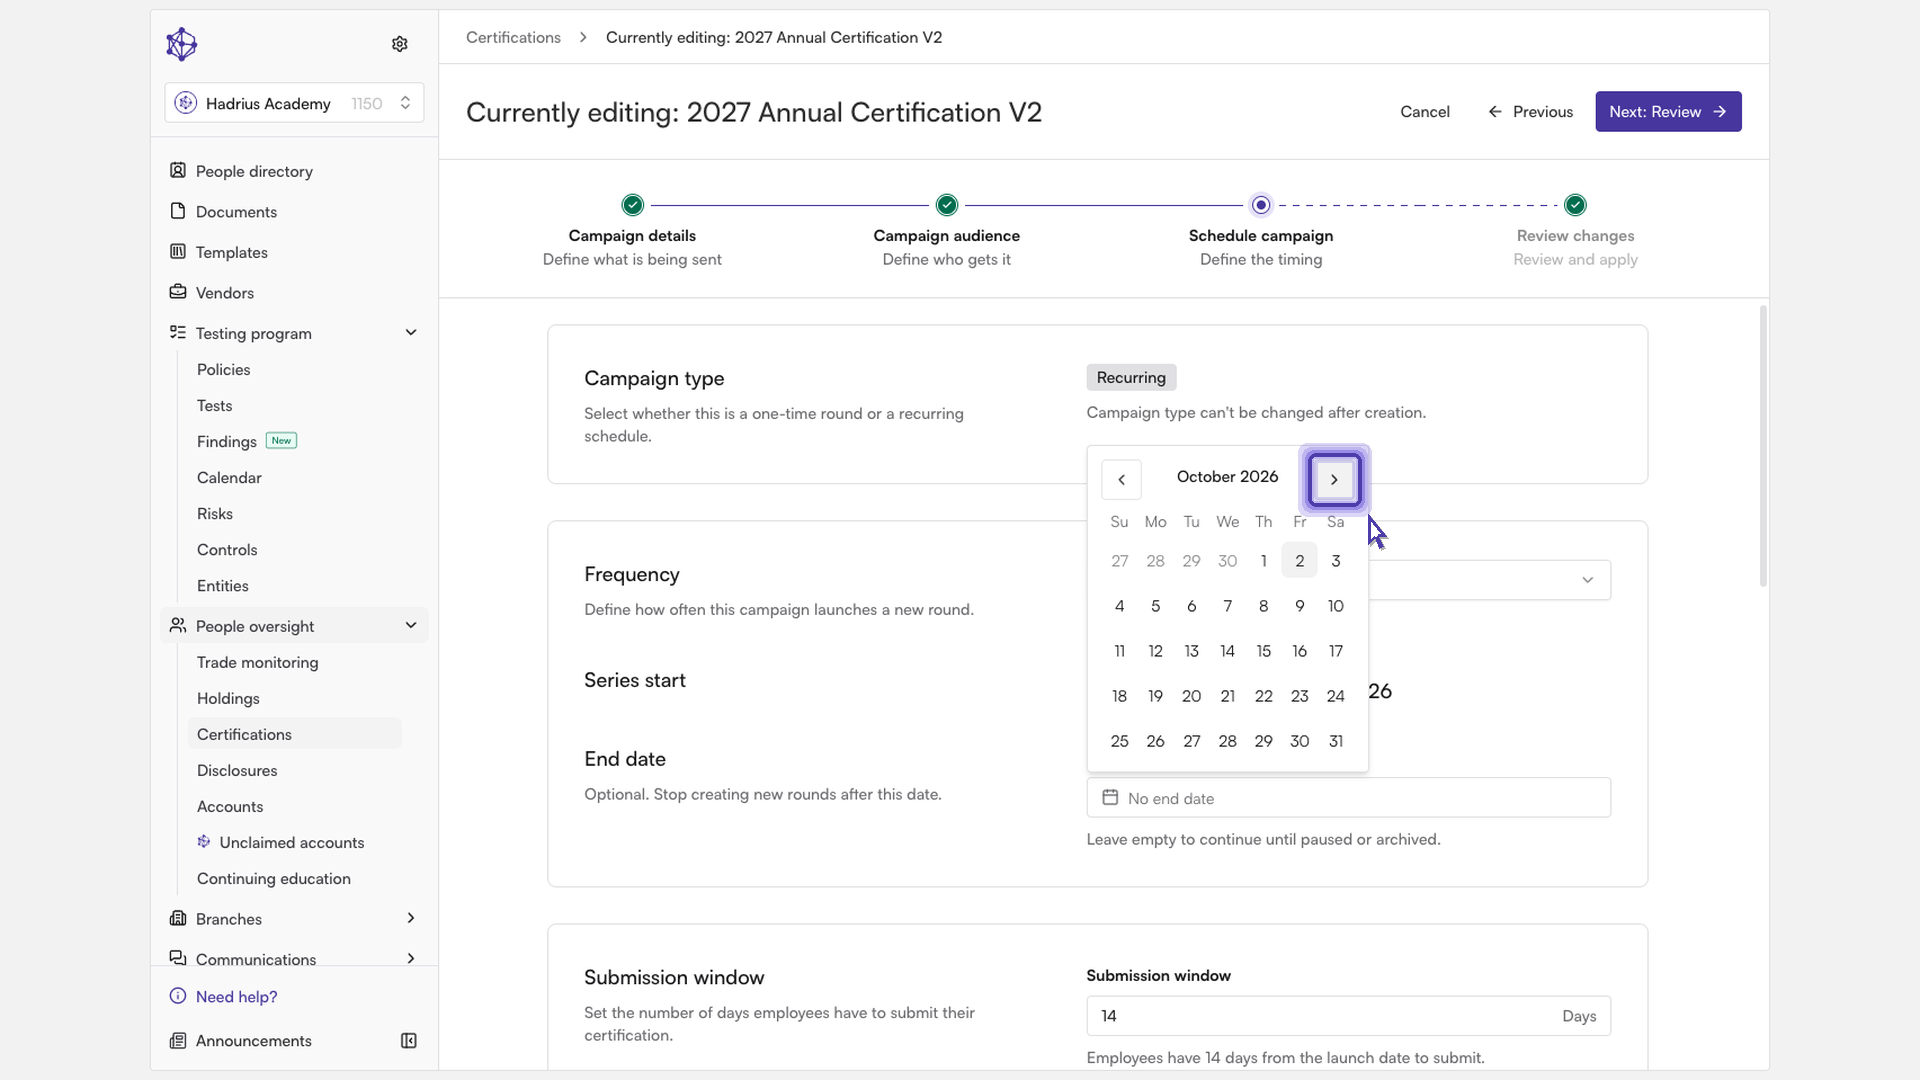
The scheduling step controls when certification rounds are created and how often. A campaign is either One-time (a single, ad hoc round) or Recurring (new rounds created at a set frequency, such as monthly, quarterly or annually).
End date: This setting is optional. If a recurring campaign has no end date, the field shows "No end date" and the campaign keeps creating rounds indefinitely. To stop it after a certain point, pick an end date. Once that date passes, the platform stops creating new rounds. The end date can't be earlier than the campaign's first start date.
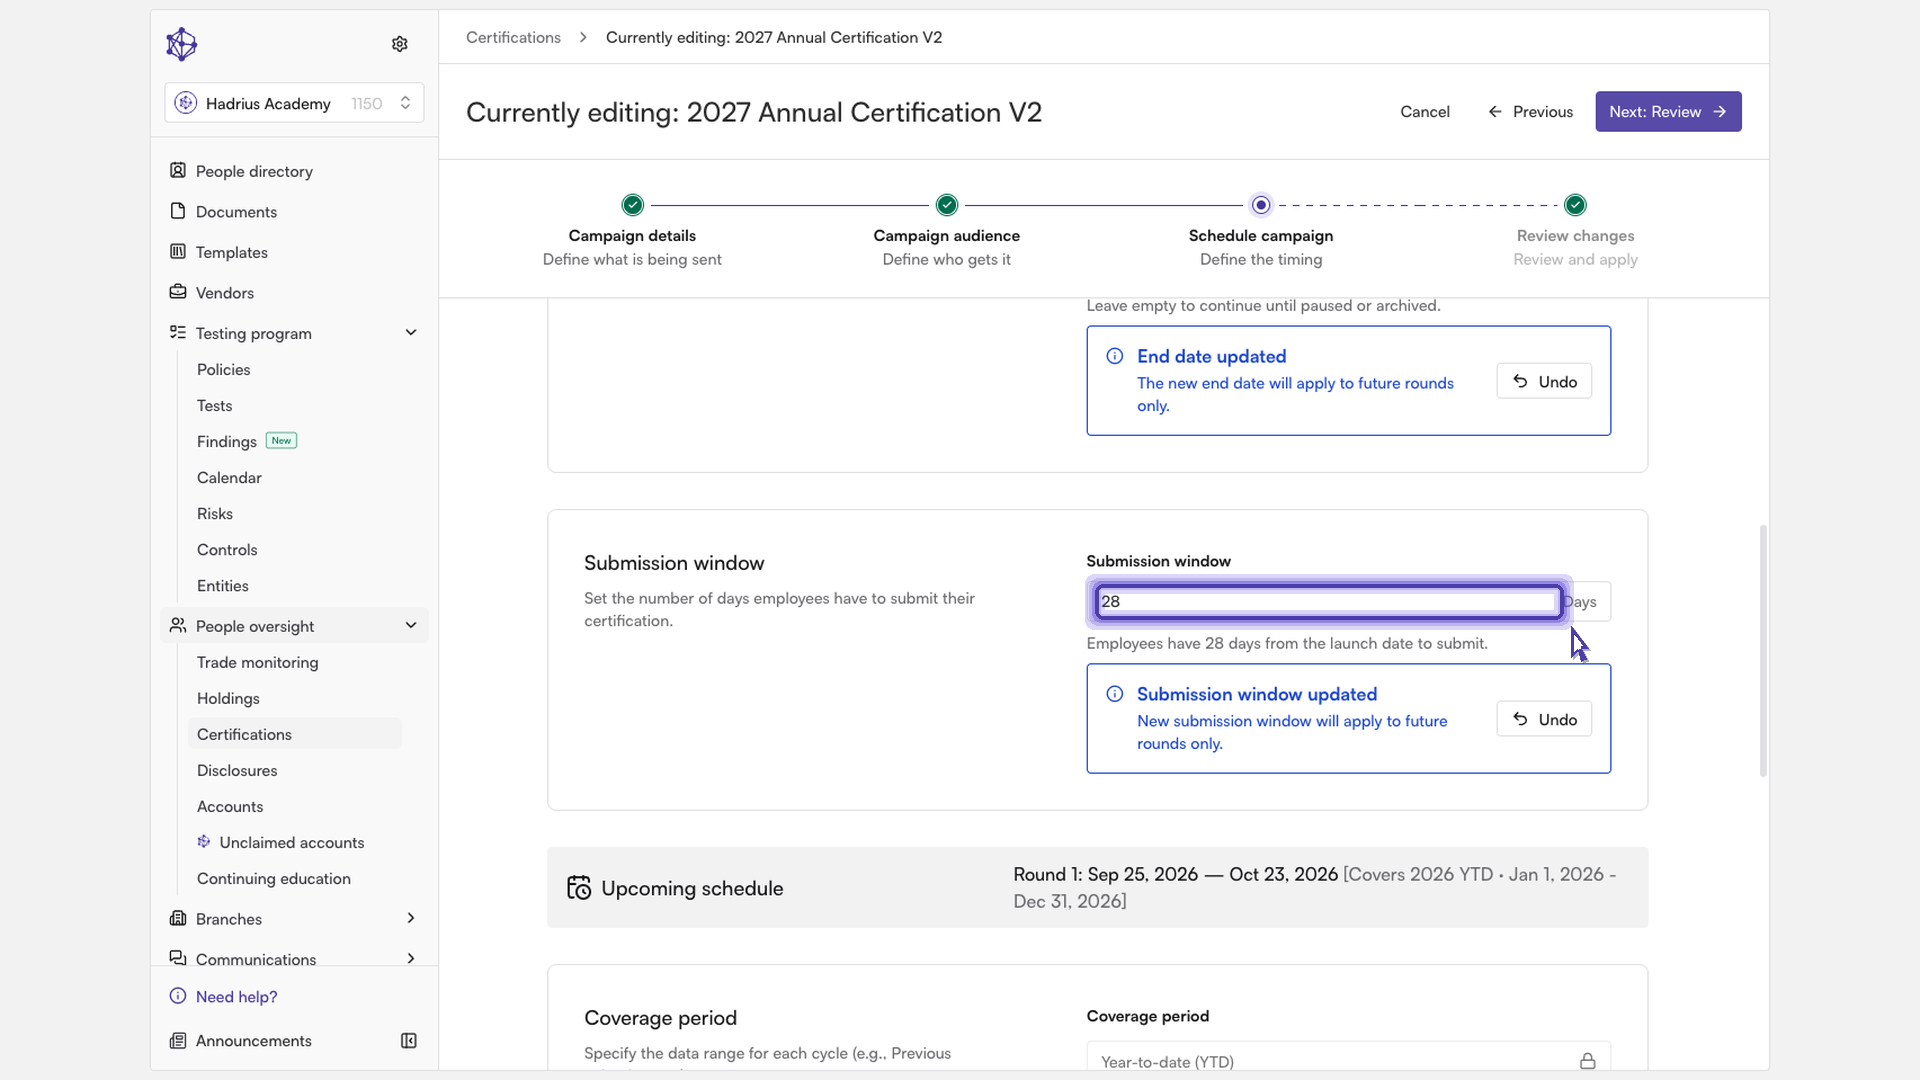
Submission window: This is the number of days employees have to complete each certification, counted from the launch date. For example, you could change it from 14 days to 28 days to give employees more time. When you change it, a "Submission window updated" message confirms that the new window applies to future rounds only. If you change your mind, click undo to restore the previous value.
Step 4: Review changes
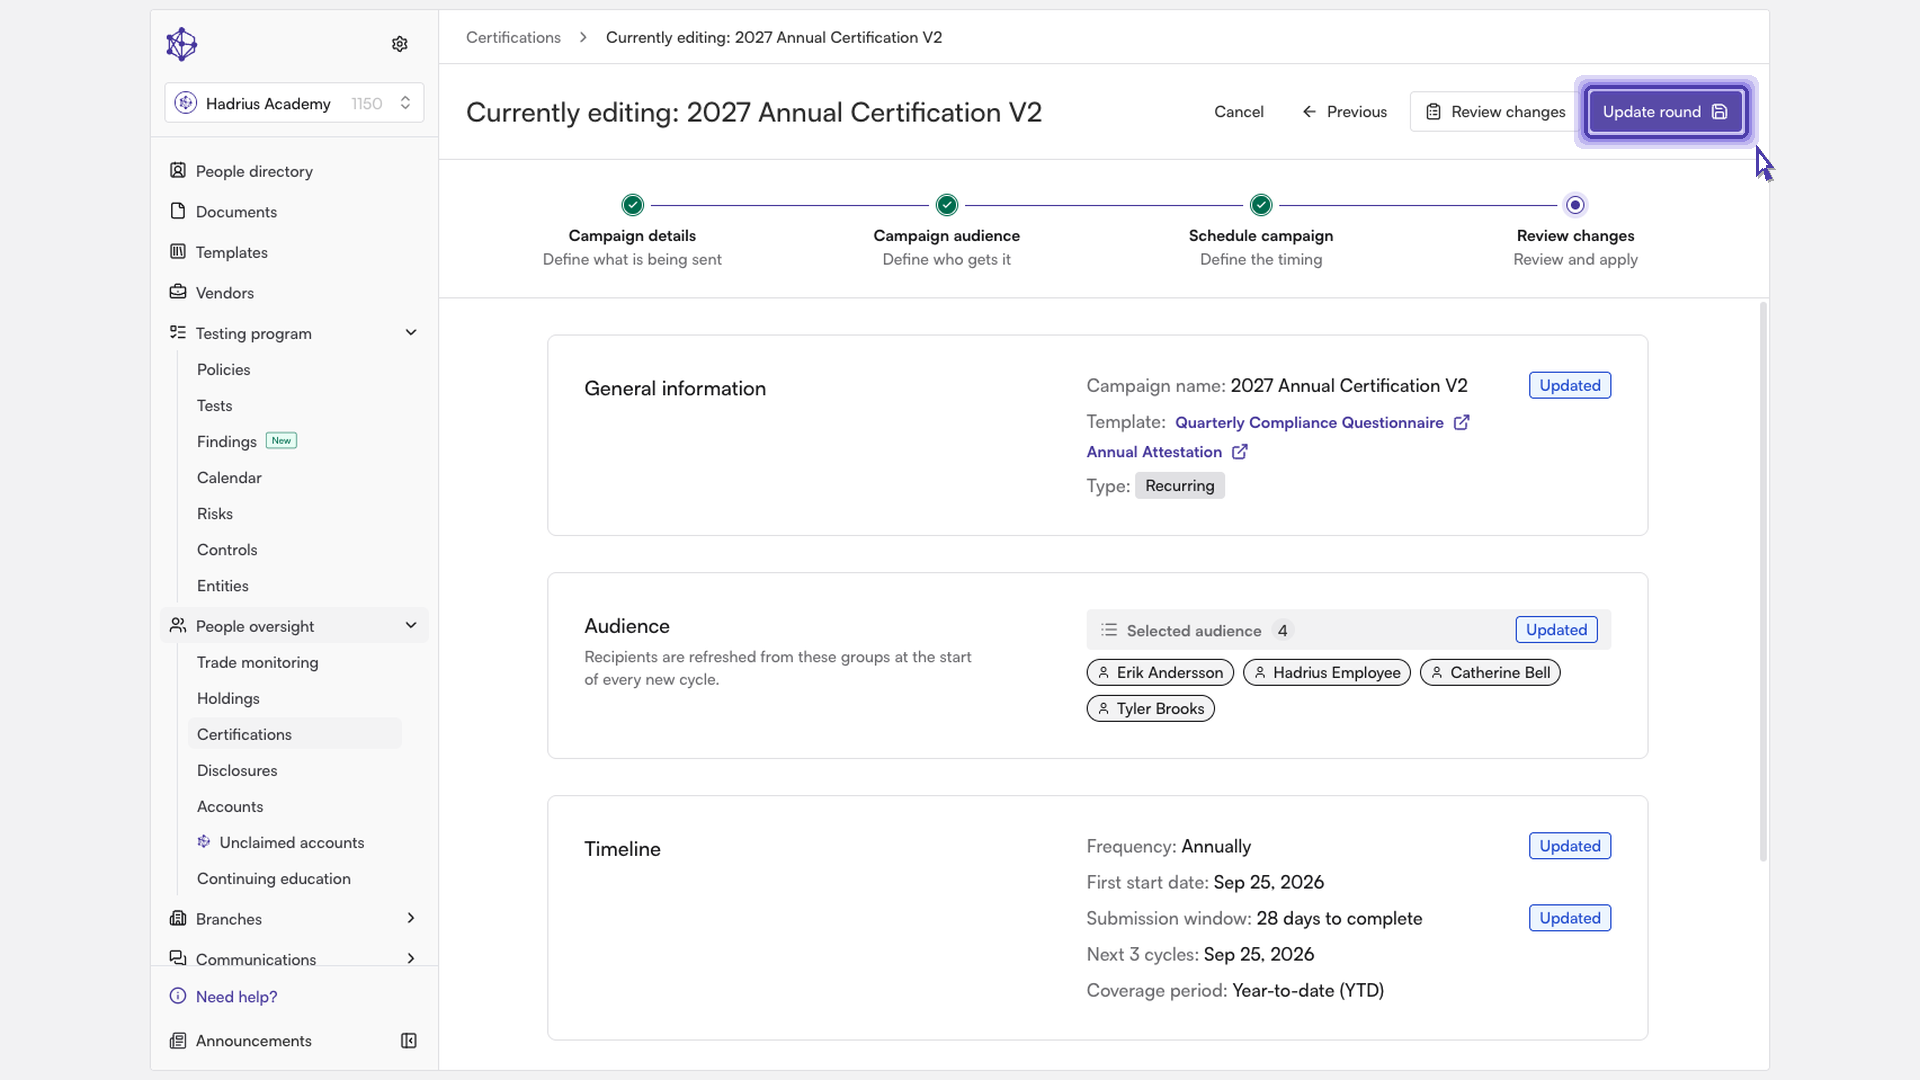
The review step shows the campaign's full configuration on one screen, including any changes you made. Check that the name, audience and schedule are correct, then click "Update round" to save. The button stays disabled until you've made at least one change.
What happens next
A "Campaign updated" message confirms your changes have been saved. Schedule changes such as a new end date or a longer submission window apply to future rounds. Any round already in progress continues on its original timeline.