How to add a dataset of filtered communications to a case
Last updated: October 17, 2026
Use this workflow when you need to gather a specific, filtered set of communications — for example, everything from a particular date range or matching certain criteria — and attach that curated dataset to a case for review. This process starts from an existing case and results in a searchable, saved dataset containing the exact messages relevant to your review.
Step 1: Open the case
Start from your list of cases for the company. Open the case you want to work in — this brings you to the case's detail view, where you can see everything already gathered for that case, including existing datasets, members, and notes.
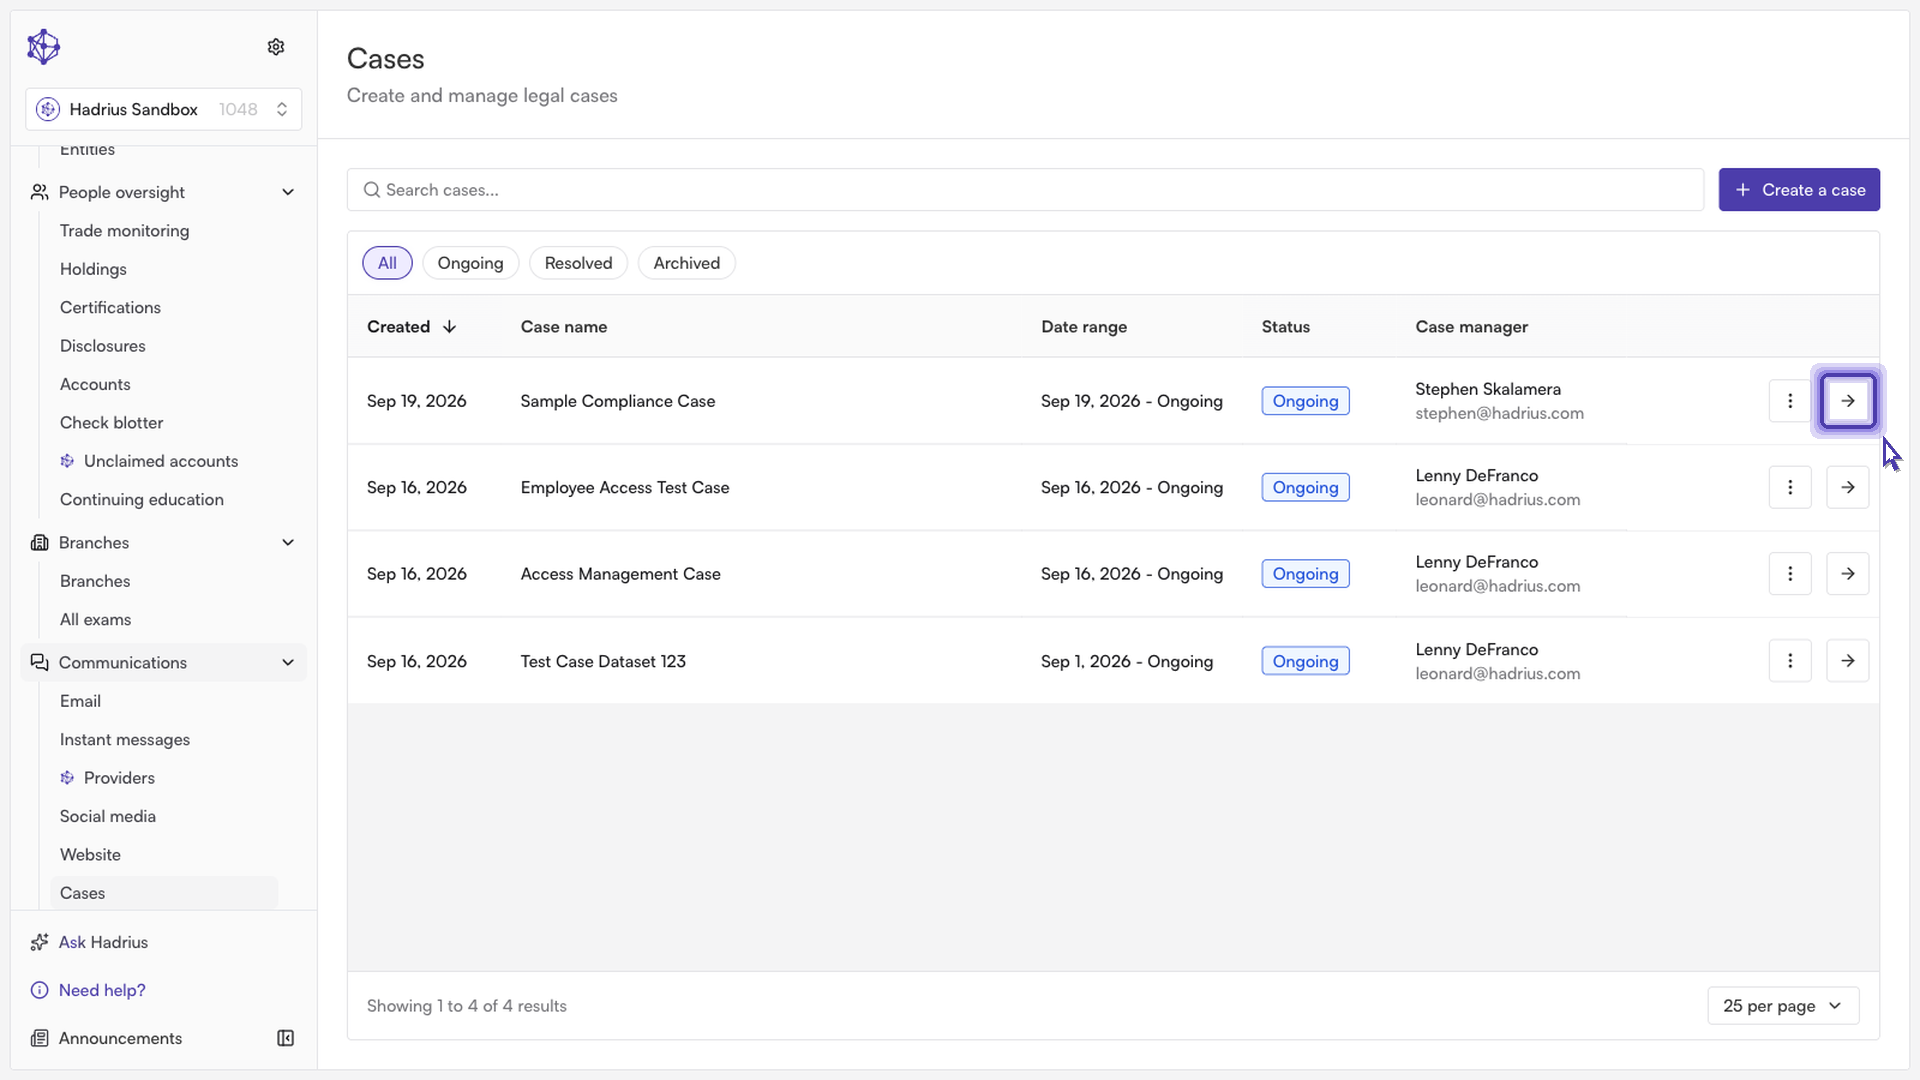
Step 2: Start a new dataset
From the case's Add datasets option, choose to create a new dataset. In the dialog that appears, give the dataset a name — this is the folder name that will identify it inside the case later, so pick something descriptive. Names must be unique within the case; if you reuse an existing dataset's name, you'll be prompted to choose a different one. Click "Next: add filters" to continue.
Step 3: Choose a communication type and set your filters
Next, choose whether this dataset will pull from Emails or Instant messages — this determines which filter options are available in the steps that follow.
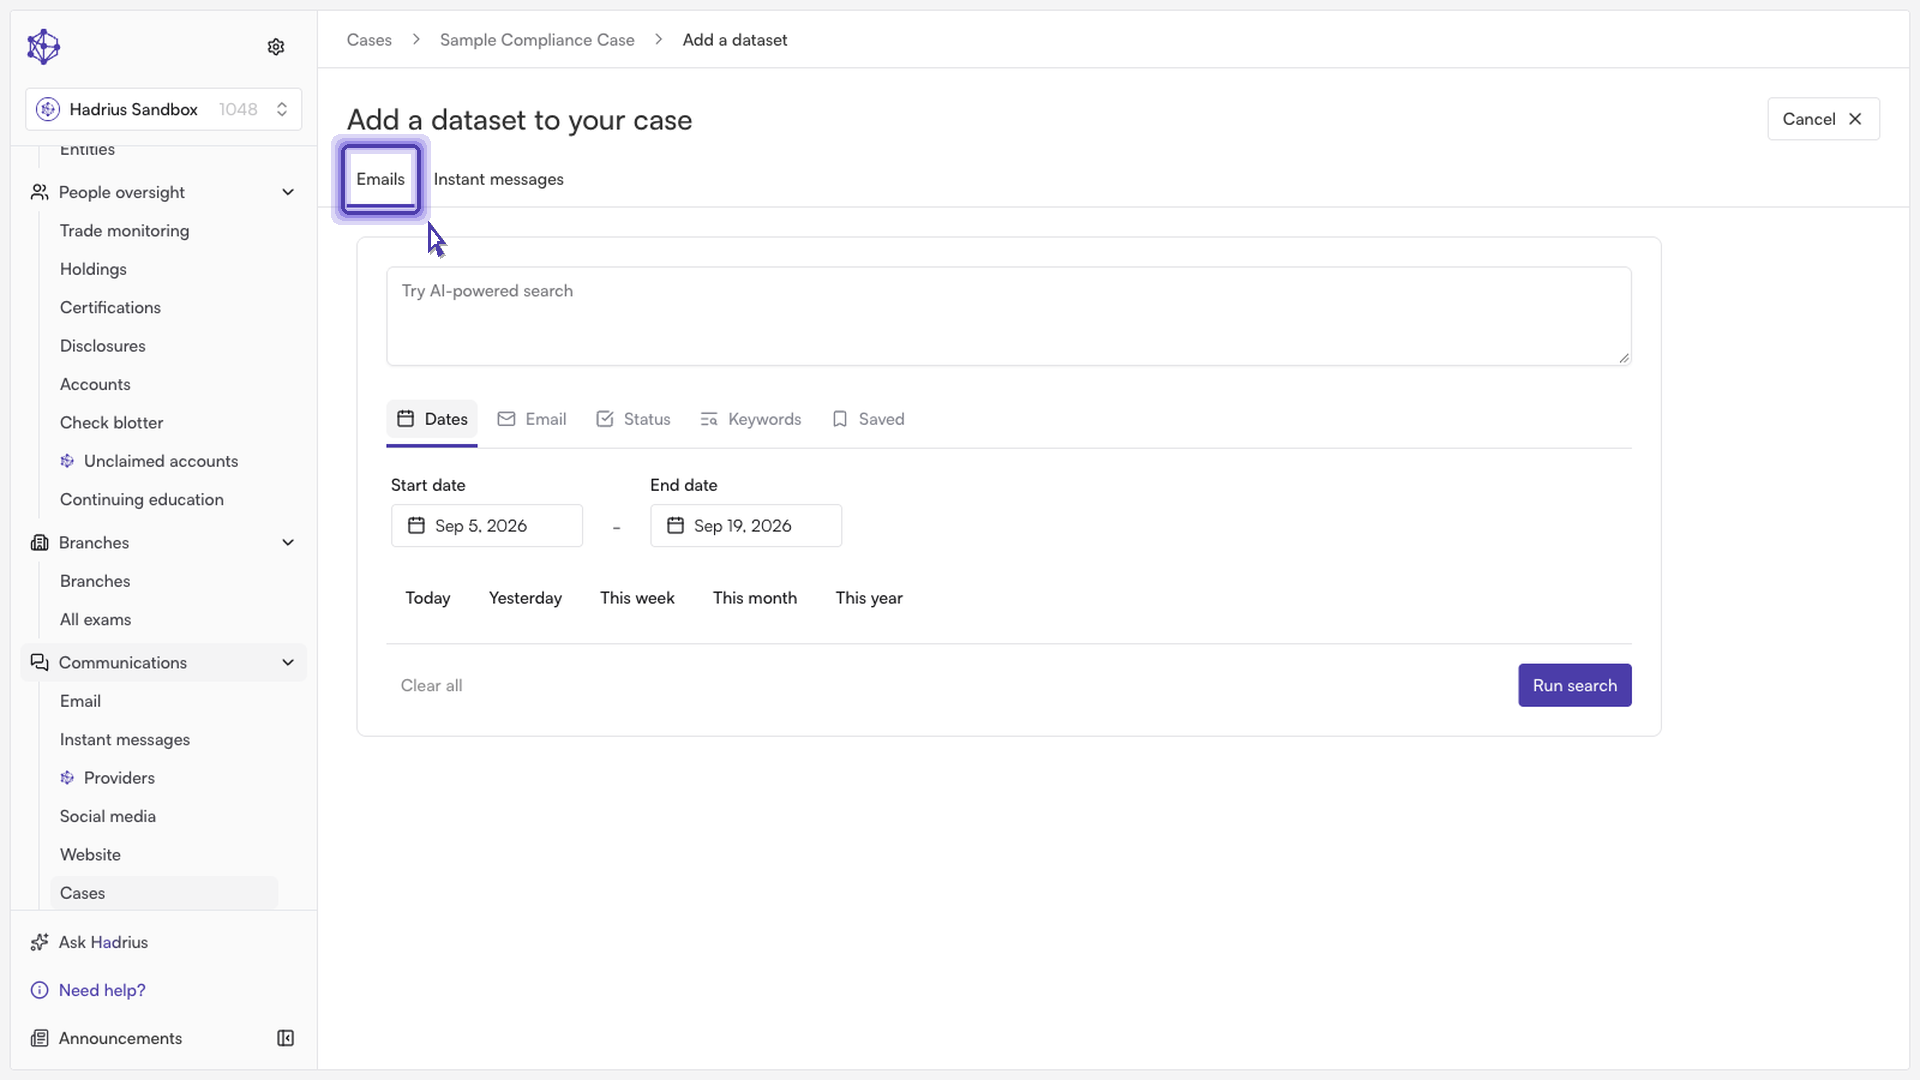
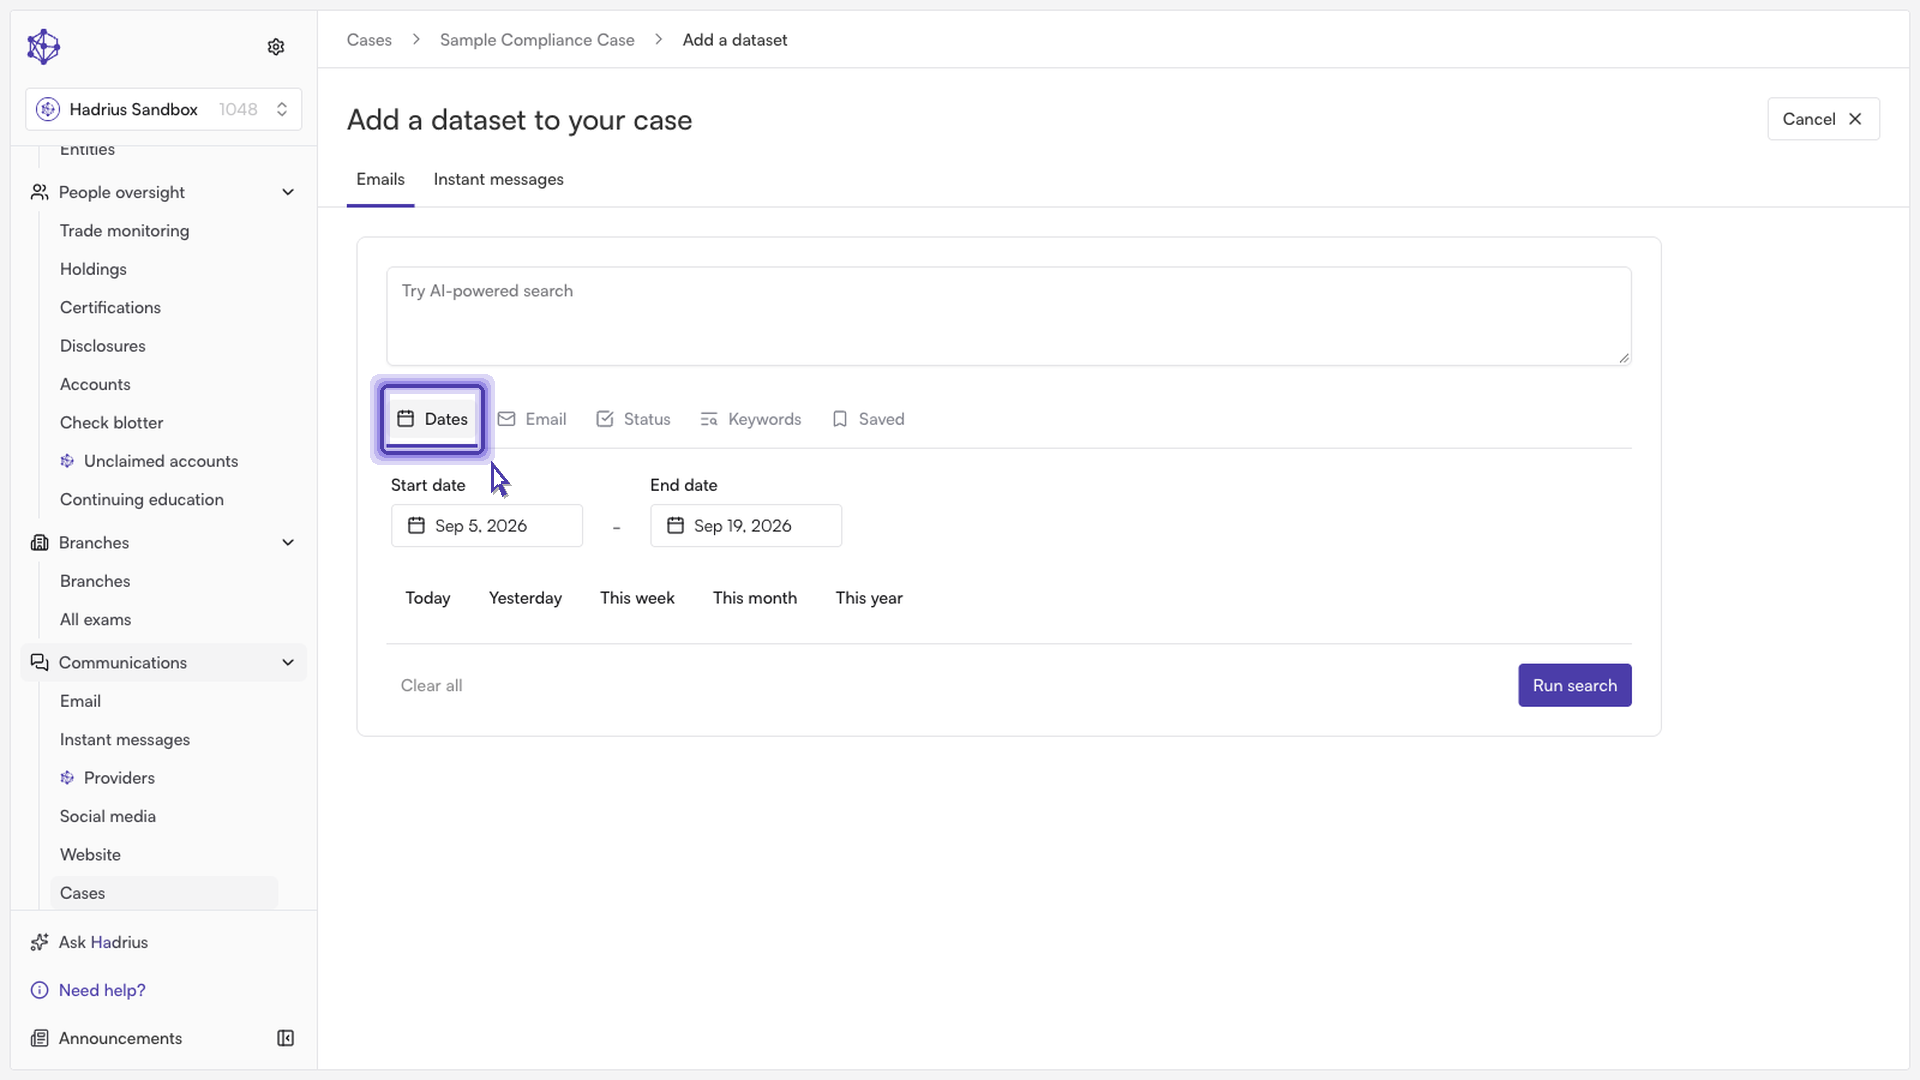
With a type selected, use the filter tabs to narrow down the result set. The Dates tab lets you set a start and end date to define the window you want to search — for example, setting an early start date if you need to search back several years. Additional tabs let you filter by participants, keywords, review status, and other criteria depending on whether you're working with emails or instant messages.
Step 4: Save the filter (optional) and run the search
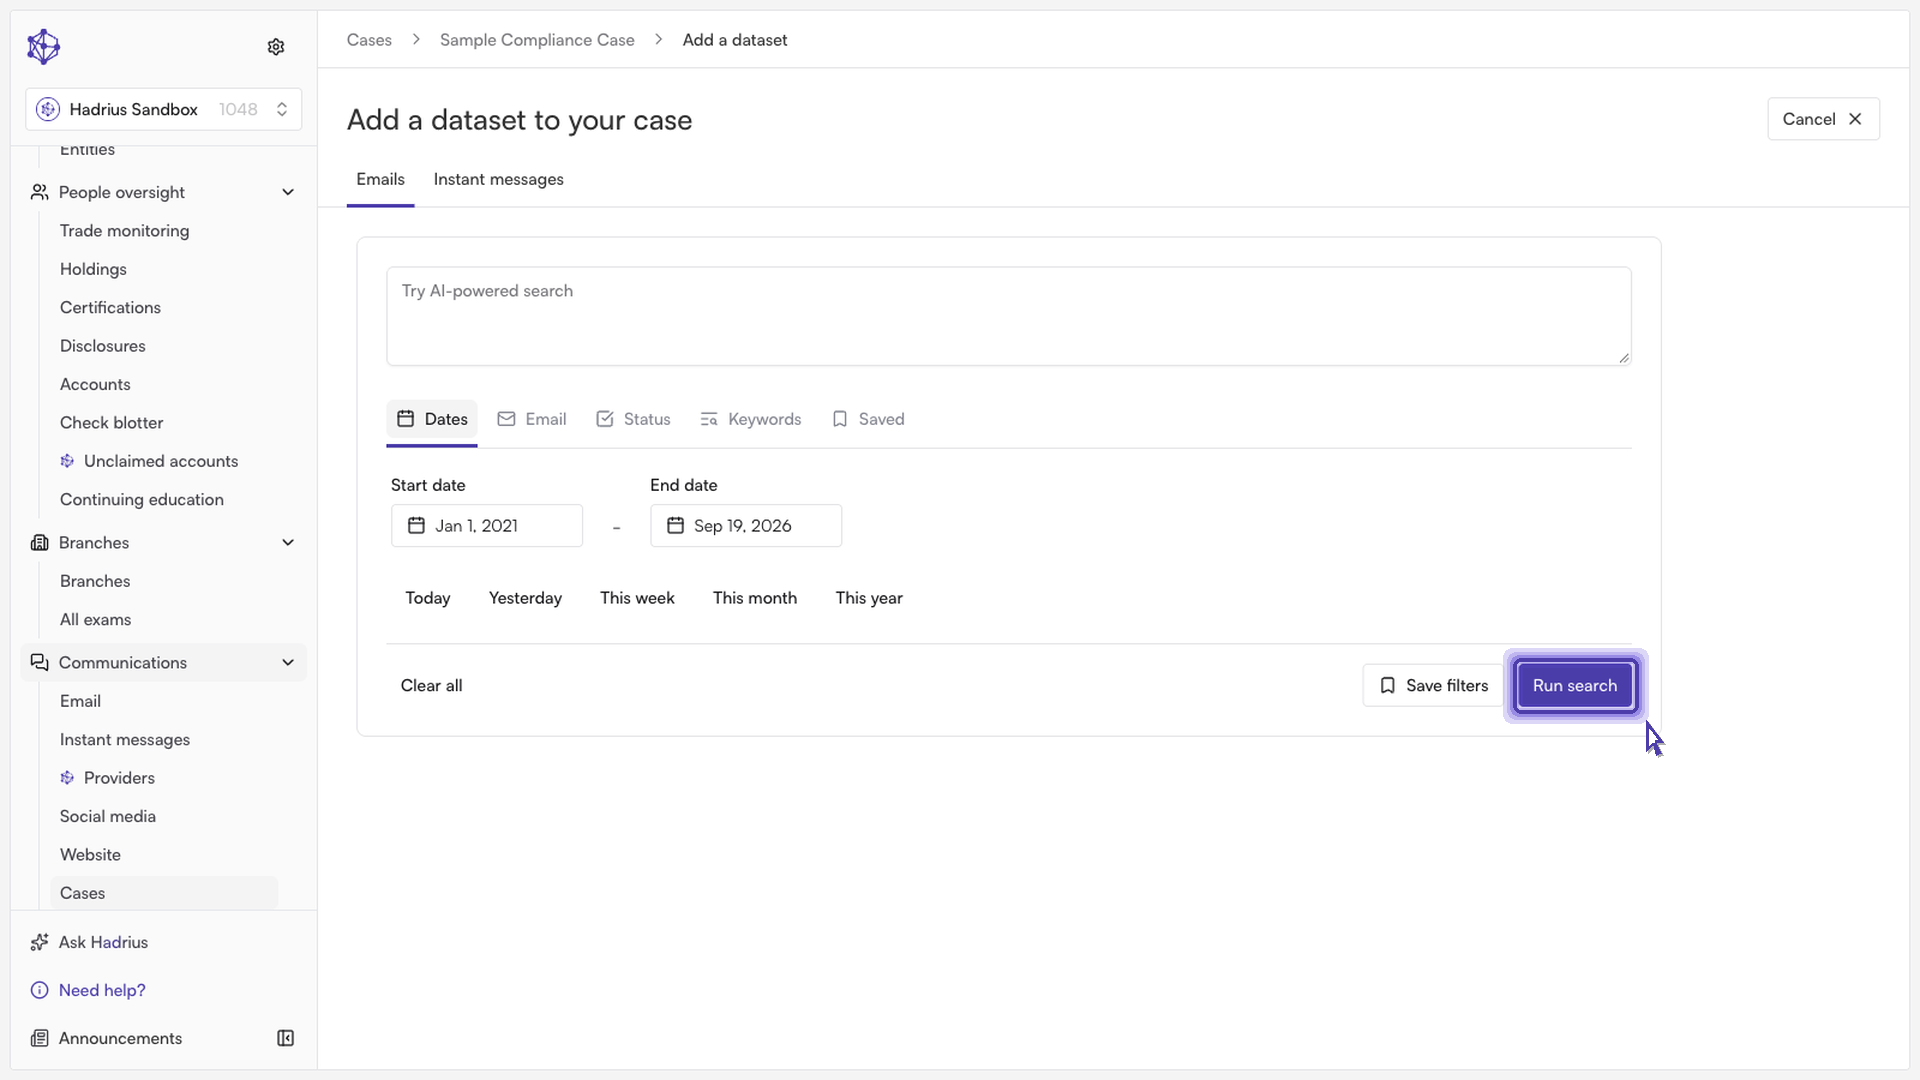
If you expect to reuse this exact combination of filters later, click "Save filters" and give it a name before running the search — this stores it as a reusable, named filter you can select again from the Saved tab in future searches. Saving a filter is optional and only appears once at least one filter has been applied; it does not add anything to the case by itself.
When you're ready, click "Run search" to execute the search and move to the results page. Take a moment to review your filter settings before finalizing, since you can always go back and adjust them if the results don't look right.
Step 5: Review results and add to the case
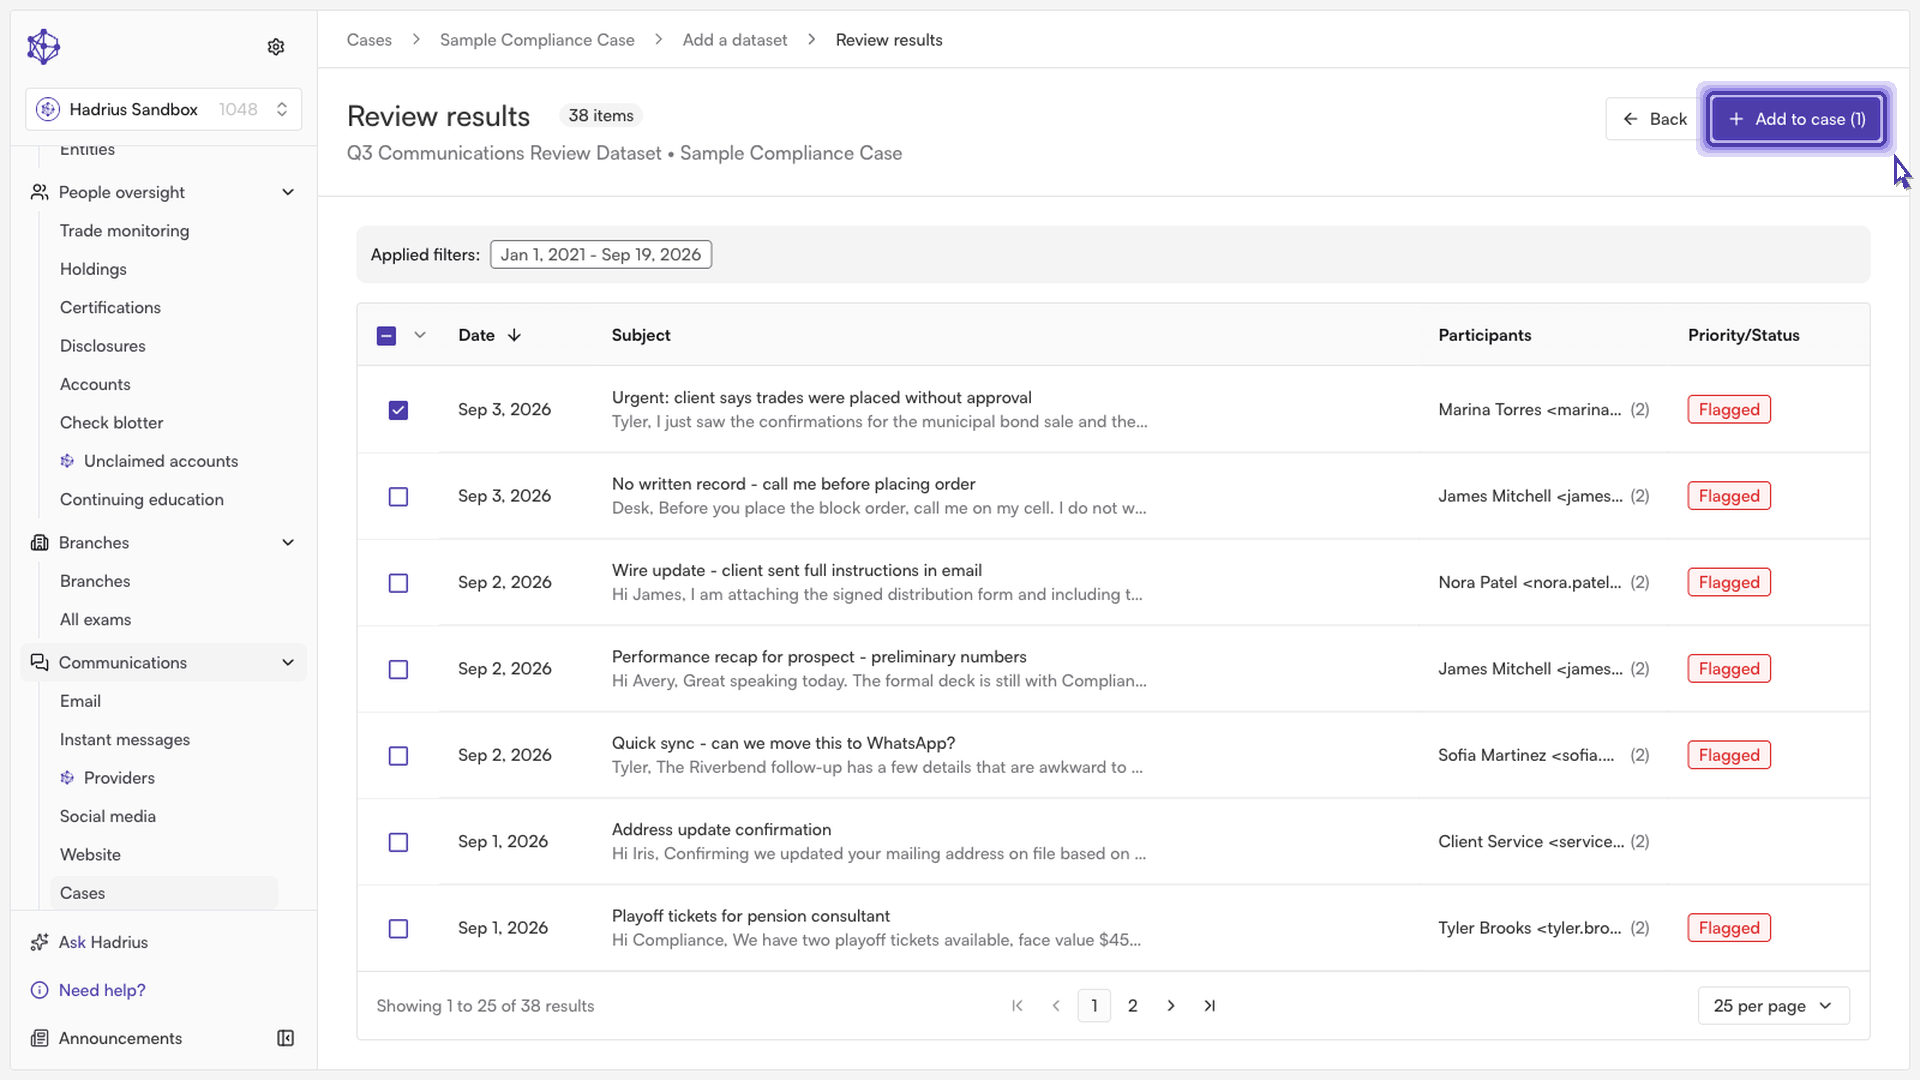
The results page shows every communication matching your filters, along with a running total. From here you can select individual messages, select an entire page, or select all matching results across every page (with the option to exclude specific messages even when "all" is selected). The "Add to case" button shows a live count of your current selection and stays disabled until at least one item is selected.
Clicking "Add to case" saves your selections as the dataset, attaches it to the case, and returns you to the case's Datasets tab, where the new dataset now appears alongside its message count.
What happens next
Once a dataset is saved, it's listed under the appropriate Email or Instant messages section of the case's Datasets tab, where it can be opened for review, renamed, edited to adjust its filters, or deleted. Every dataset creation, update, or deletion is recorded in the case's audit trail.