How to resolve a finding
Last updated: October 17, 2026
Findings are the follow-up items raised when a test uncovers something that needs attention. A finding doesn't block the underlying test from completing, so it stays open in the register until someone actively resolves it. Use this workflow whenever you need to locate an open finding, review or update its details, and formally close it out.
Step 1: Open the Findings overview
From the Findings page, you'll first land on an overview of entities, each showing how many findings are currently open and how many are overdue. This gives you a quick read on where attention is needed before drilling into any one entity.
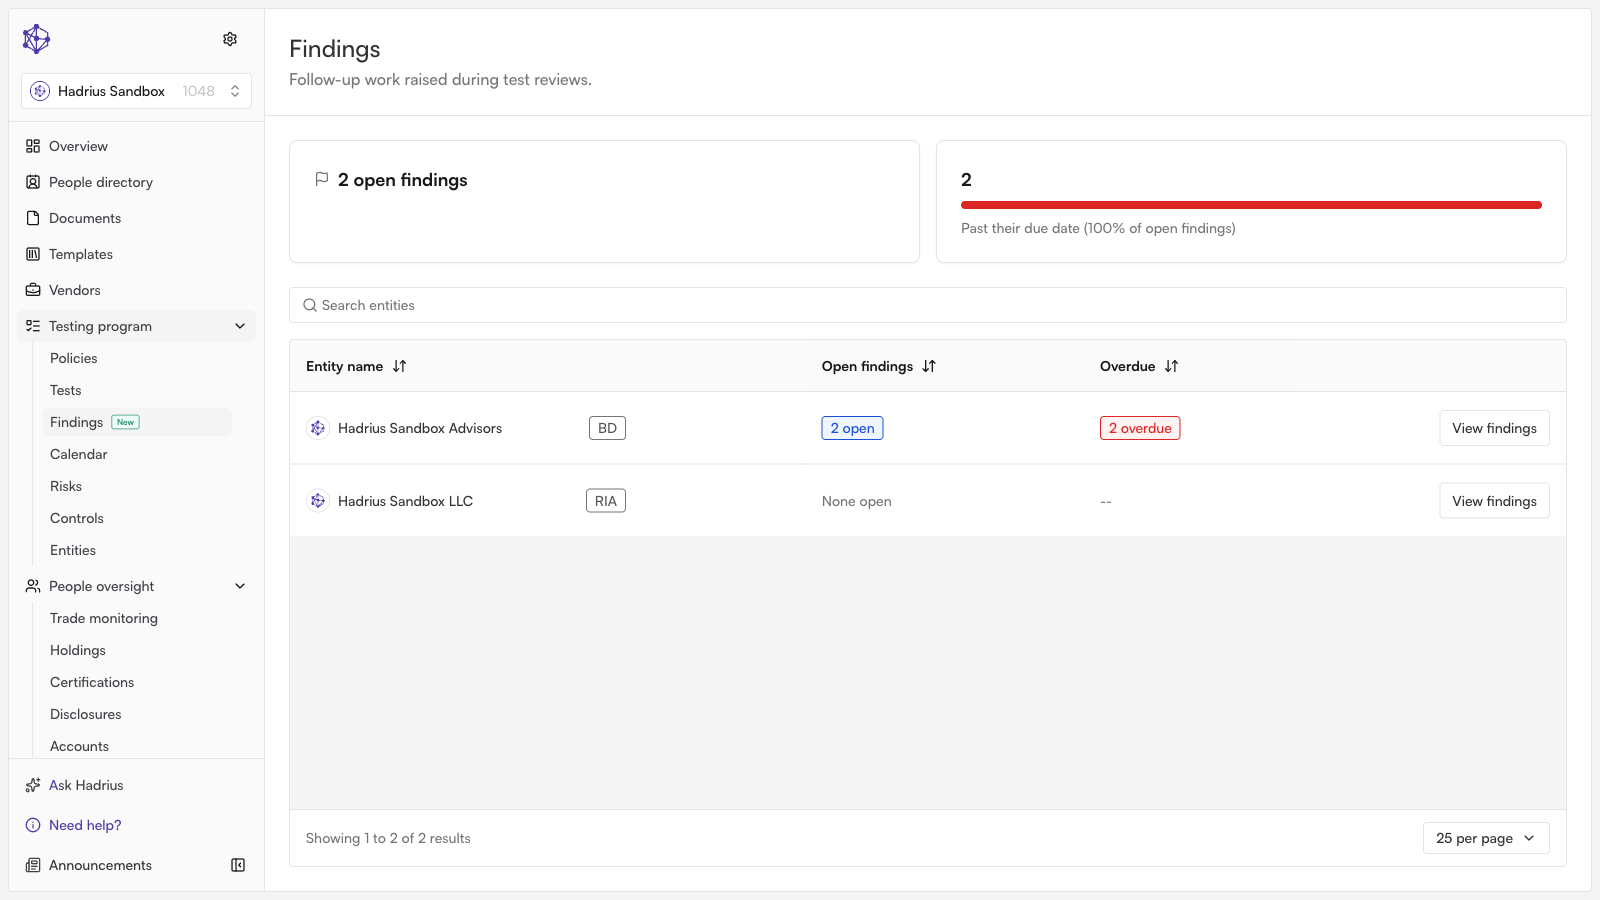
Click "View findings" on the entity you want to review. This takes you into that entity's findings register.
Step 2: Locate the finding
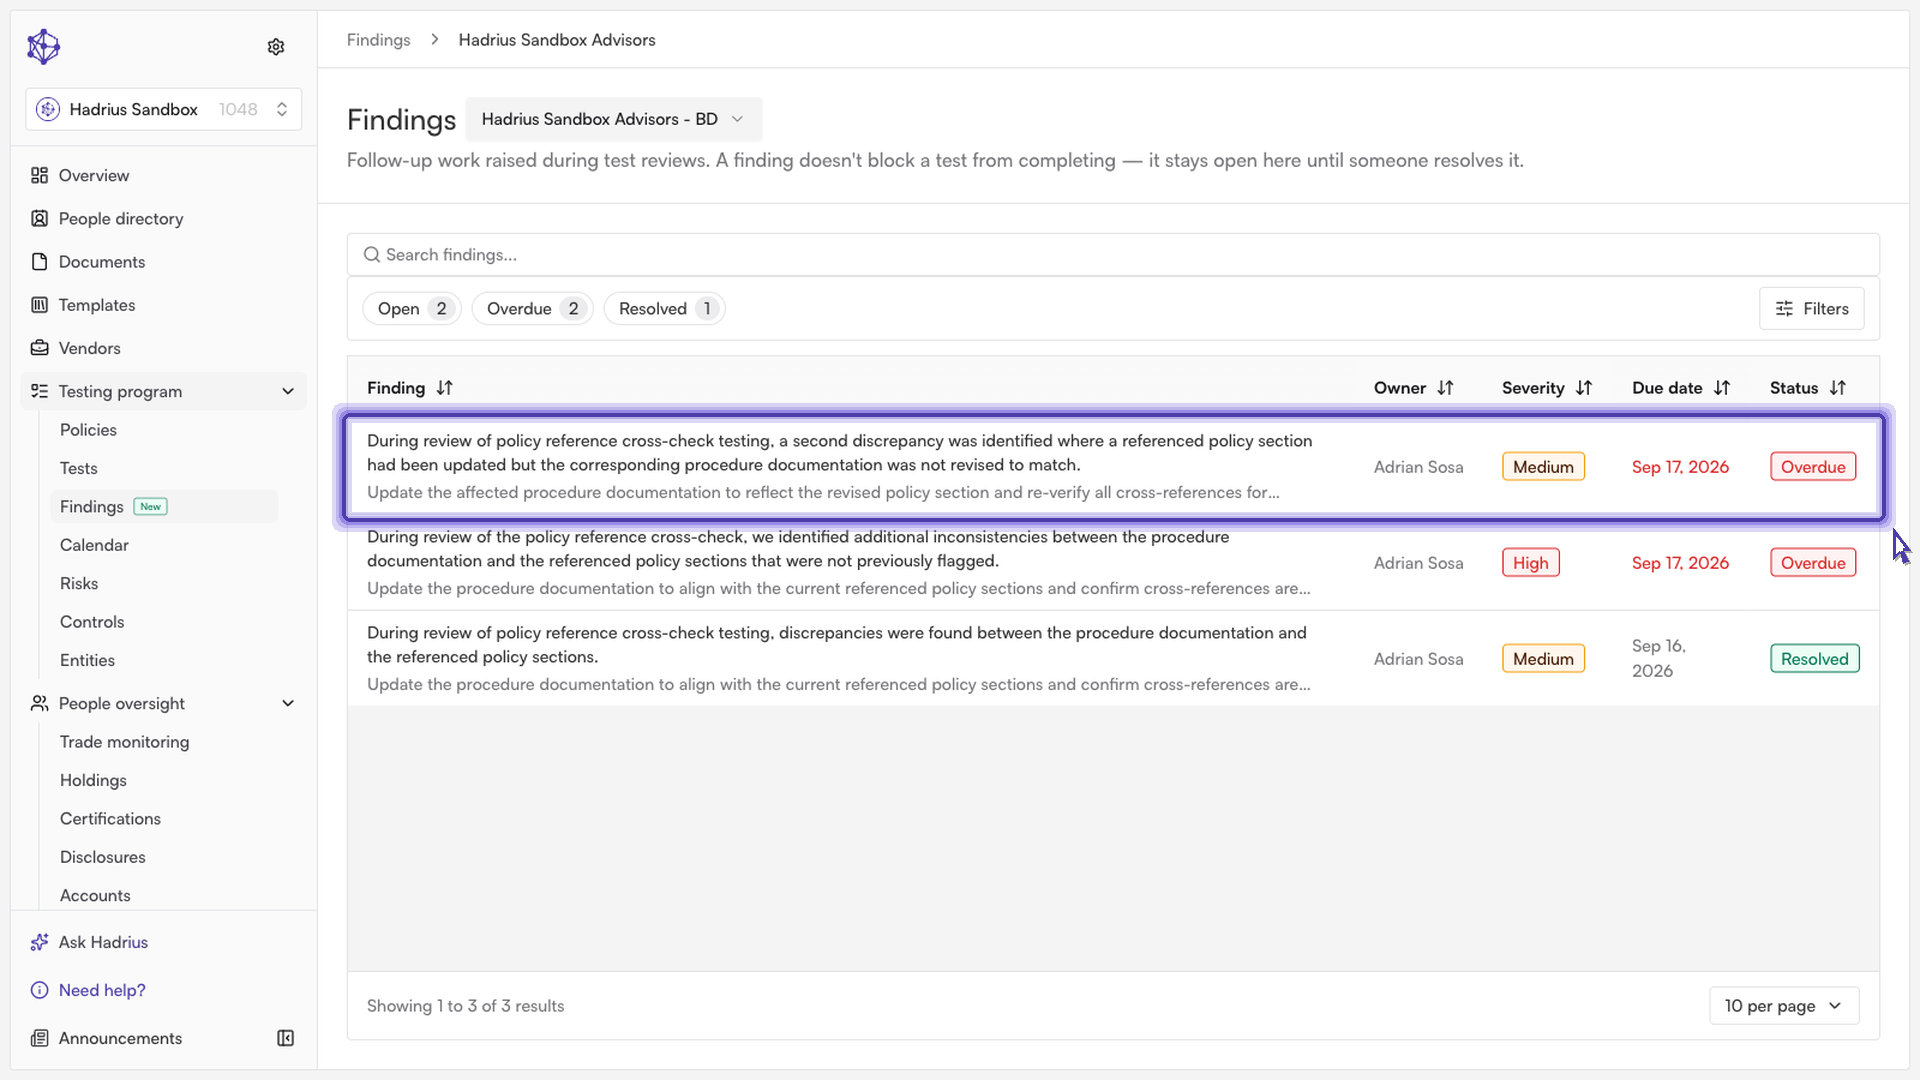
The findings register lists every finding raised for that entity, including ones tied to test runs that have already been approved — findings are tracked independently of run status so they don't get lost once a run closes out. Use the "Open," "Overdue," and "Resolved" filter chips to narrow the list quickly, or use search and the filter panel to narrow by owner, severity, or due date.
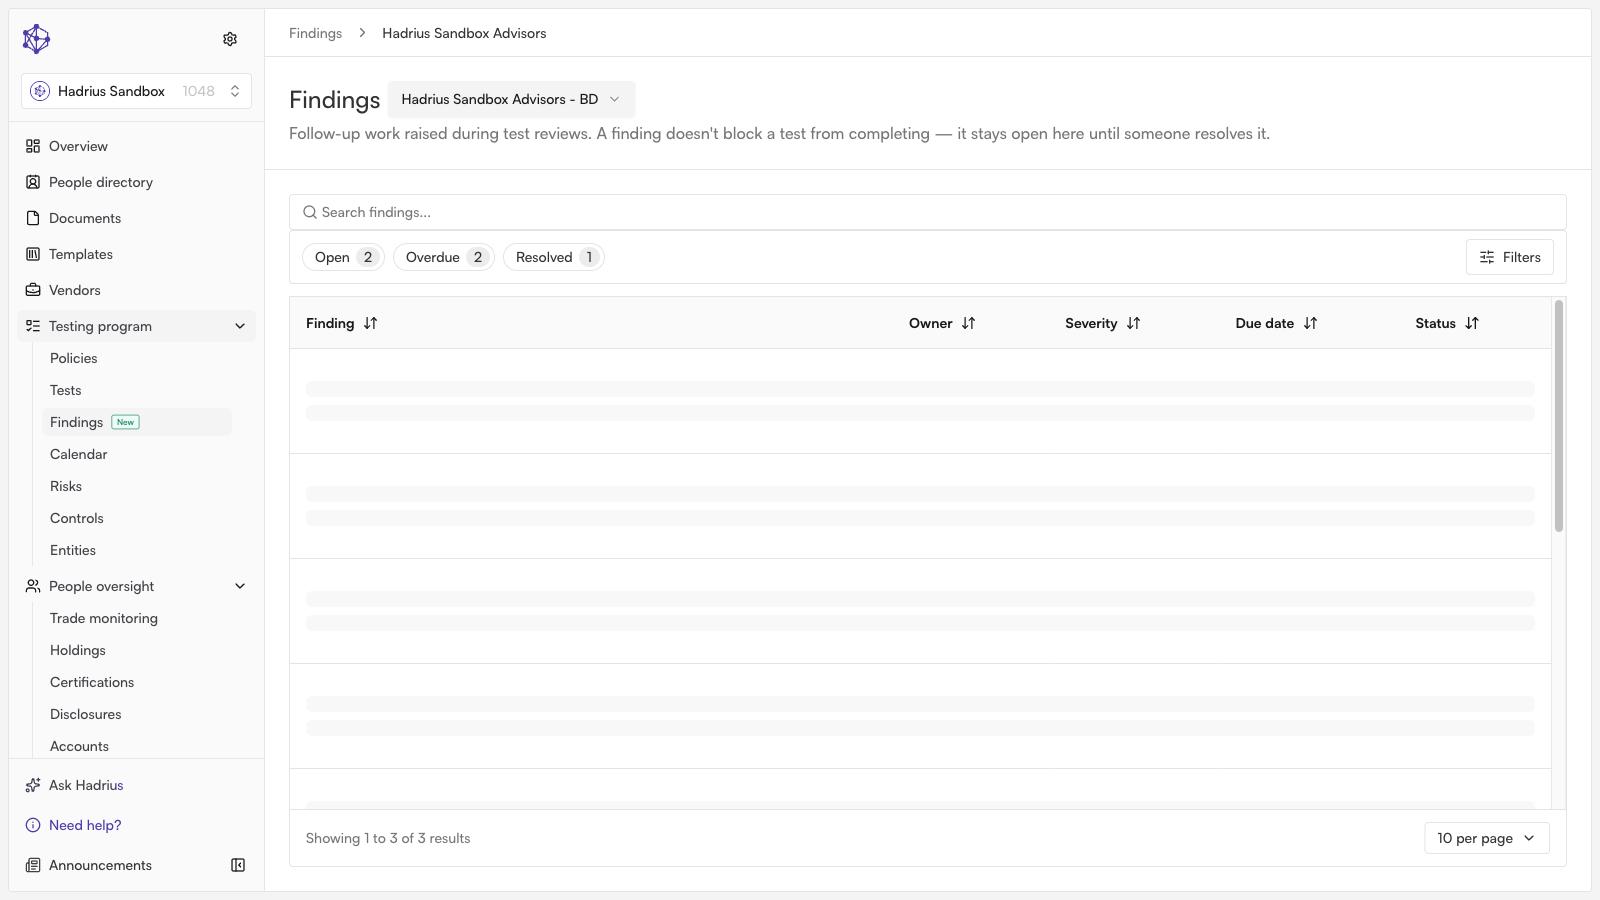
Click on the row for the finding you want to review. This opens the finding's detail view.
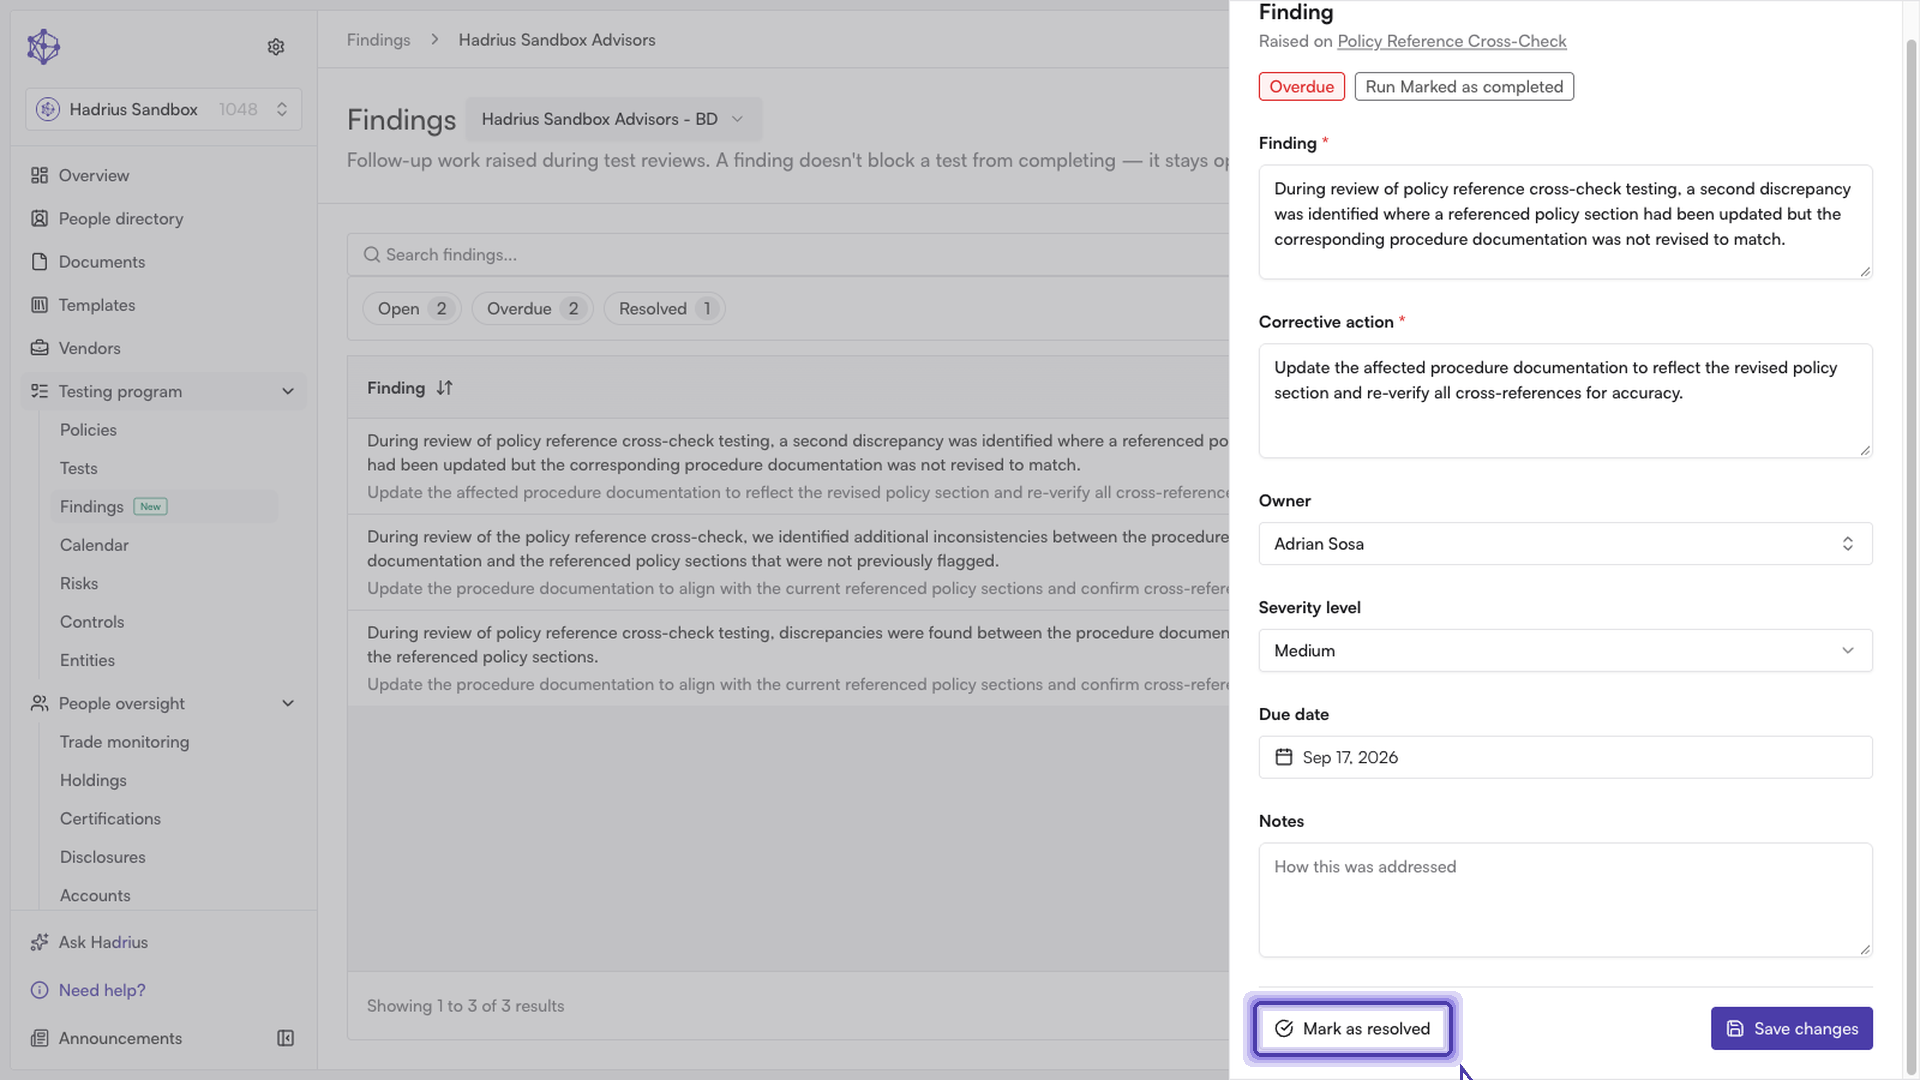
Step 3: Review or update the finding
The detail view shows the finding and corrective action description, along with the owner, severity level, due date, notes, and any attached evidence (available to download). You can edit any of these fields and click "Save changes" to update the record without resolving it — useful if you're documenting progress but the work isn't done yet.
Both the finding description and corrective action are required fields; you won't be able to save changes unless both are filled in. Marking a finding resolved, however, isn't gated on this — you can resolve a finding at any time regardless of whether those fields are complete.
Step 4: Mark the finding resolved
Once the corrective action has been completed, click "Mark as resolved." This logs the resolution (including who resolved it and when) and updates the finding's status, closing it out.
After resolving, the sheet closes automatically and you're returned to the findings register.
What happens next
Once resolved, the finding no longer counts toward the "Open" or "Overdue" totals — it drops off those filtered views and shows up under "Resolved" instead, along with the resolution date and who resolved it.
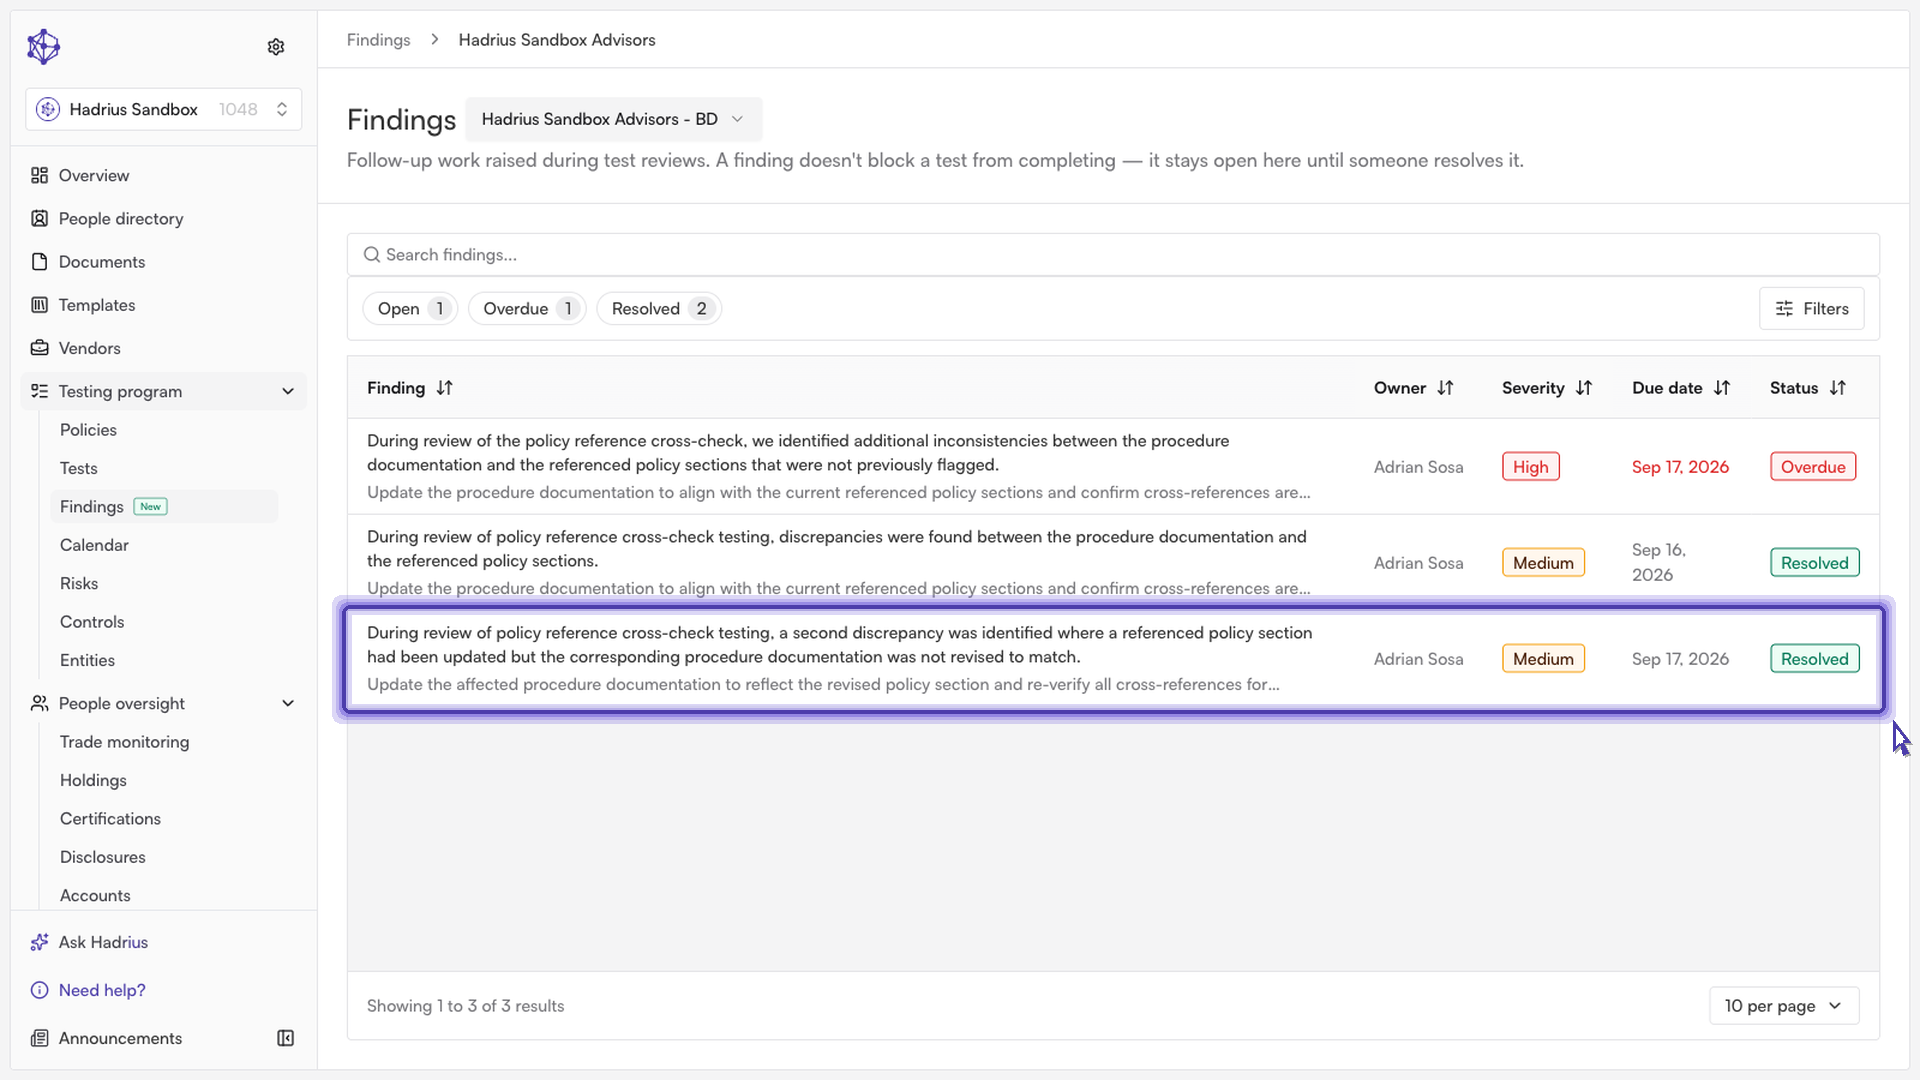
If a finding is reopened later, you can undo this from the same detail view: opening a resolved finding shows a "Reopen finding" button in place of "Mark as resolved," which sets its status back to open.