How to create a new test
Last updated: October 1, 2026
This article walks through creating a new compliance test from an entity's tests list. Use this workflow whenever you need to set up a new recurring or one-time test — for example, to formalize a periodic control check or a one-off verification — complete with its own questionnaire, schedule, ownership, and links to the risks and controls it addresses.
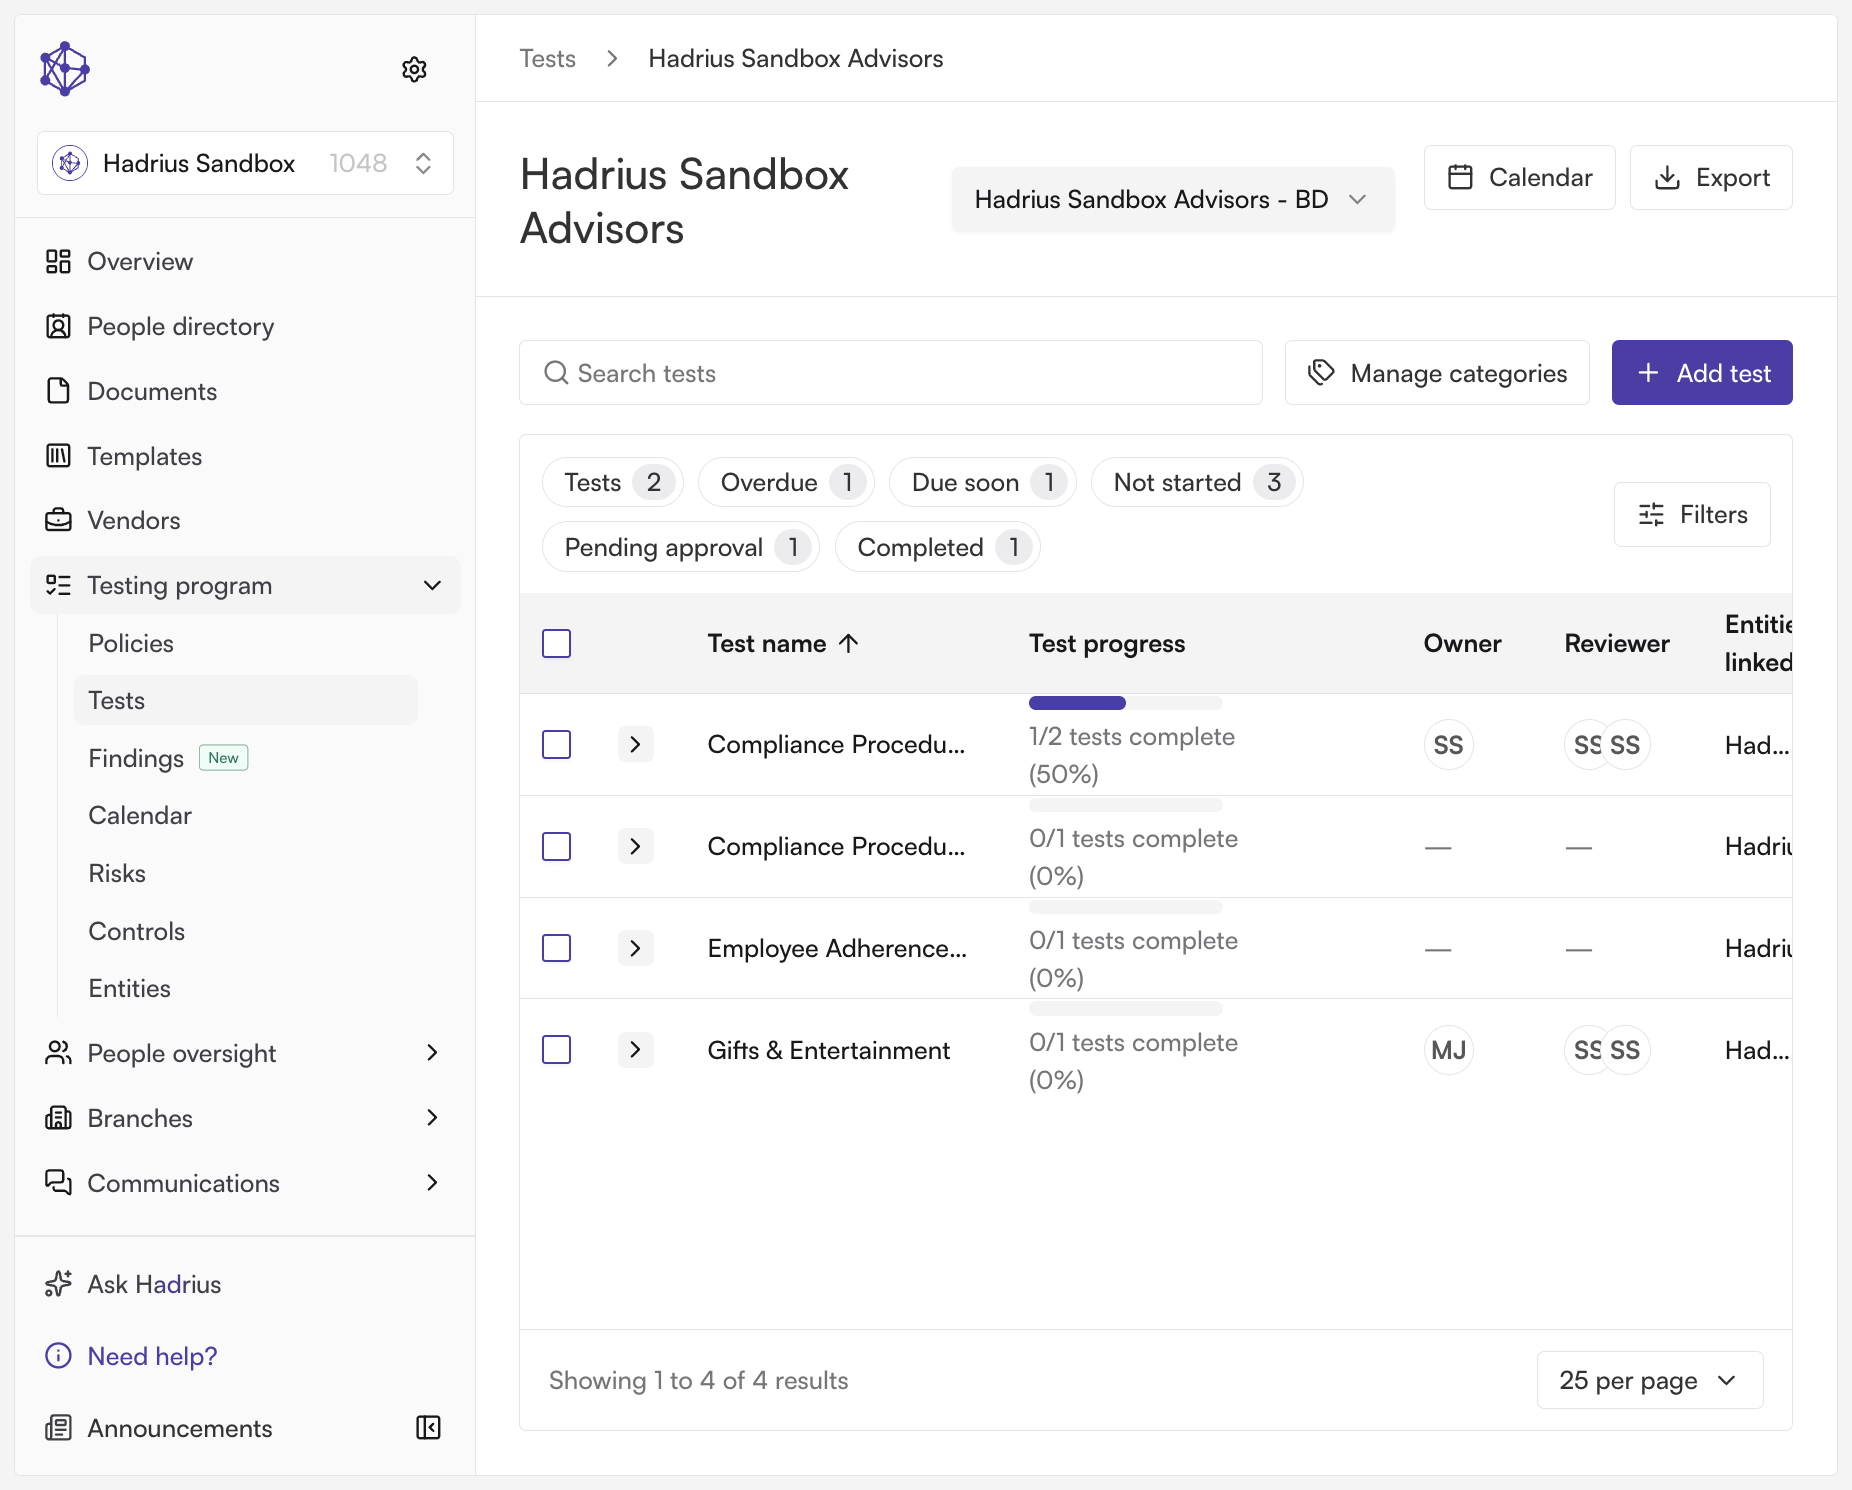
Start the test
From the tests list for the entity, select "Add test" to open the test creation wizard.
Step 1: Enter the basics
Give the test a clear title and, optionally, a short description explaining exactly what the test verifies and why. Then select the entity the test applies to and assign it to a category so it can be grouped with similar tests for reporting.
Step 2: Build the questionnaire
Next, build out the questionnaire that the test owner will complete. Rather than starting from scratch, you can select "Start from a saved template" to pull in an existing template from your library — for example, a standard checklist covering the essentials of recording a review and attaching the supporting evidence. Choosing "Use template" applies that structure to the test automatically. If you'd rather create a one-off questionnaire instead, use "Build a questionnaire" to design it from scratch for this test only.
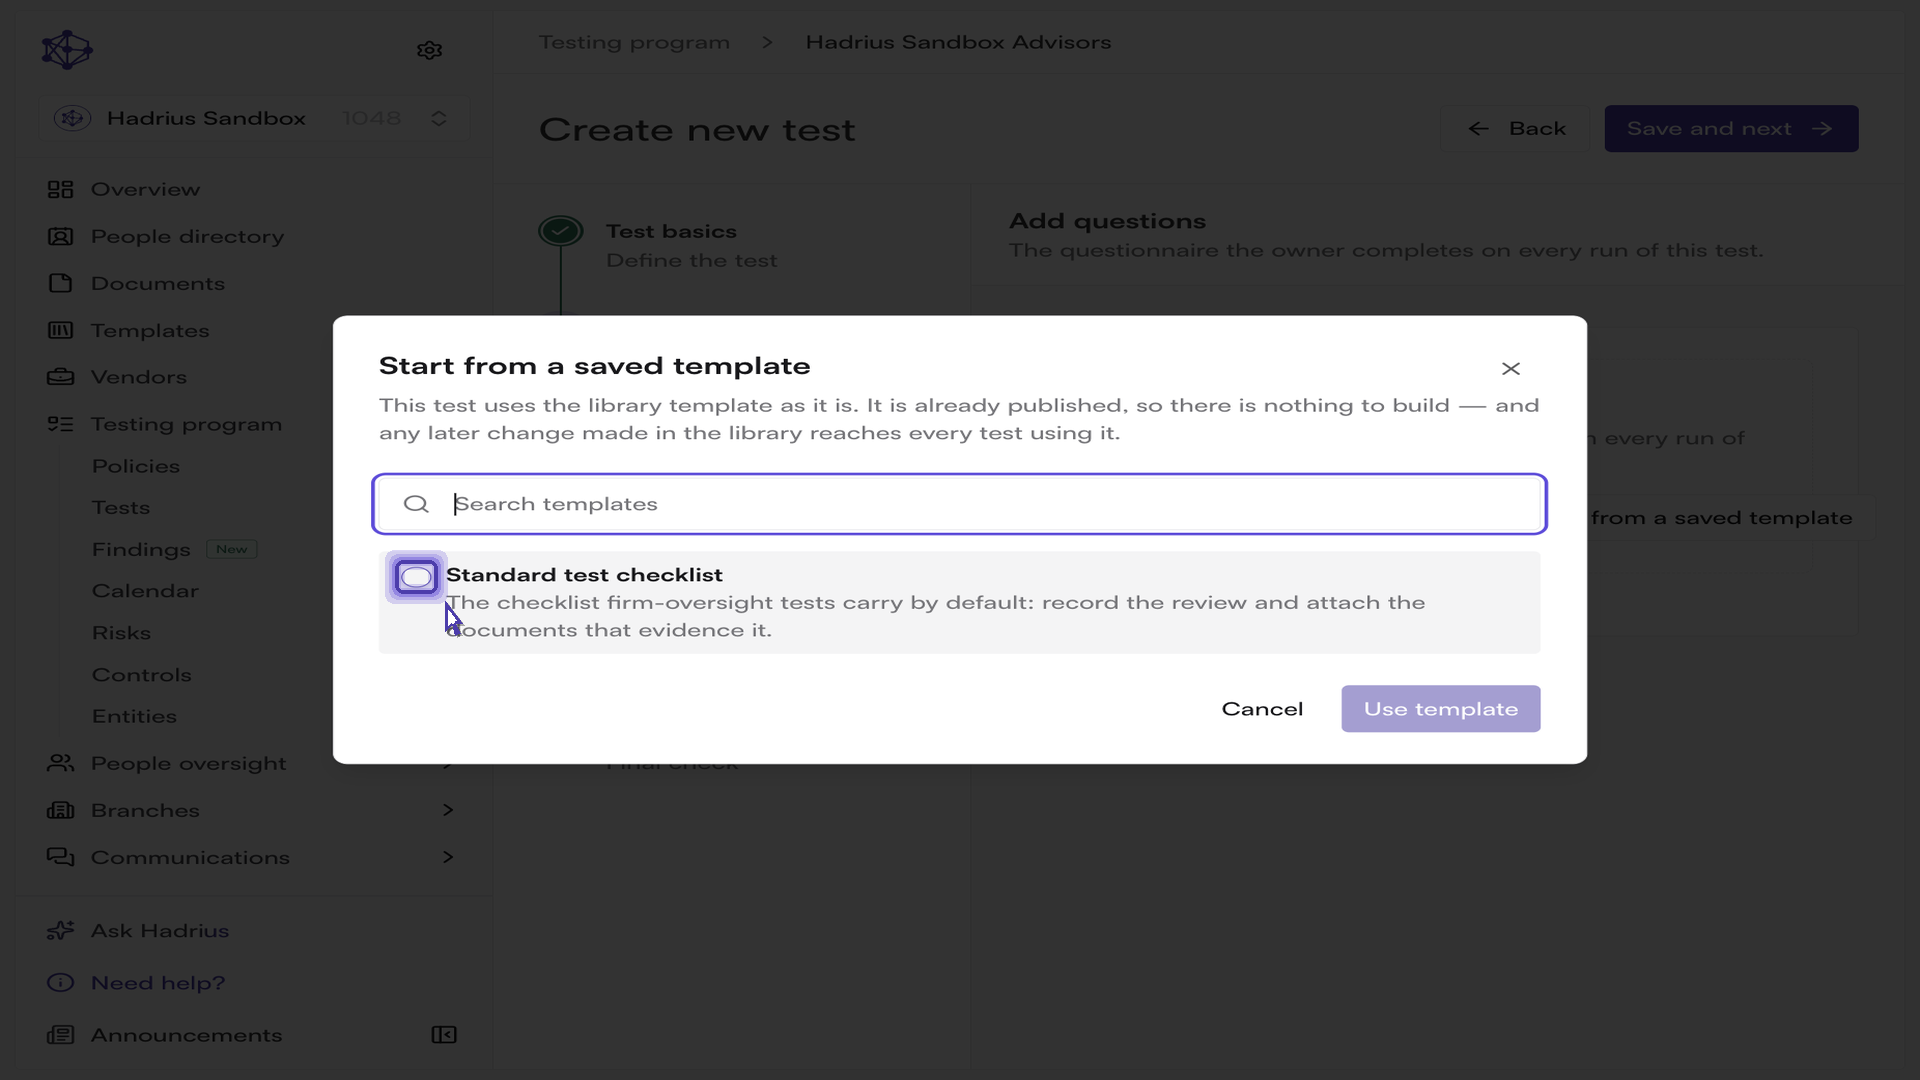
Step 3: Set the schedule
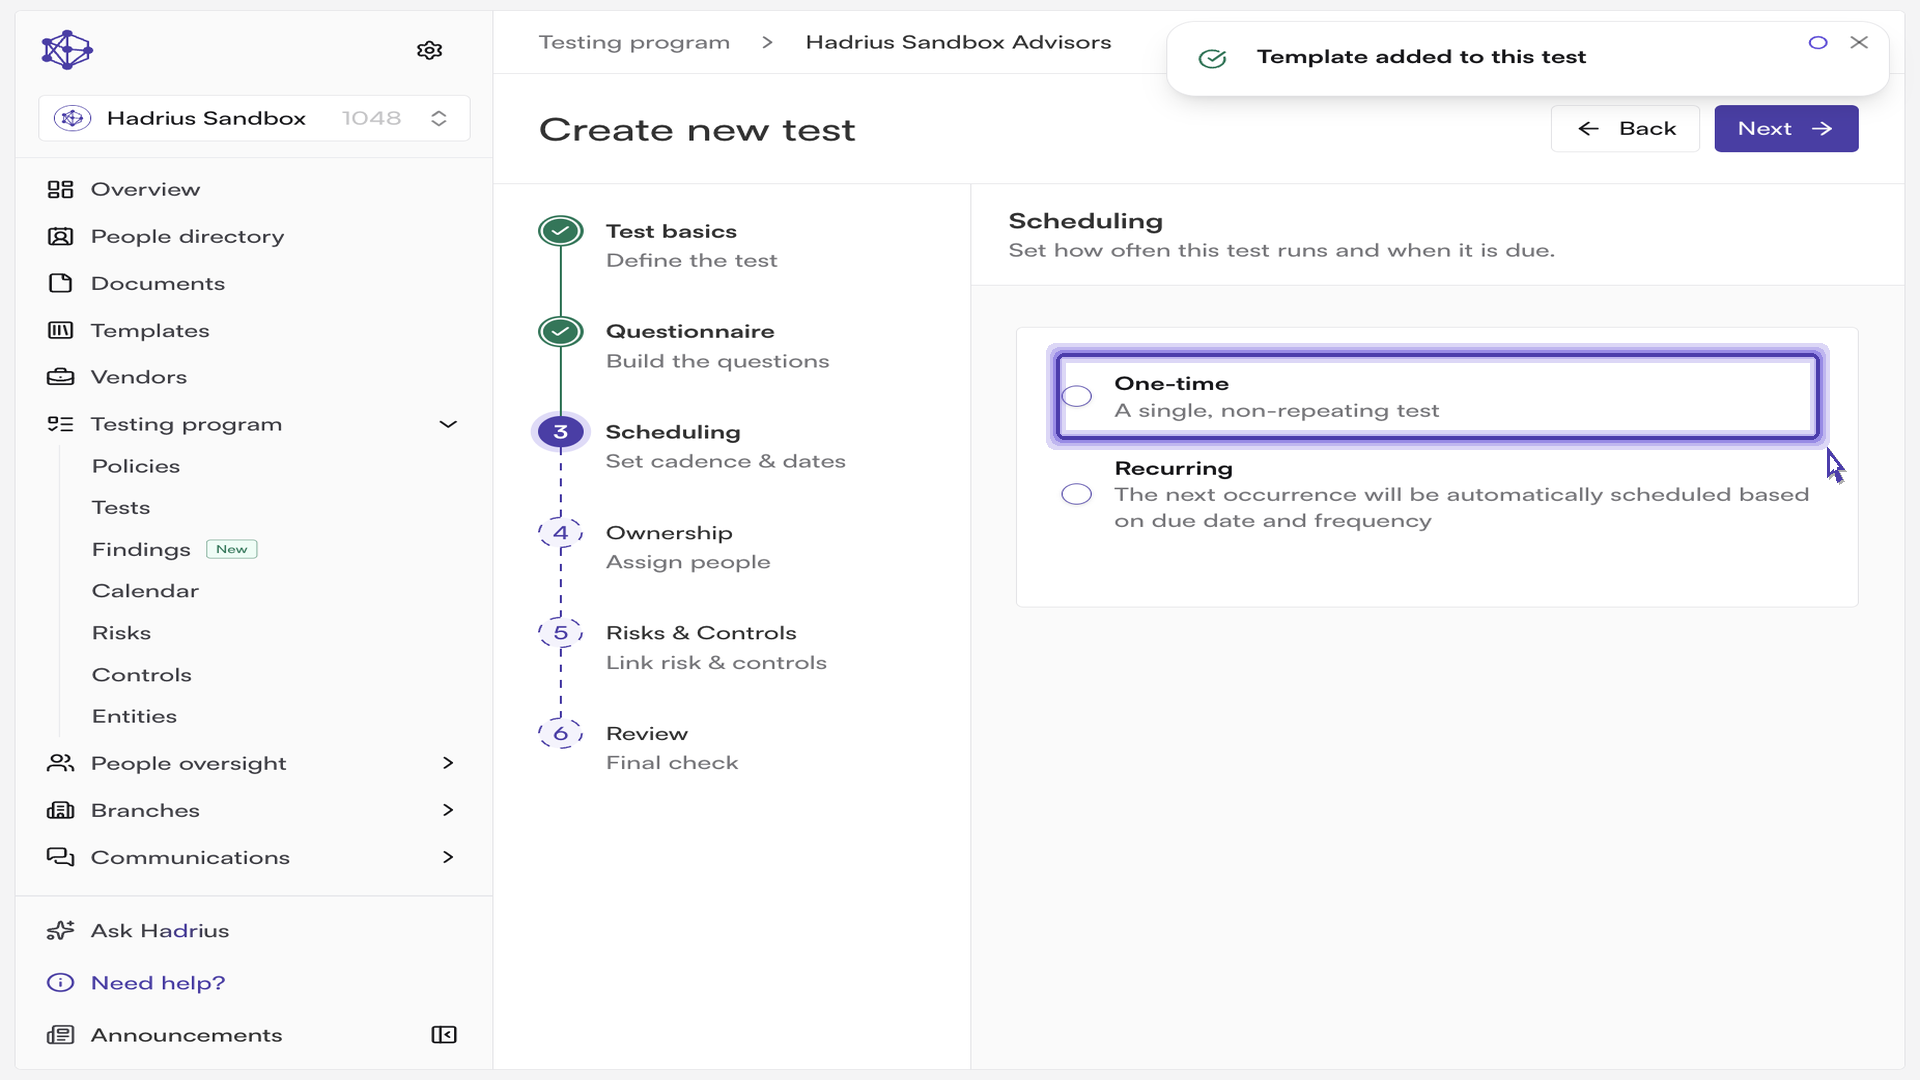
Choose whether the test is "One-time" (a single, non-repeating test) or "Recurring" (the next occurrence is scheduled automatically). For a recurring test, also set the repeat frequency. Then set the due date the test needs to be completed by.
Step 4: Assign ownership
Assign a test owner, who is responsible for actually performing the test, and a test reviewer, who gives it a final review once the work is done. Depending on your workflow, you can also add a final reviewer for an additional layer of sign-off.
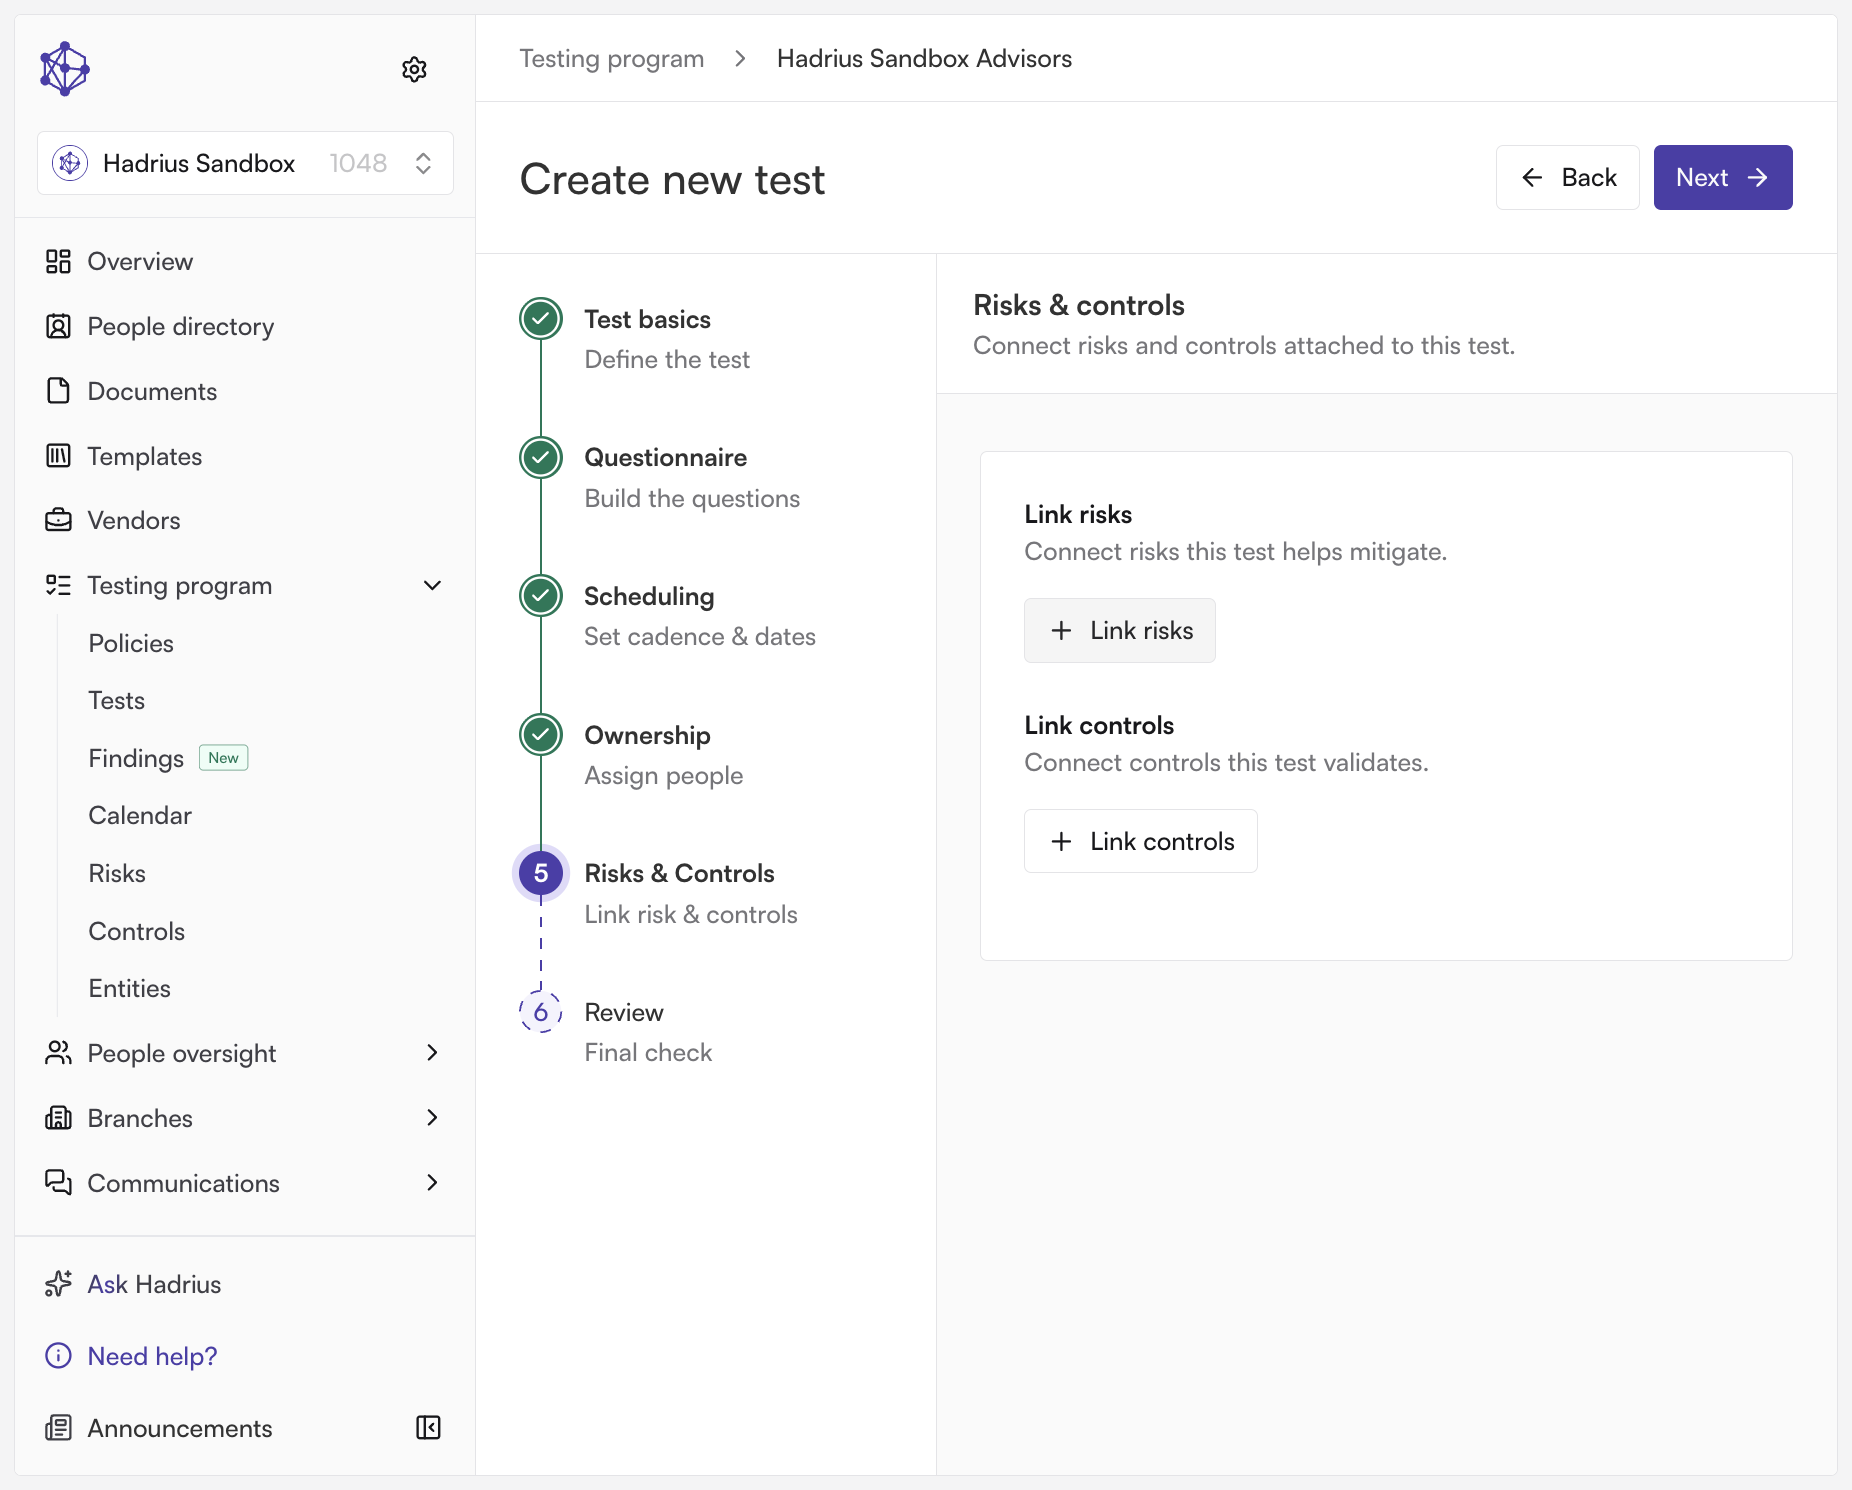
Step 5: Link risks and controls
Connect the test to the risks and controls it actually addresses. Use "Link risks" to tie the test back to the specific exposure it's meant to help manage, and "Link controls" to connect it to the procedure it's verifying. In each case, select the relevant items and confirm with "Link" to complete the connection.
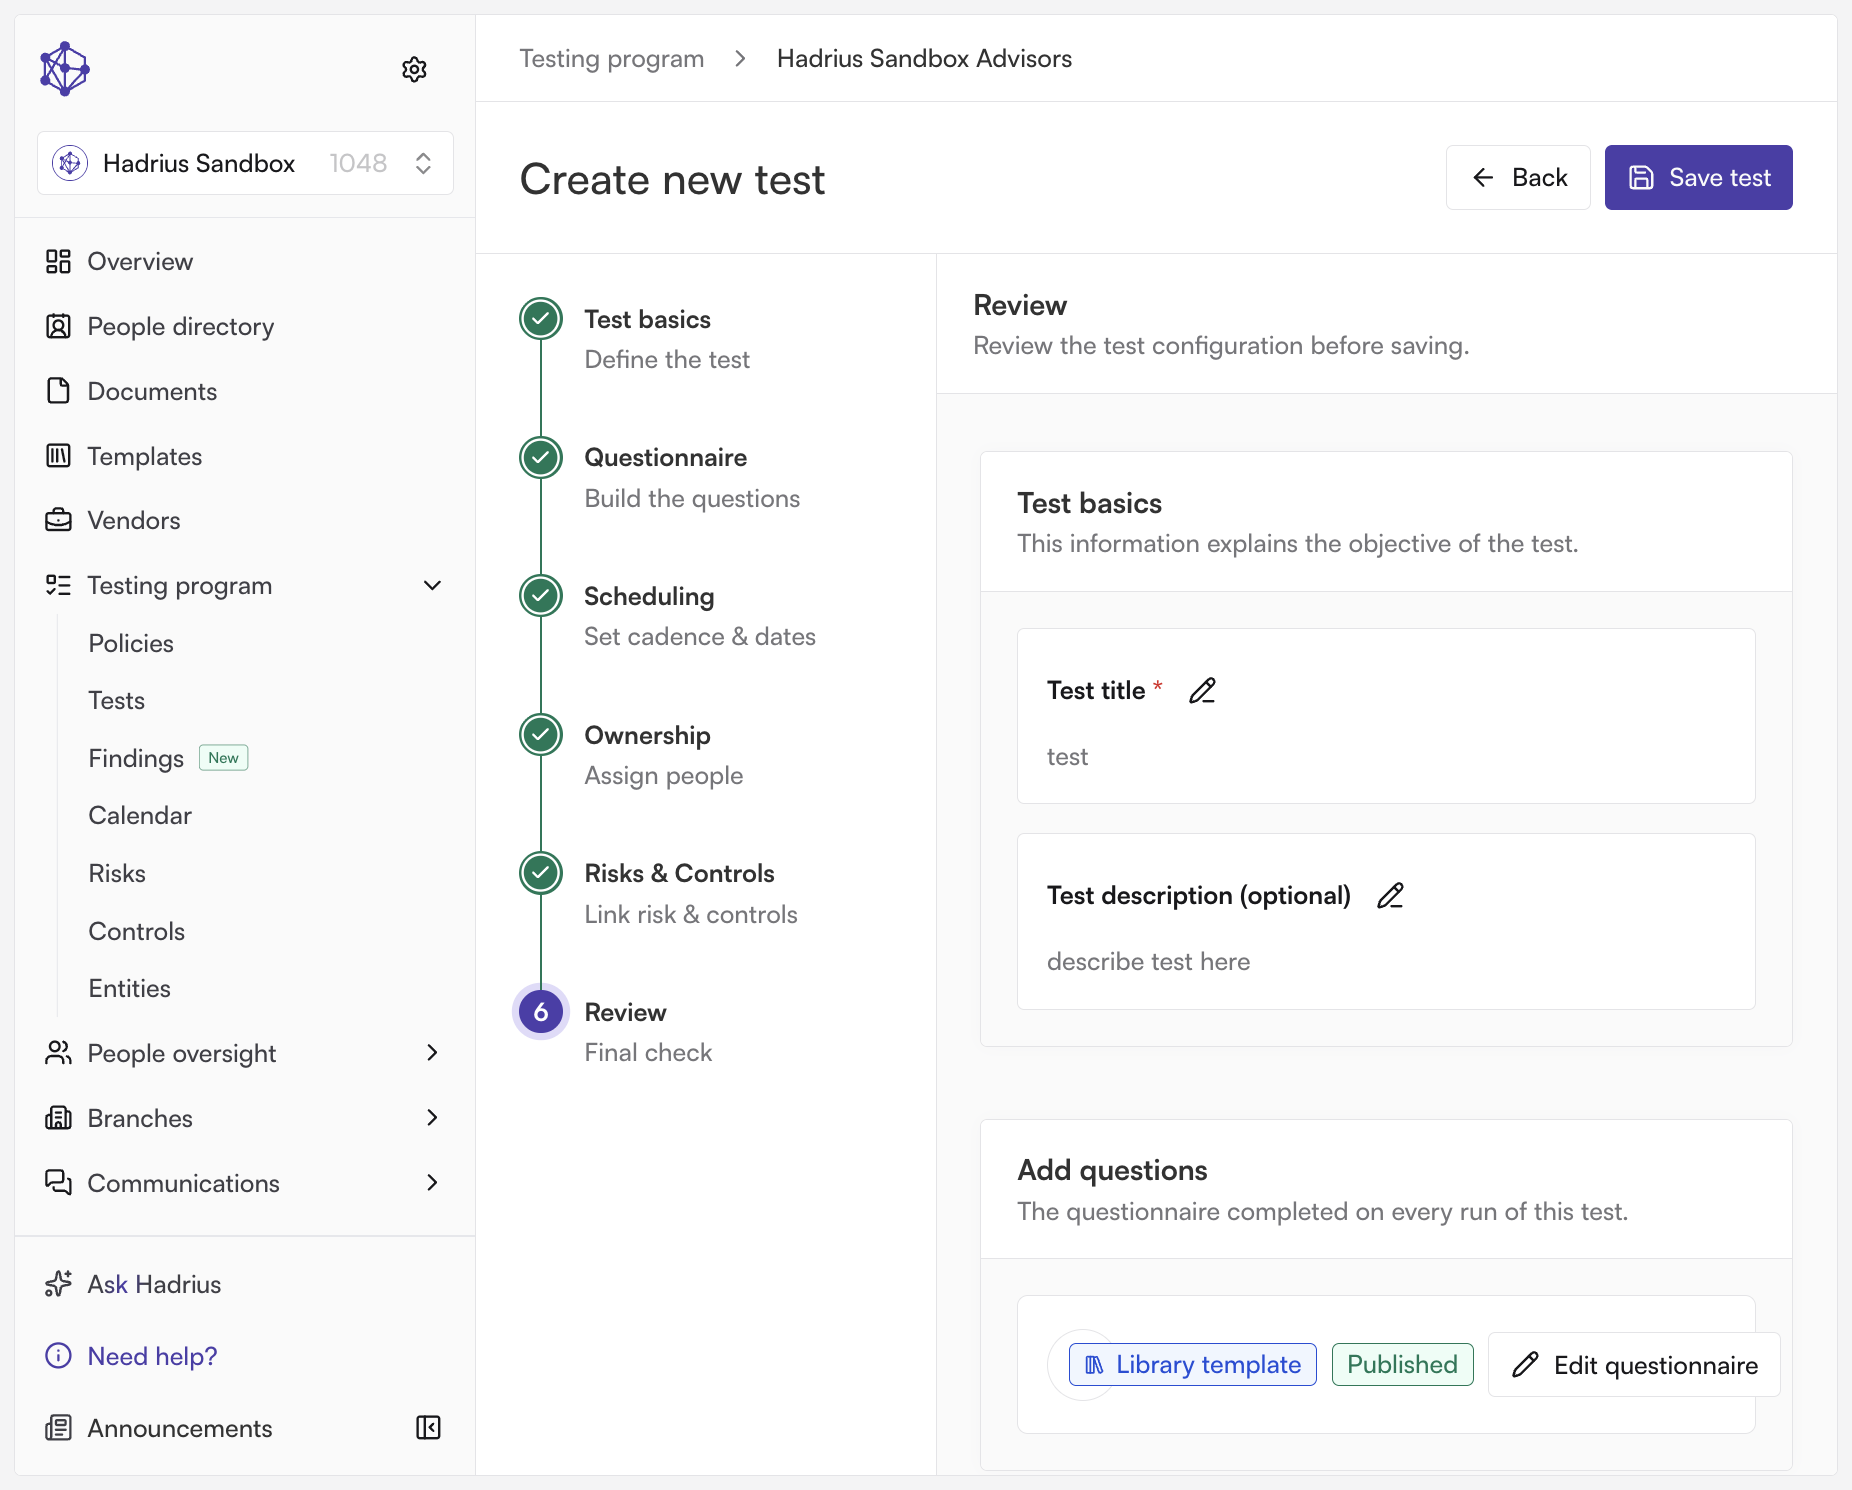
Step 6: Review and save
Before finishing, you'll see a full review of everything you've configured — title, description, questionnaire, schedule, ownership, and linked risks and controls — with the option to edit any section directly from this screen. When everything looks correct, select "Save test" to create it.
What happens next
Saving creates the test and takes you straight to its detail page, where it's ready to be worked according to the schedule and ownership you configured.