Uploading Policies in Firm Oversight
Last updated: September 25, 2026
A policy in Firm Oversight can exist before its document does — it may already hold risks, controls and tests, but with no source text behind them. Attaching a document gives the policy its written source, so Hadrius can read it section by section and link each control to the section it comes from. Use this article when a policy in your list shows no document yet, or when you are adding the written procedures for a newly created entity.
Before you start
The document must already be in your firm's document library — the upload step picks a file from the library rather than from your computer. You also need the policy to be active; archived policies cannot be changed.
Attaching the document
Open the Policies list. Go to Firm Oversight and open Policies. Every policy in the firm appears here, one row each. You can search by name, or use the filter panel to narrow the list to a single entity.
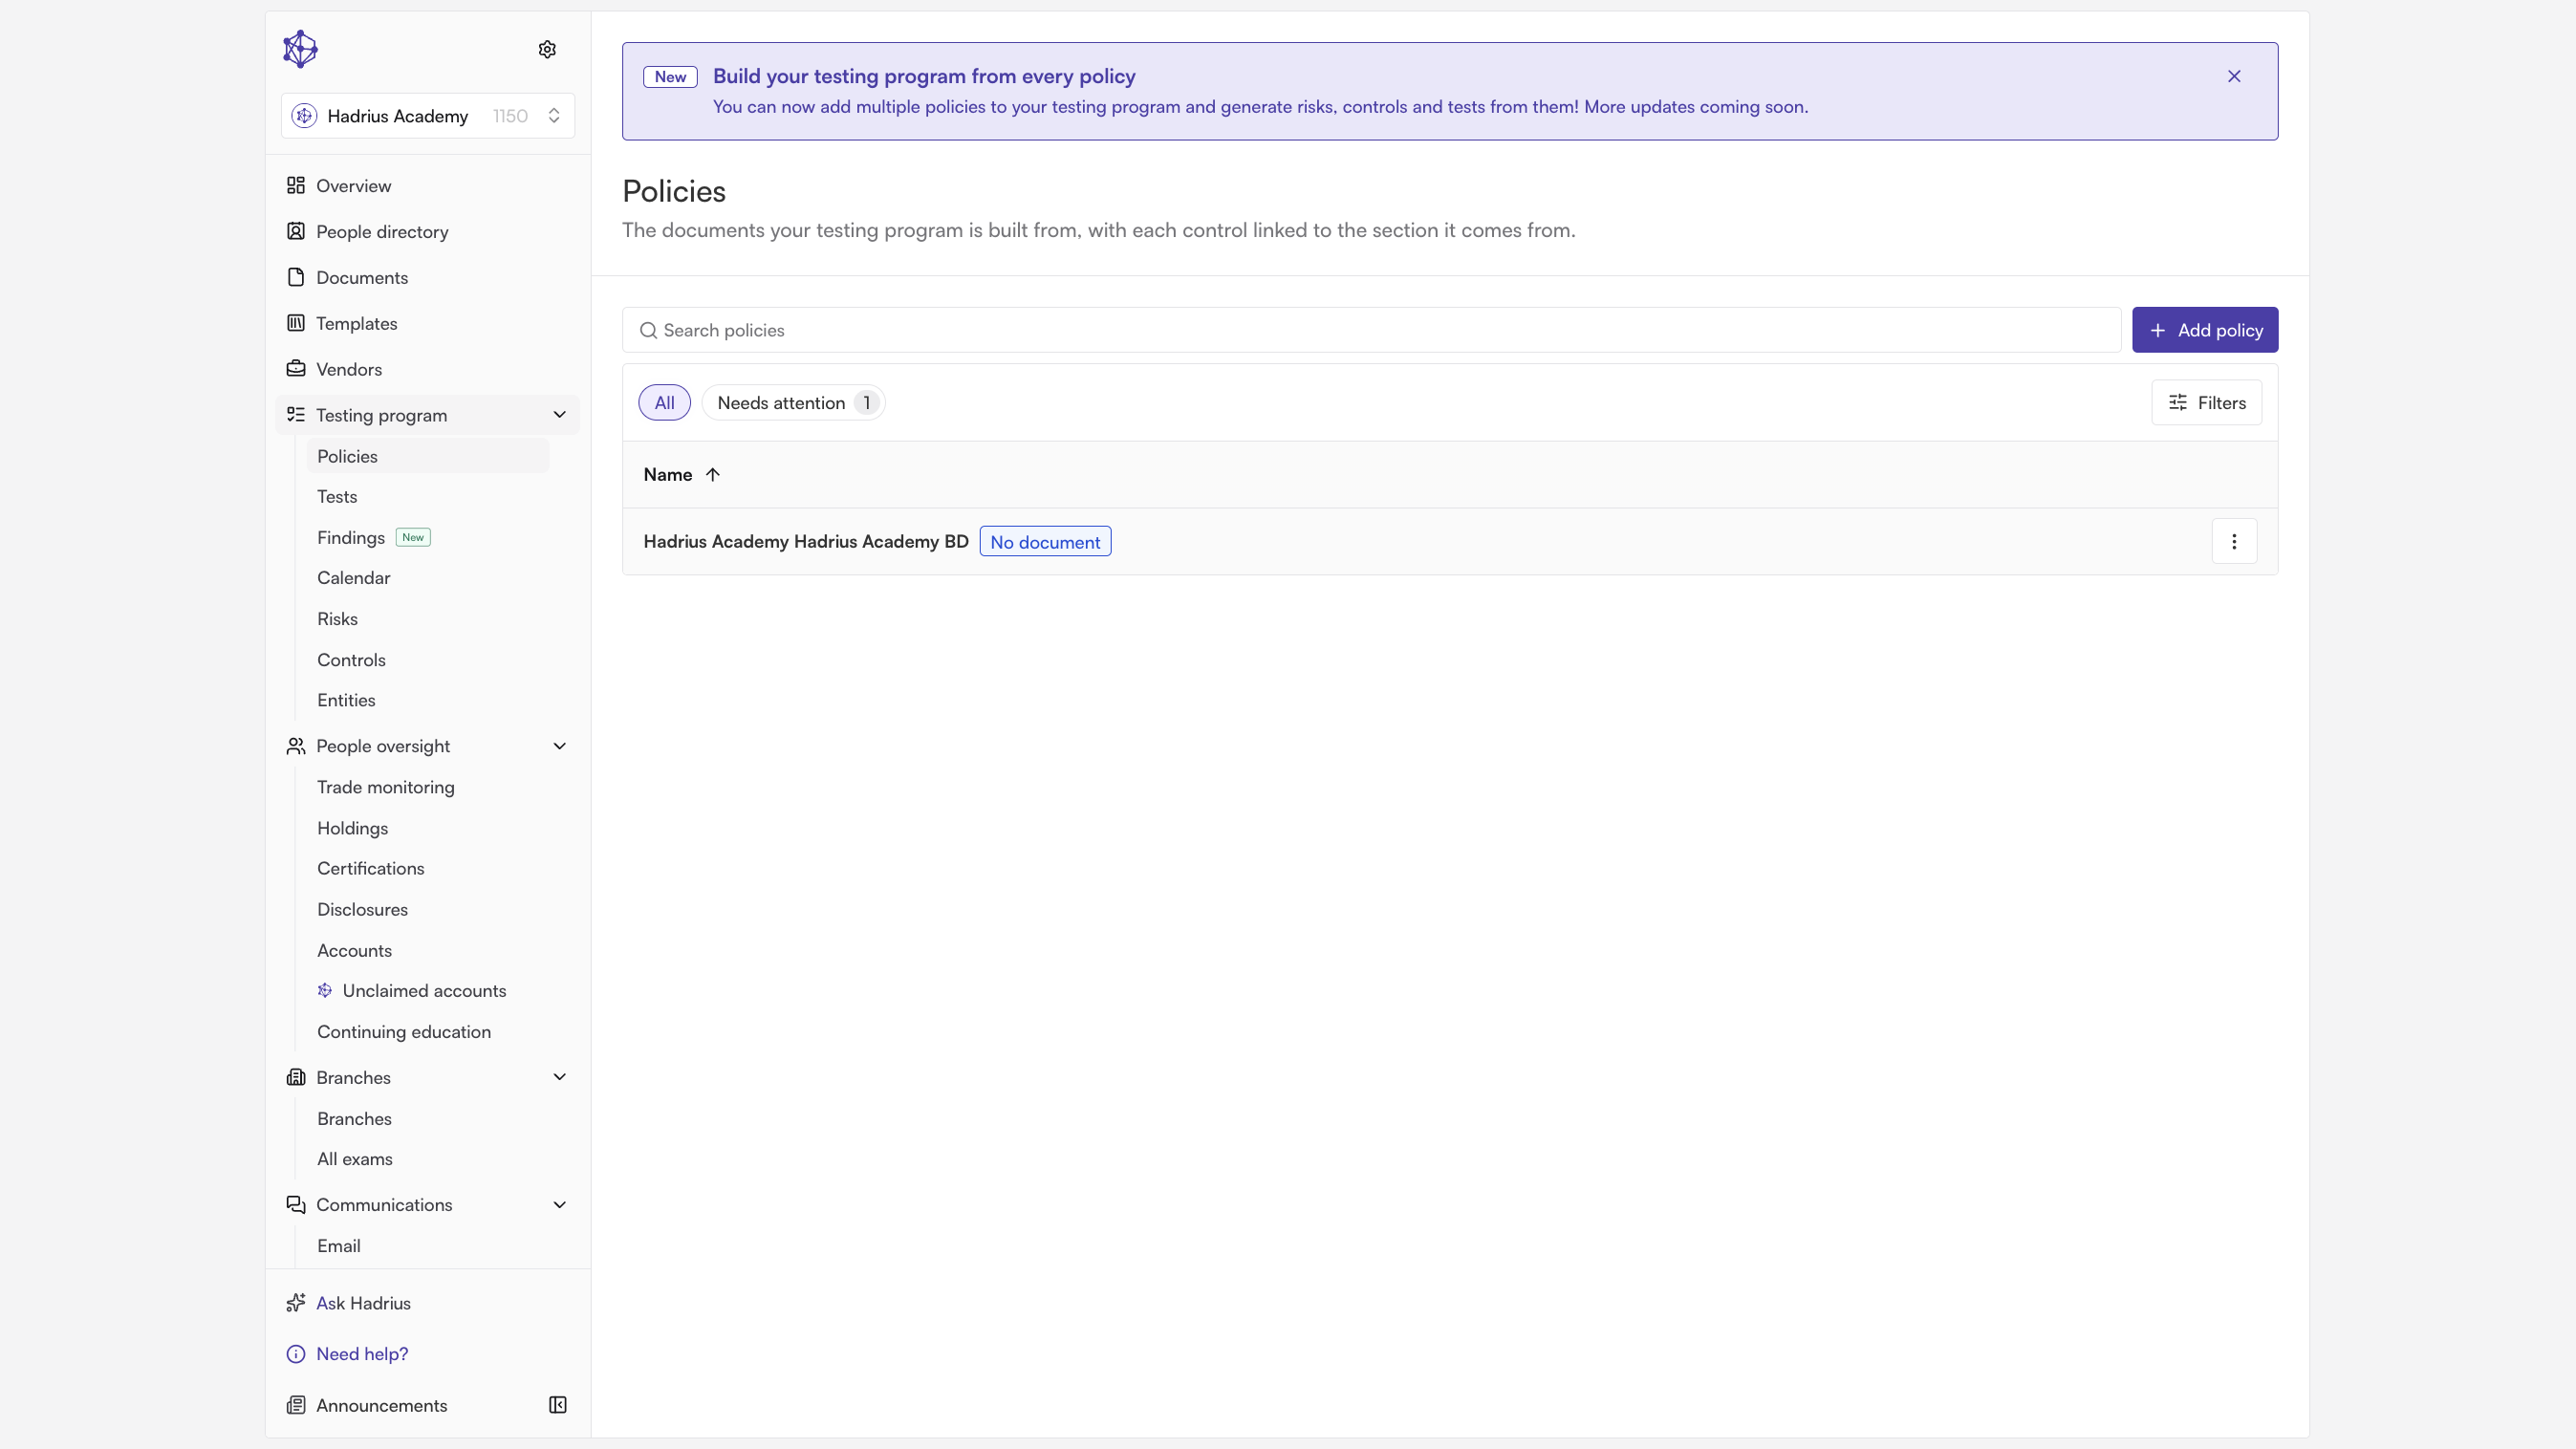
Find the policy for the entity you are working on. Opening the row takes you to the policy itself.
Confirm that no document is attached. A policy with no source text opens on the No document yet state. Its tests, risks and controls are still intact — there is simply nothing to read them against, and no text for controls to be linked into.
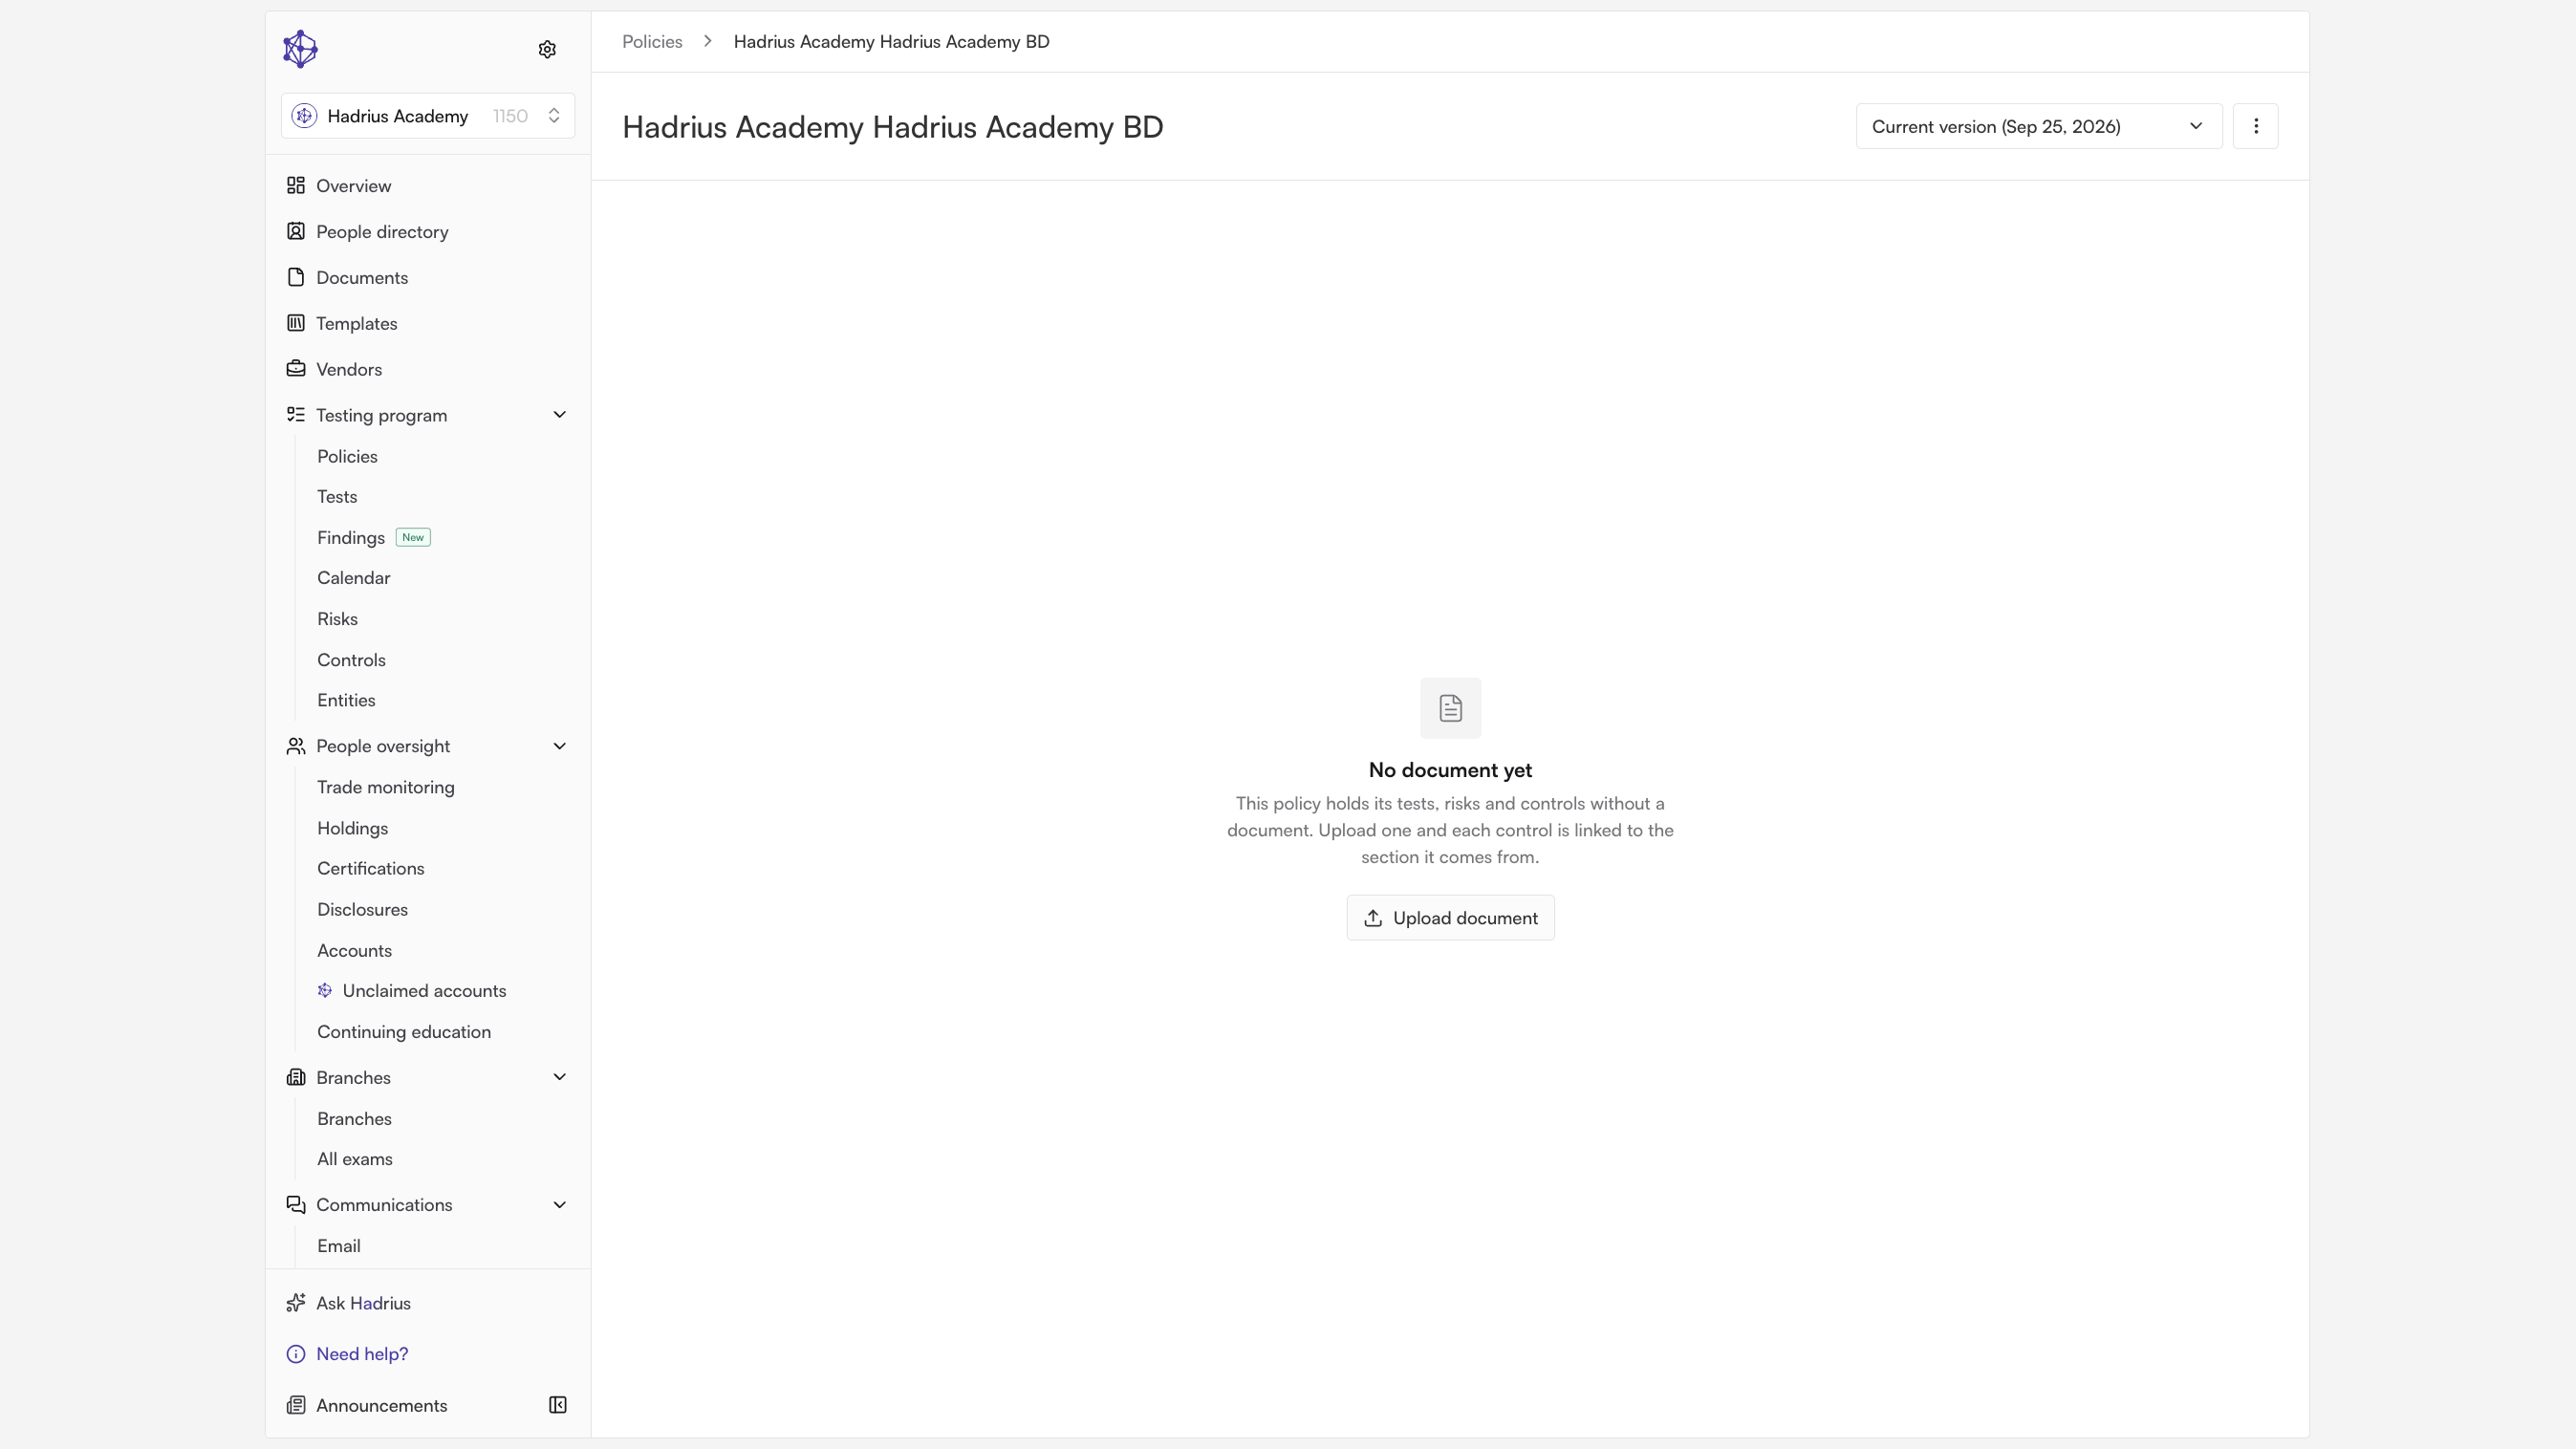
Start the upload. Choose Upload document, either from the button on that empty state or from the actions menu (the kebab) in the policy header. The same item appears in the row menu on the Policies list.
Decide whether to keep or regenerate the existing catalog. The upload dialog explains what will happen and offers one choice: "Archive and regenerate this policy's tests, risks, and controls."
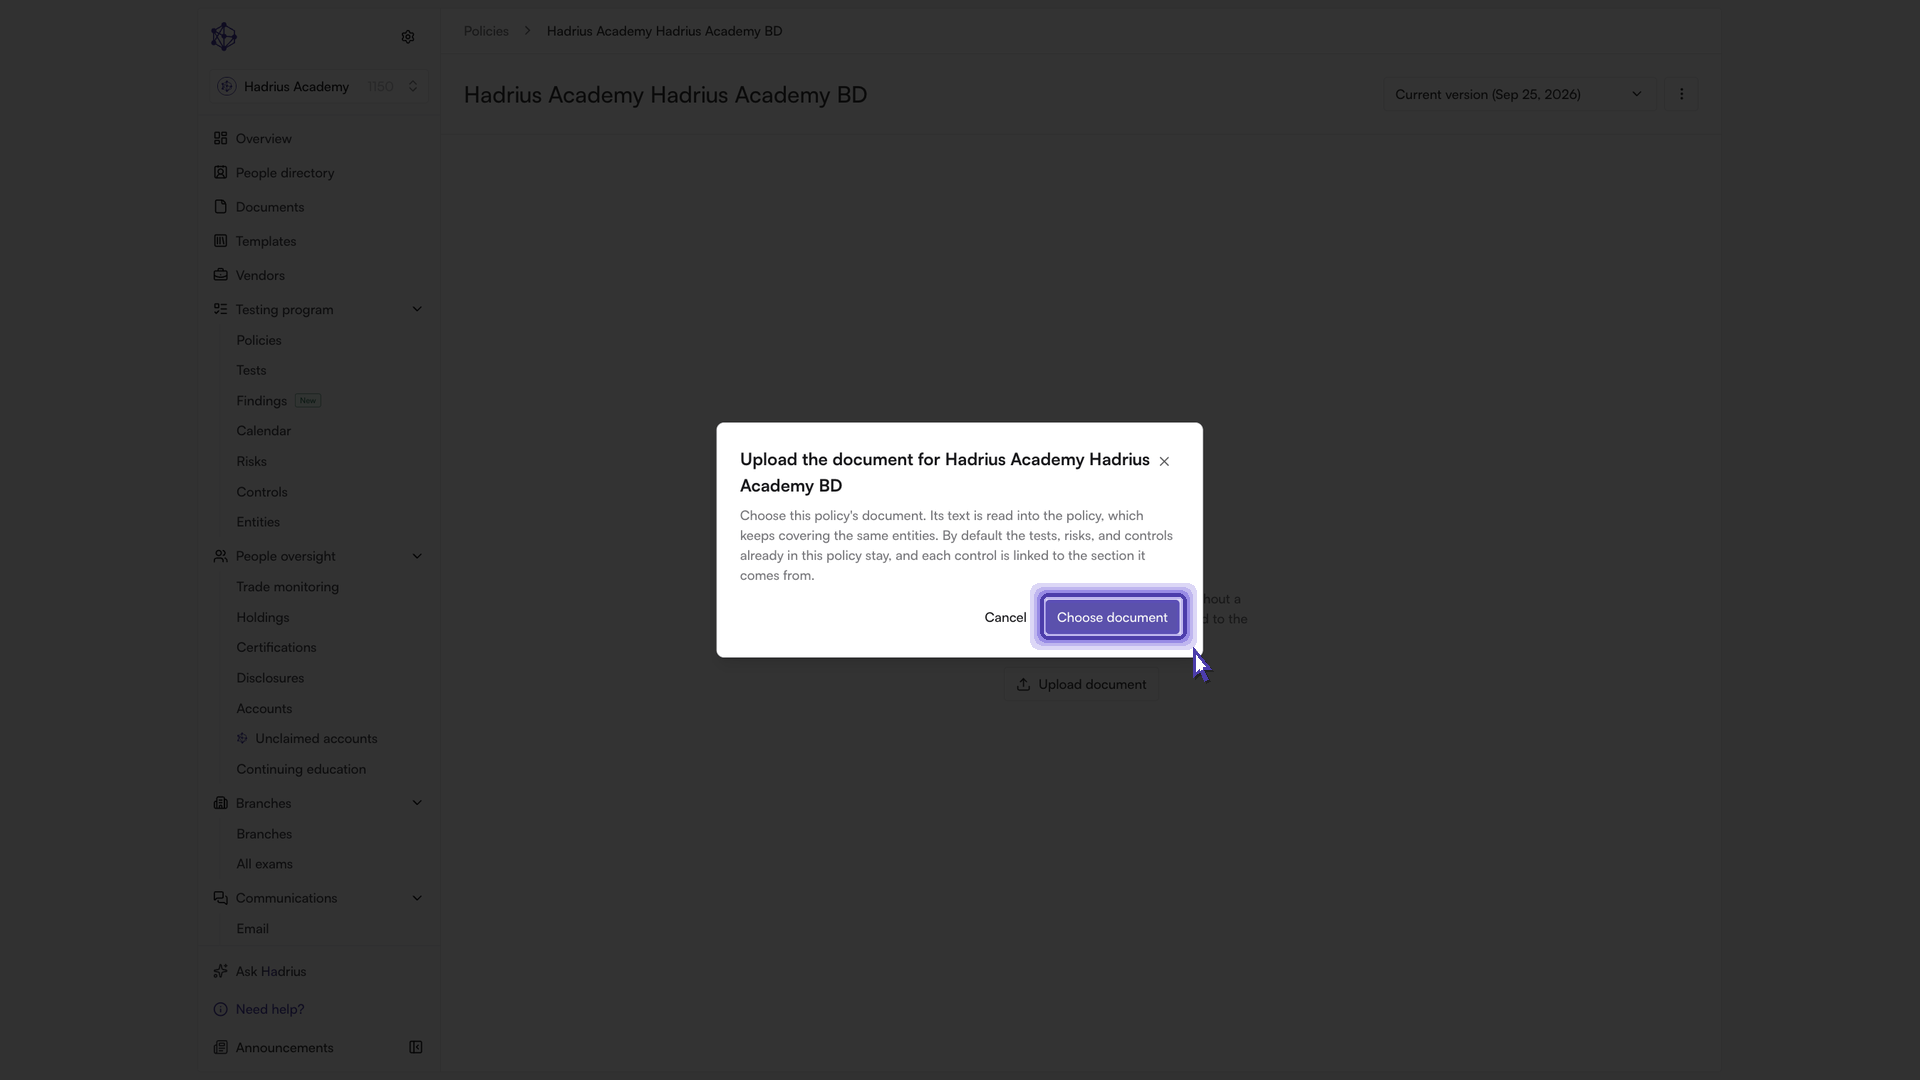
Leave this unticked — the default — and the tests, risks and controls already on the policy carry over, and each control is linked back to the section it comes from once the text is read. Tick it and Hadrius archives the policy's current tests, scheduled or in-progress runs, risks and controls before analyzing the new document for a fresh set. The dialog lists the exact counts affected before you commit.
Two things are worth knowing about this option. It cannot be undone, and it applies only to the policy you are uploading to — other policies covering the same entity are untouched. Work already completed is kept, and findings are never archived.
Choose the file. Select Choose document to open your document library. Browse the folders to the firm's written supervisory procedures, code of ethics or whichever compliance document this policy is built from, and select it.
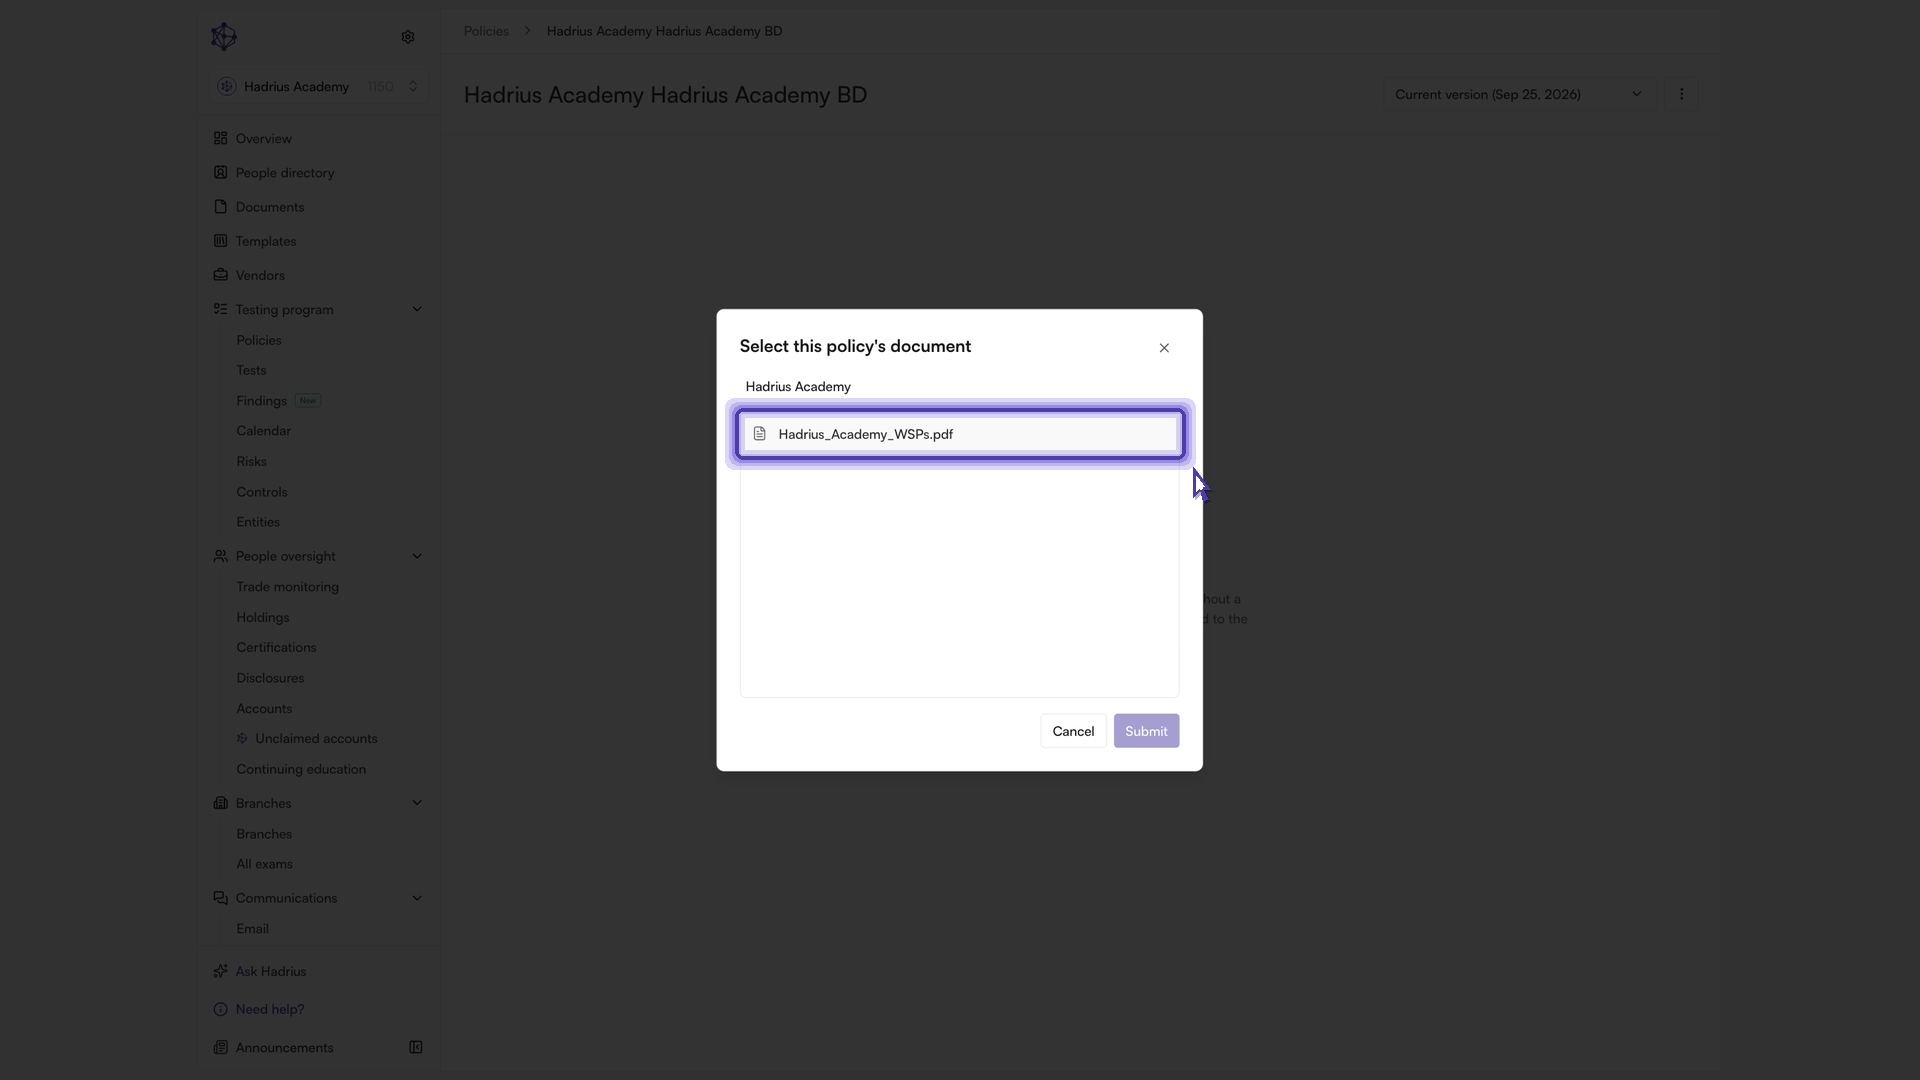
Select Submit to hand the file to the platform. Processing starts as soon as you confirm.
What happens next
The policy switches to Reading the document while Hadrius extracts the text section by section, and the Policies list shows a progress badge on the row in the meantime. Both update on their own — you do not need to stay on the page or refresh.
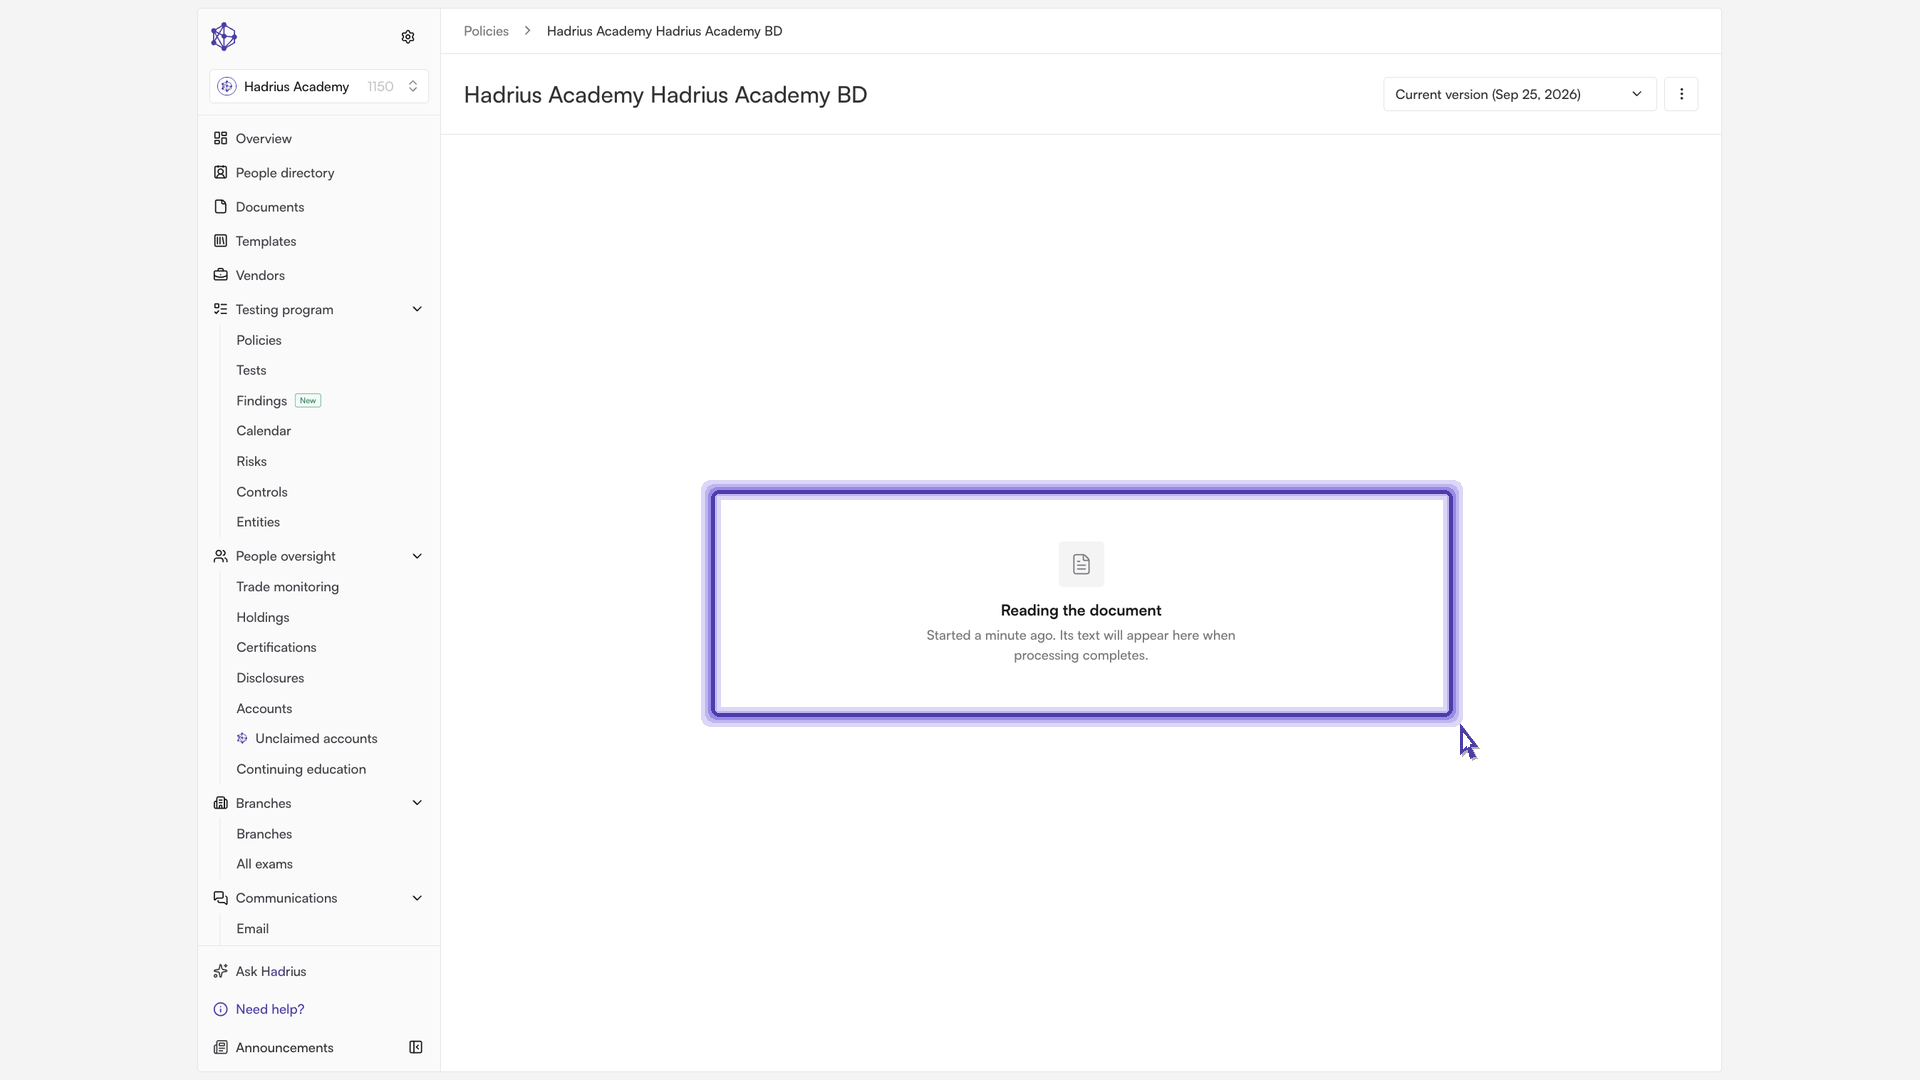
Please allow up to 10 minutes for your risk, control and test data to populate within the module. Once the text is in, the policy opens as a three-pane workspace: its sections on the left, the document in the middle, and the controls it writes down on the right. If the policy has no risks, controls or tests yet, a Find risks and controls button appears above the document so you can have Hadrius build a testing program from it.
If processing fails, the policy shows a Document processing failed message with a Retry option. If the retry does not clear it, contact support.