How to manage test categories
Last updated: October 17, 2026
Categories are how a testing program keeps related tests organized — grouped by department, by the rule set they support, or by whatever structure makes the program easiest to navigate. This article covers how to rename, reorganize, delete, and create categories from the "Manage categories" panel, without disrupting the tests already running.
Opening the category manager
Start from the testing program's entity list, where you can see every entity and how its test coverage stacks up. Open the entity you want to work on to reach its full list of tests. From there, click "Manage categories" to open the panel where all of that entity's categories are listed together.
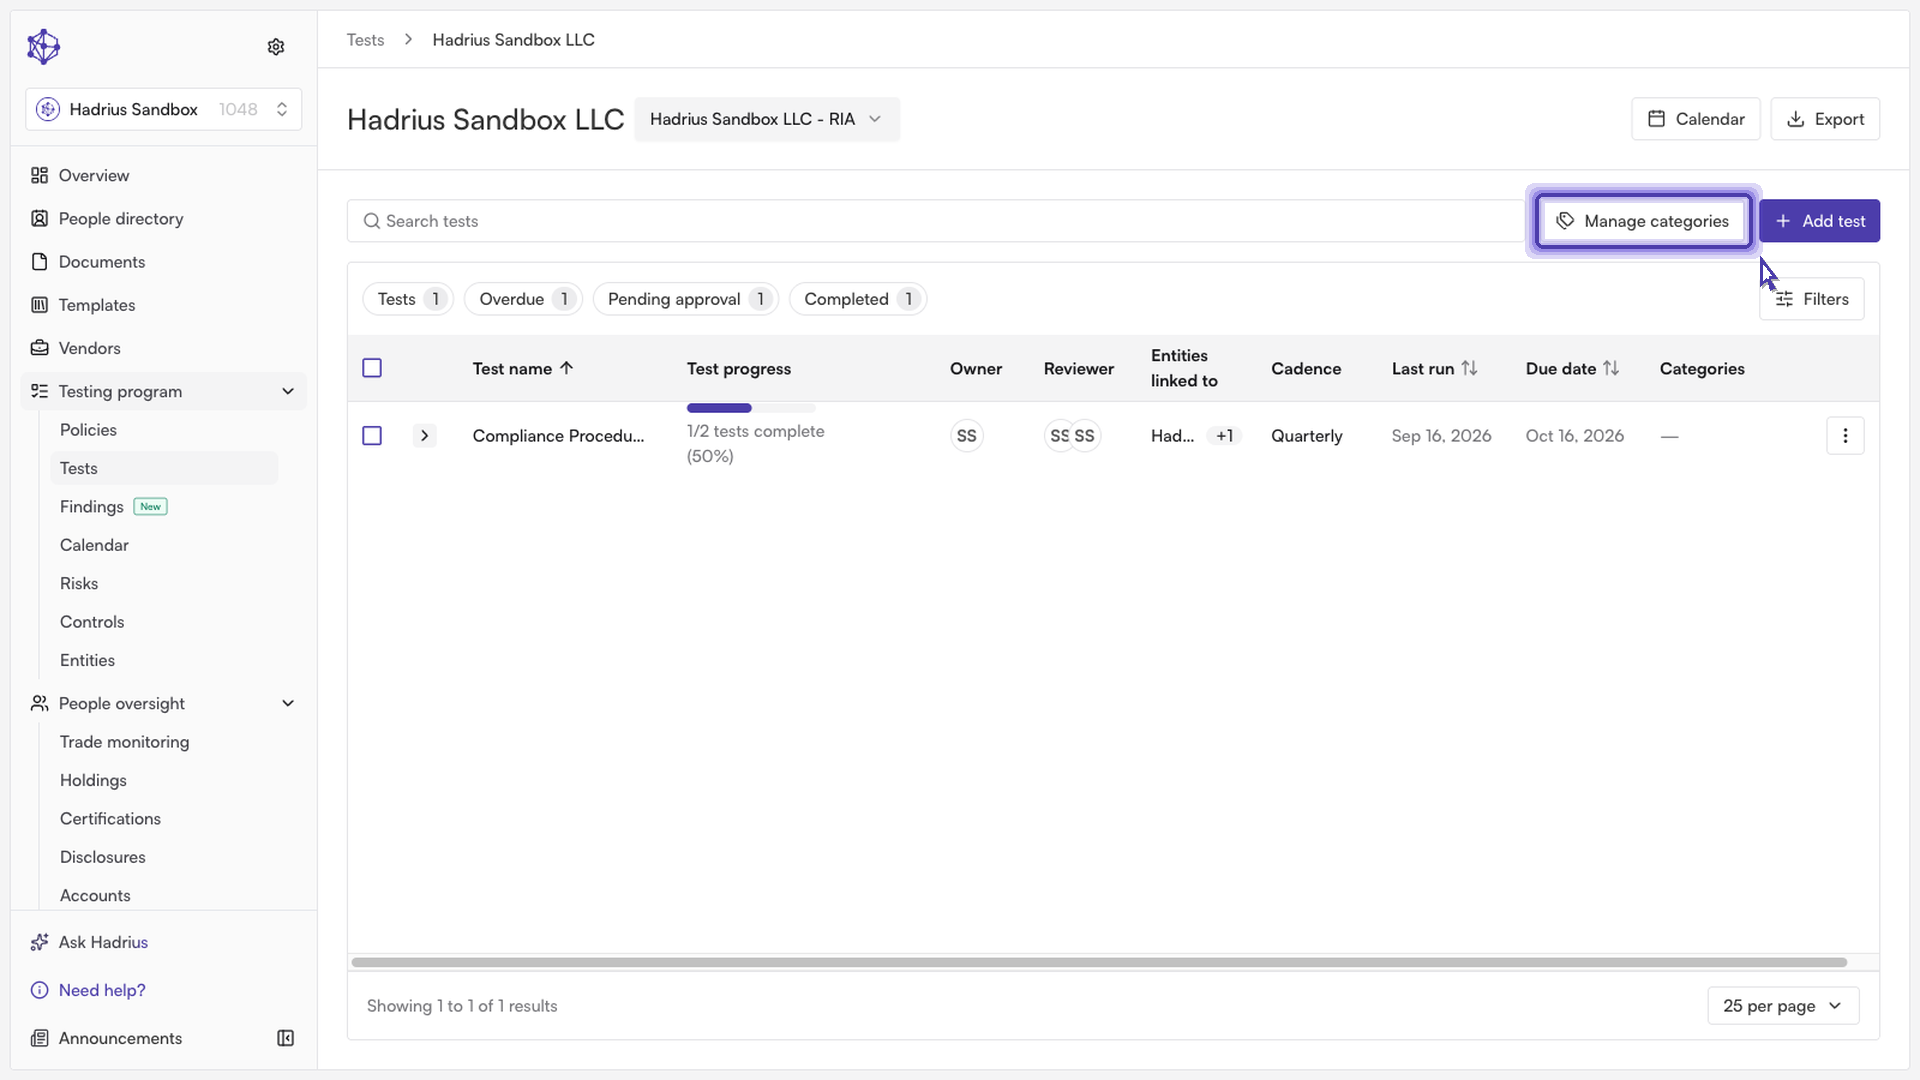
Renaming a category
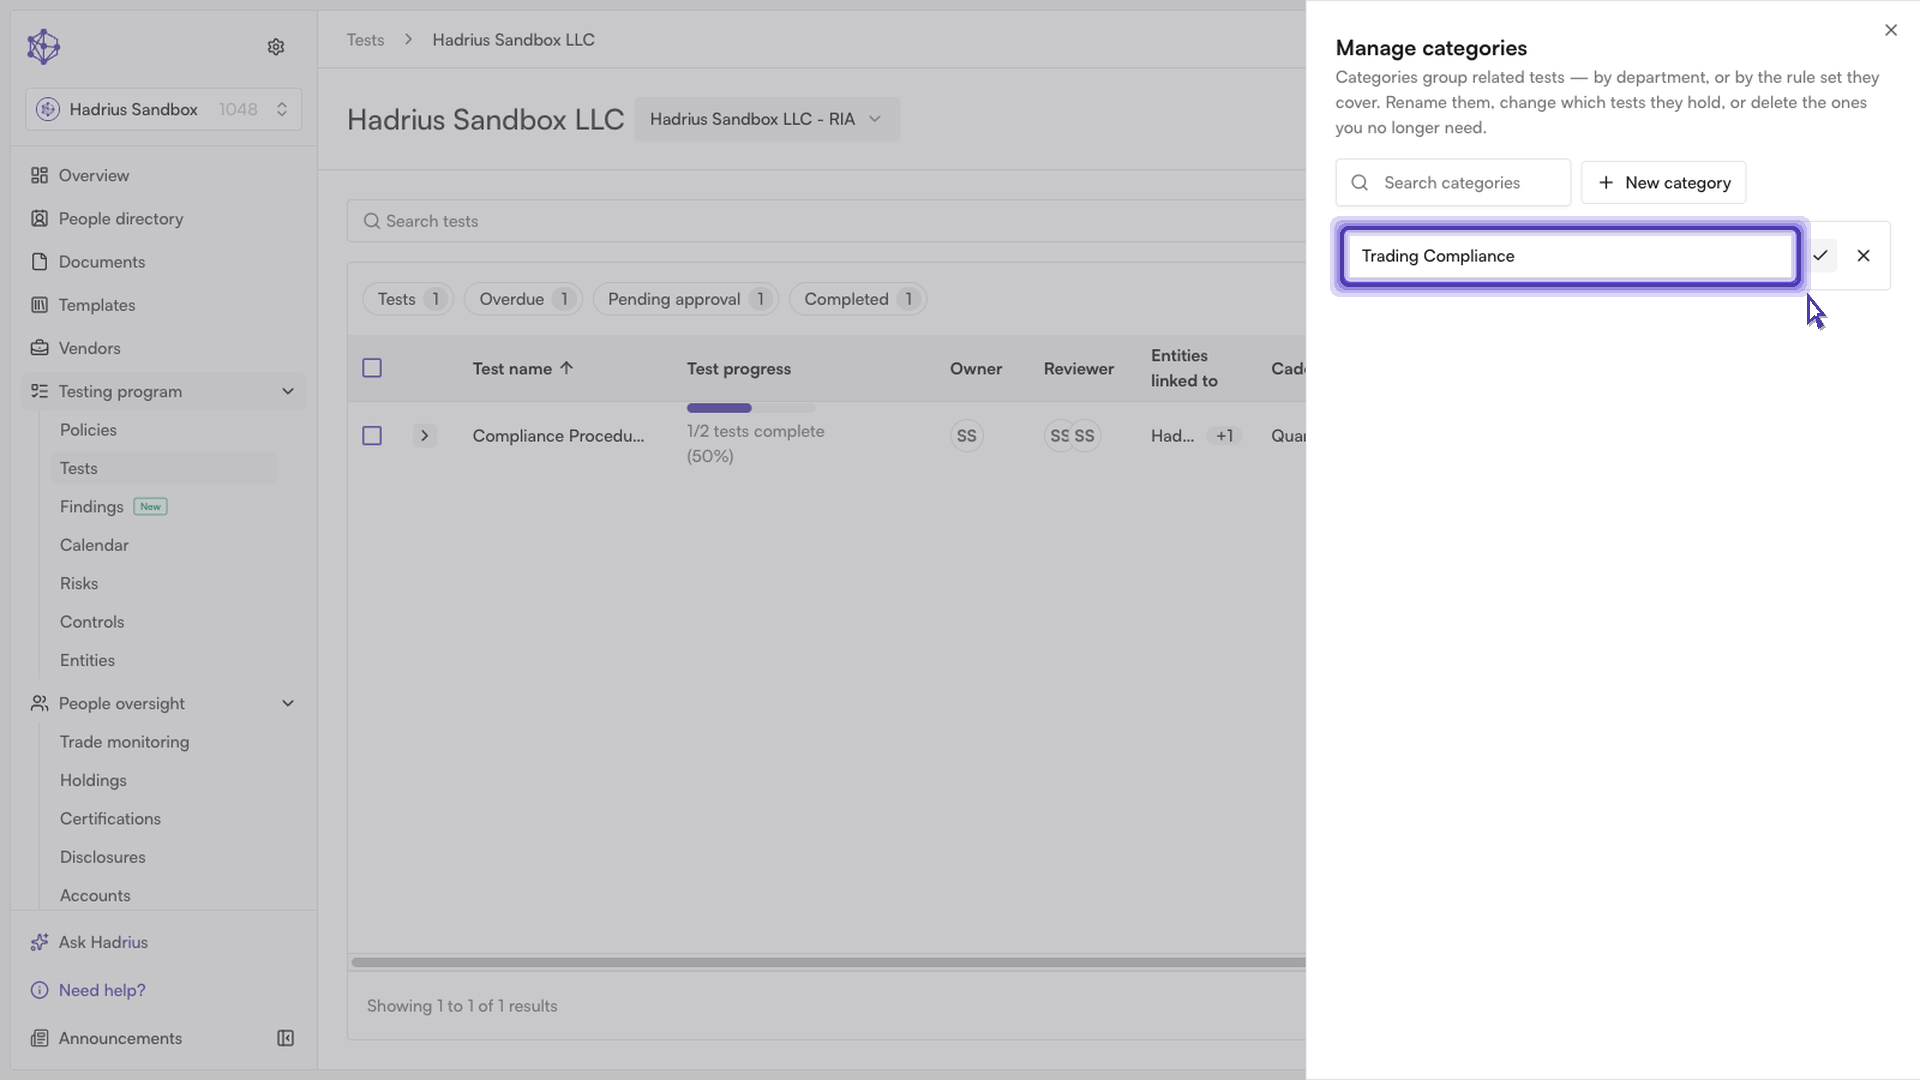
If a category's name no longer reflects what it actually covers, click the pencil icon next to it. This turns the row into an editable field — type the new name and confirm with the checkmark icon (or press Enter) to save it, or press Escape to cancel. The rename takes effect immediately and is reflected anywhere the category name appears, including test filters and pickers.
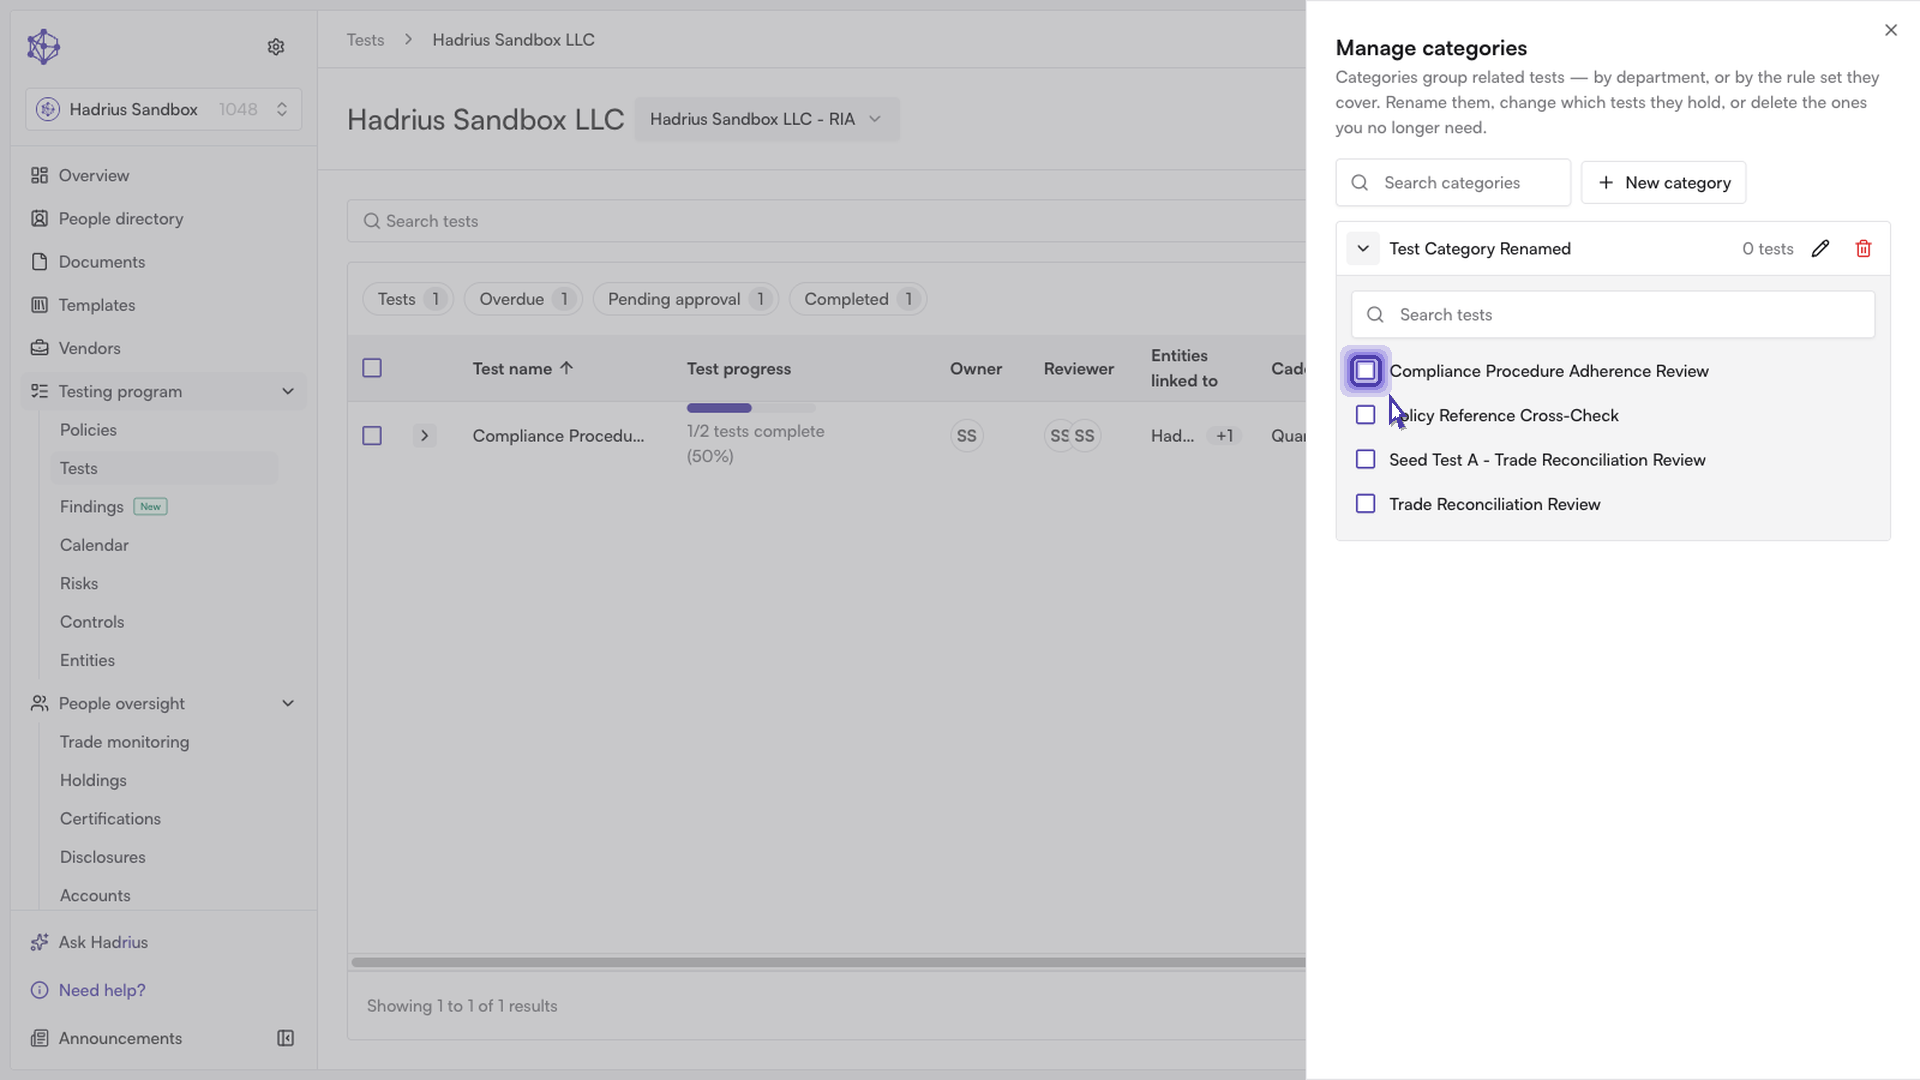
Reviewing and reorganizing which tests belong
Click a category row to expand it and see the tests currently filed under it, with a search field to help narrow a long list. Each test has a checkbox: checking it adds the test to that category, and unchecking it removes the test from that category. To move a test from one category to another, uncheck it in its current category, then expand the destination category and check it there. Only one category can be expanded at a time, and each checkbox change is saved right away — there's no separate save step for test membership.
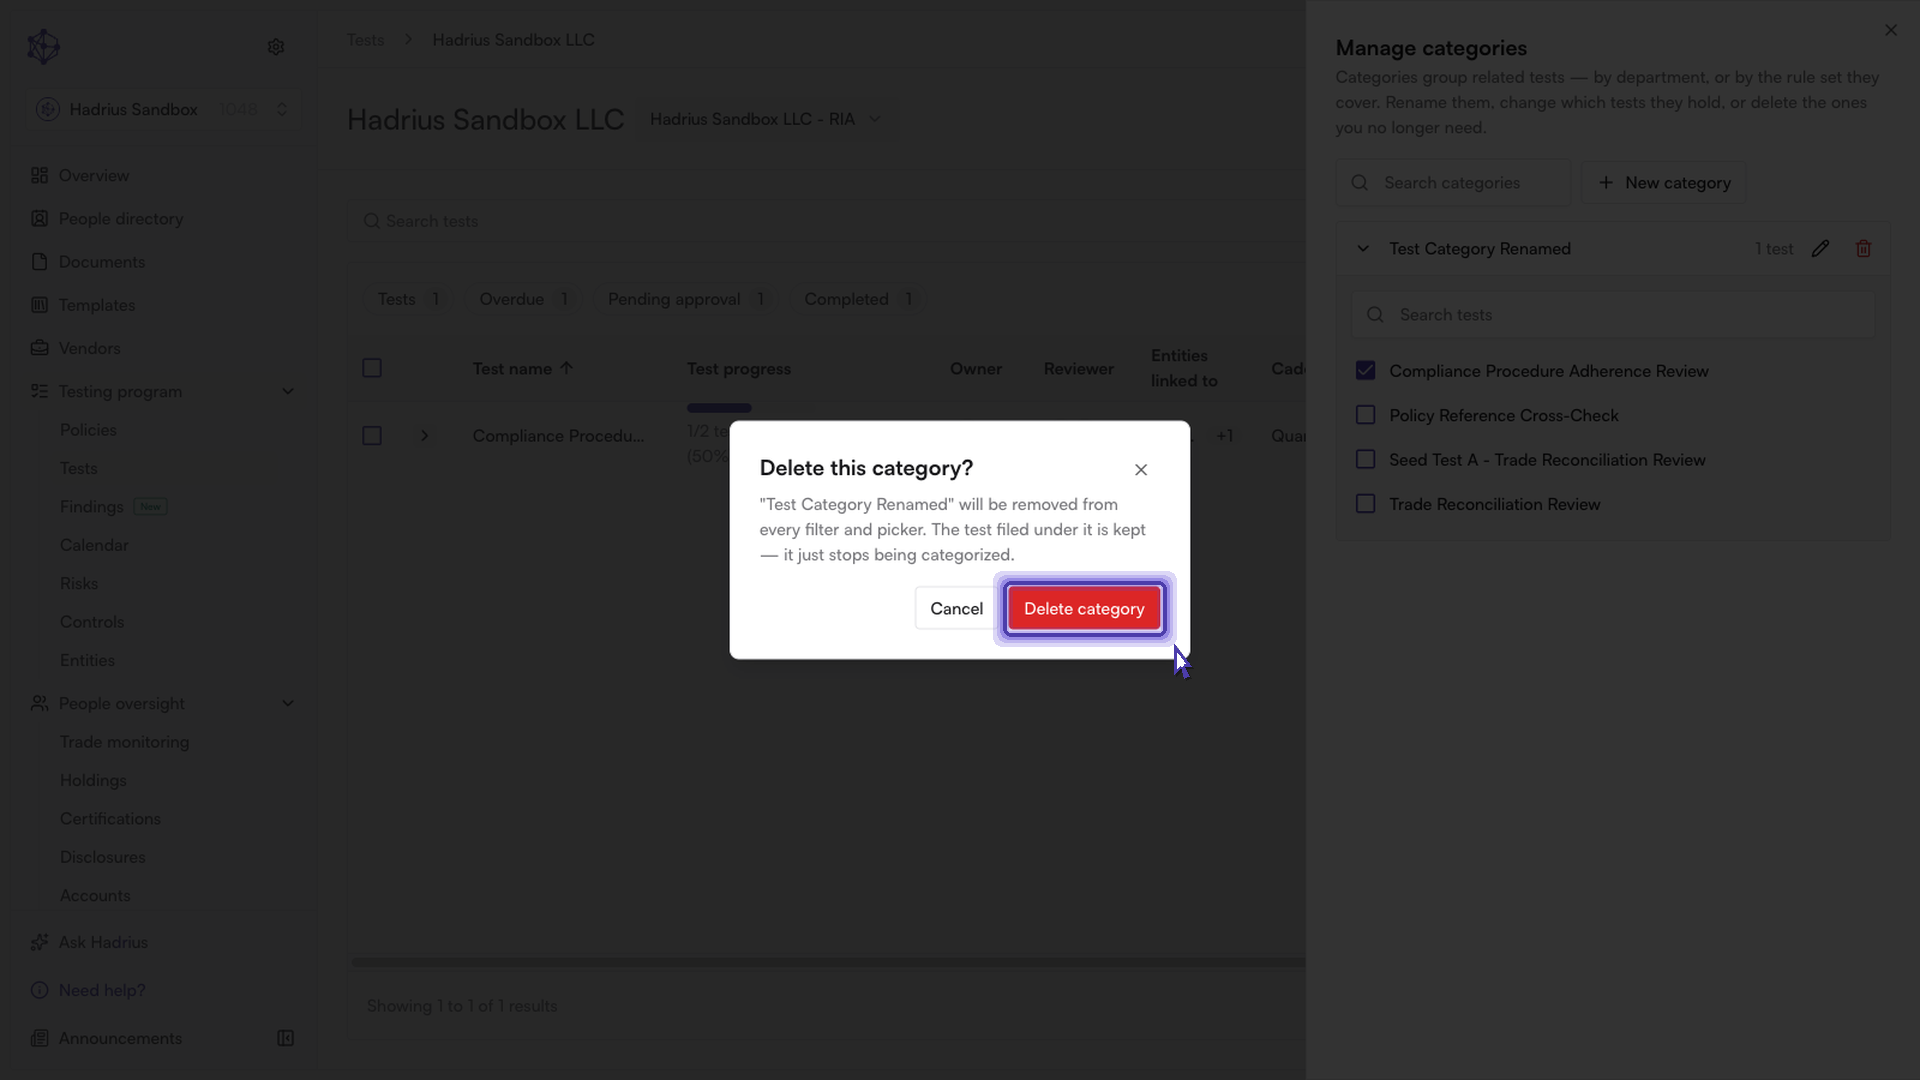
Deleting a category
If a category no longer fits how the program is organized, click the trash icon on its row and confirm in the dialog that appears. Deleting removes the category from every filter and picker, but it does not touch the tests that were filed under it — they're simply kept and become uncategorized rather than being deleted or archived themselves. This action can't be undone from the interface, so the confirmation dialog tells you exactly how many tests are affected before you proceed.
Creating a new category
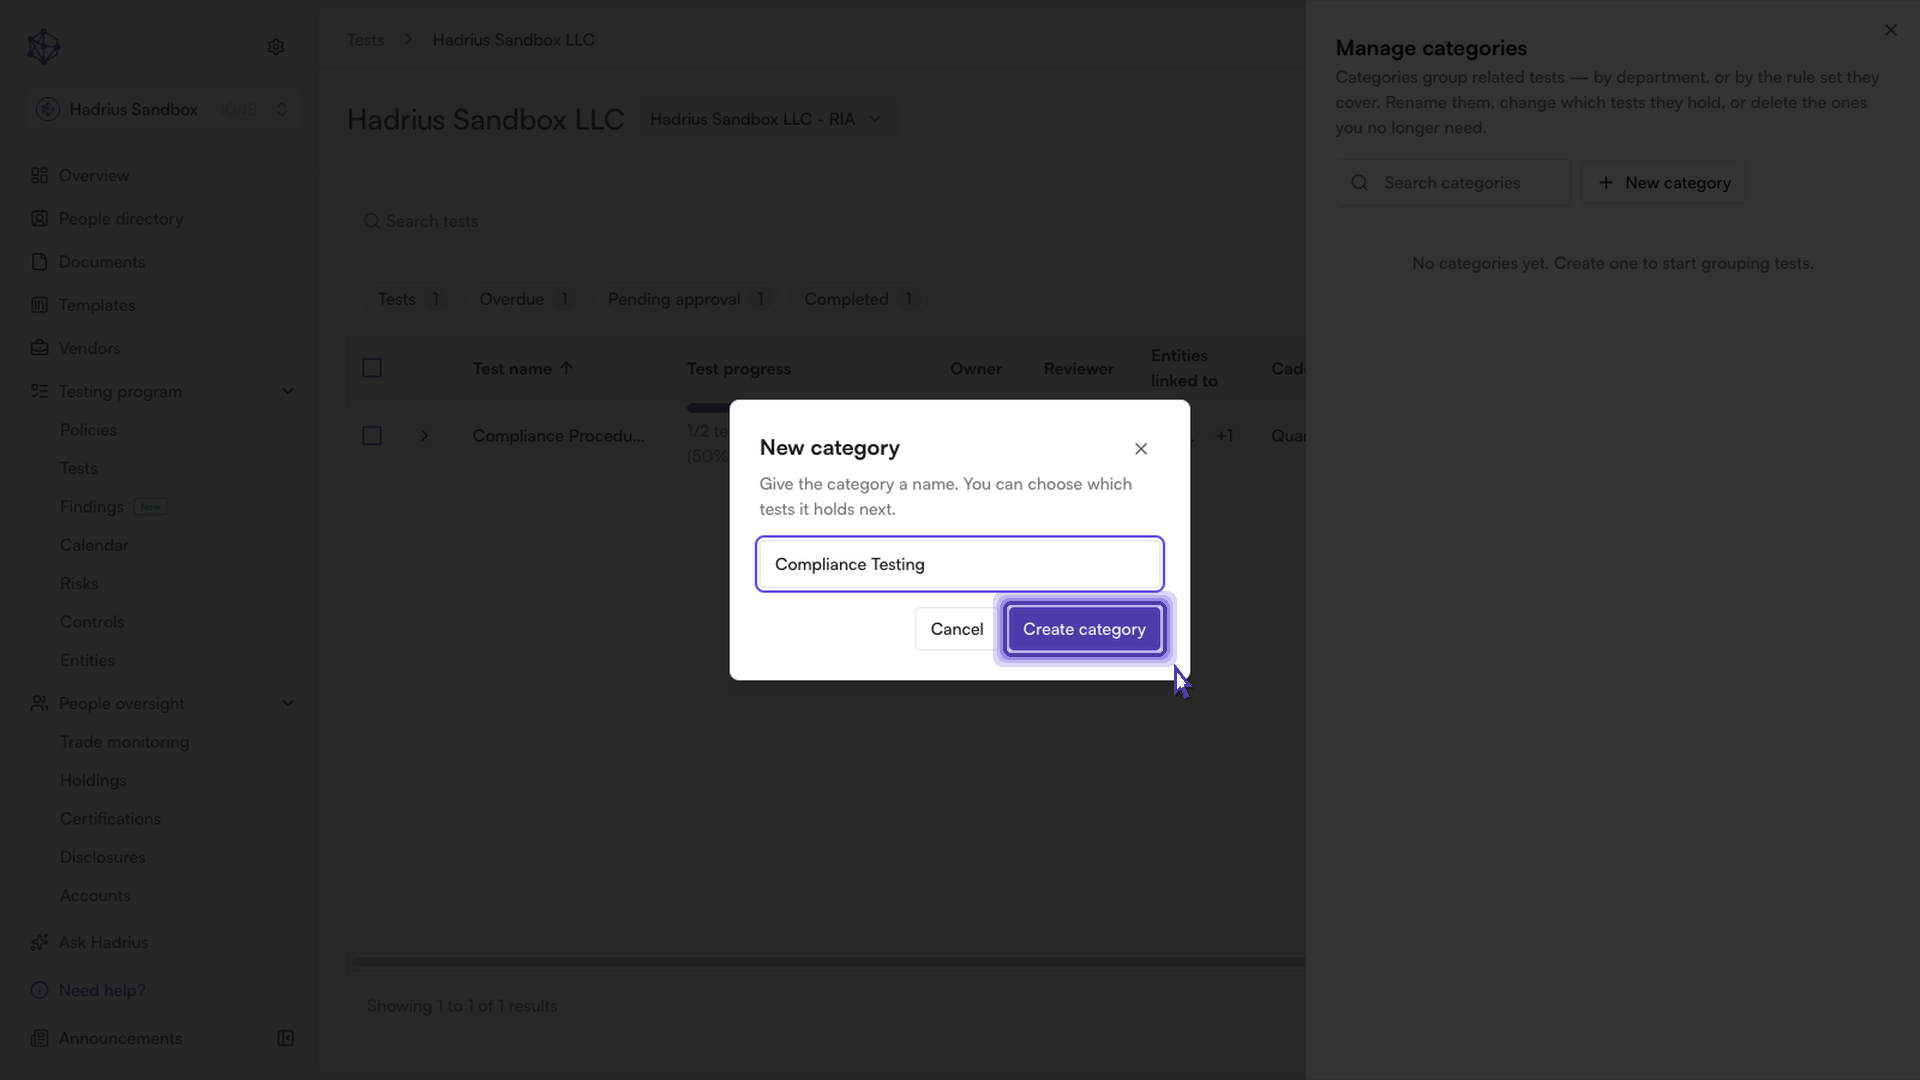
Click "New category" at the top of the panel, give it a name that reflects the type of testing it's meant to hold, and click "Create category." The new category appears in the list immediately and expands automatically, so you can start filing tests into it right away using the same checkbox picker described above.
Because categories can span more than one entity's tests, any rename, deletion, or membership change made here is reflected everywhere that category is used — not just on the entity you started from.