How to Configure a Custom Task
Last updated: October 17, 2026
A custom task (shown in the platform as a "test") is a recurring review that you define yourself. You choose what it covers, the questions the reviewer answers, how often it repeats, and who is responsible for it. This article walks through the setup wizard from start to finish. Use it when you need a repeatable check that isn't covered by an existing test, such as a periodic look at surveillance activity.
Before you begin
Decide which category the test belongs in, what you want the reviewer to report each time, and who should own it. The wizard has several steps, and you can move through them in order using the "Next" button at the bottom of each one. The steps are Test basics, Questionnaire, Scheduling, Ownership, Risks & Controls and Review. Your firm may not see the Risks & Controls step, because it can be turned off in firm oversight settings. In that case Ownership leads straight to Review.
Open the setup wizard
From the tests list, add a new test. This opens the setup wizard.
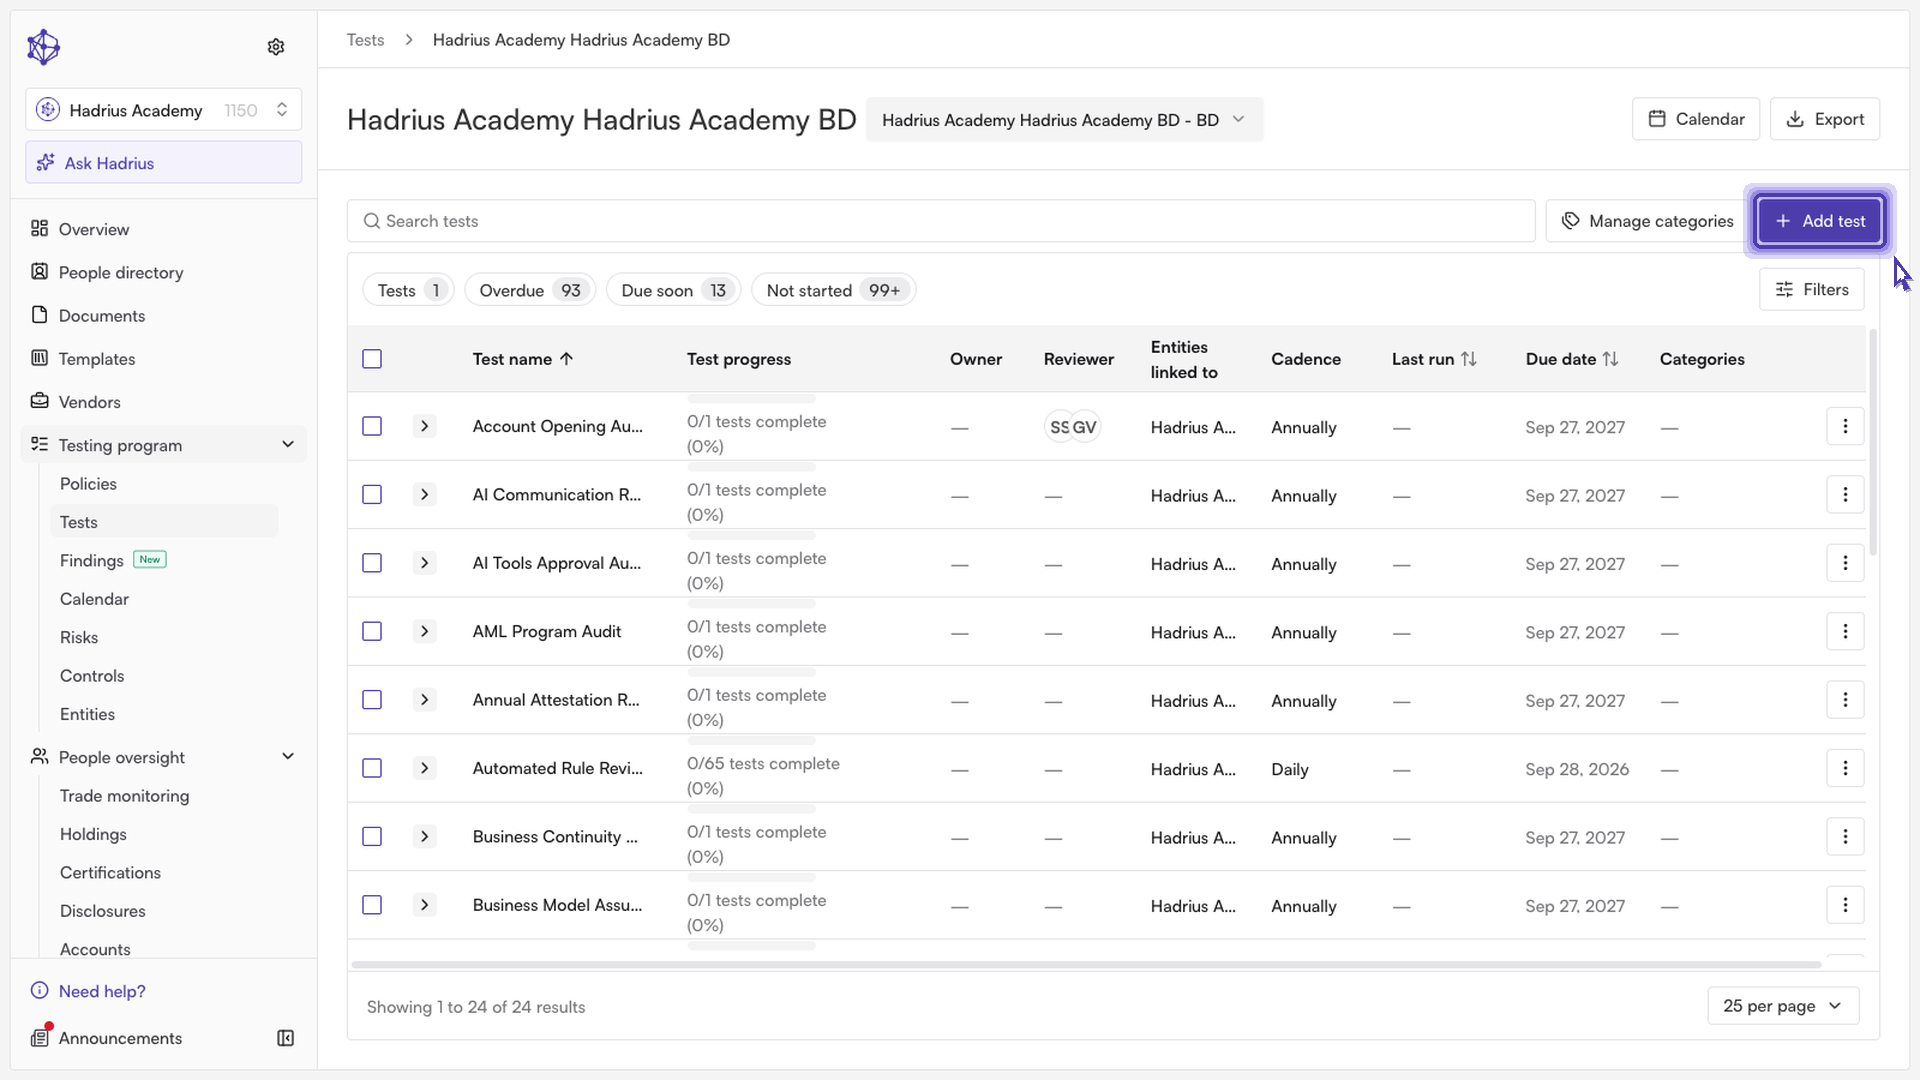
Steps
Define the test basics. Enter a clear title that tells reviewers exactly what the test covers, then file it under a category. For a test that monitors activity, for example, a surveillance category is a good fit. Select "Next: Questionnaire" to continue.
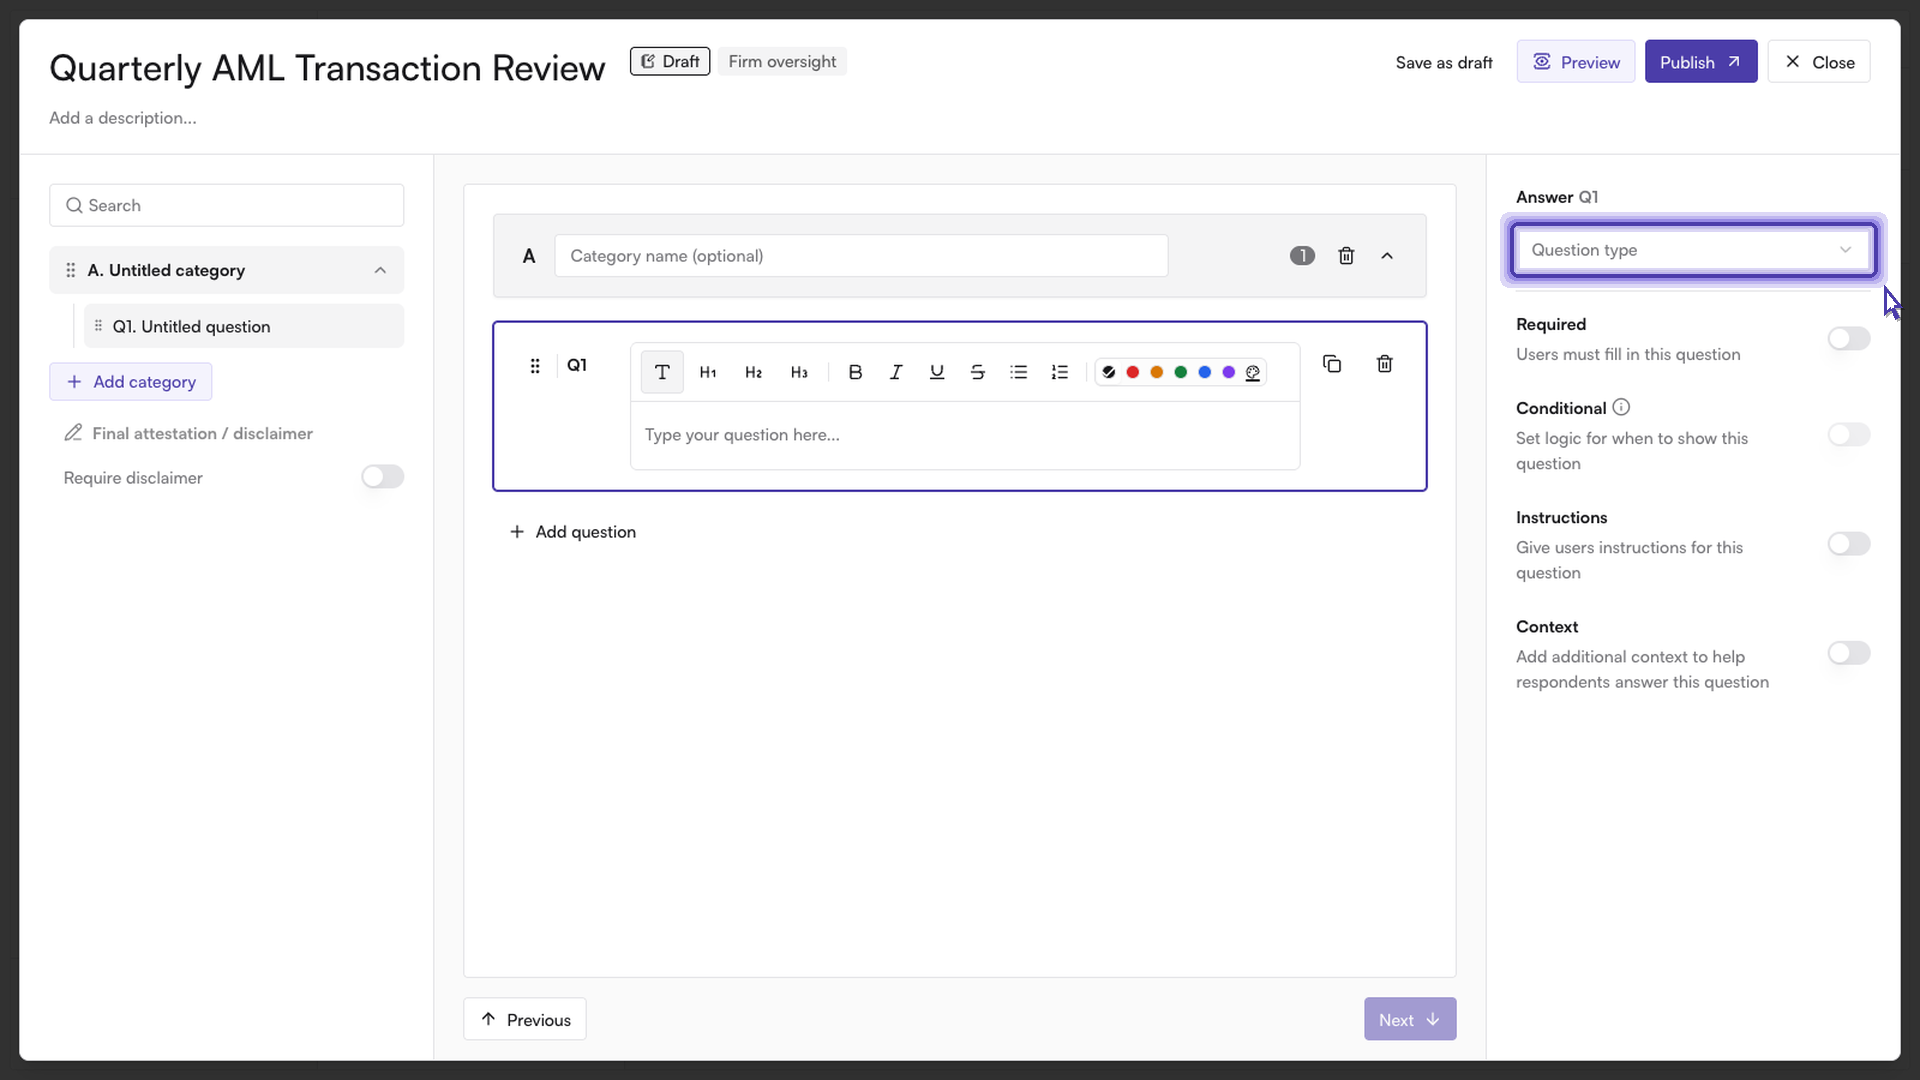
Build the questionnaire. The questionnaire is what the assigned reviewer completes on every run of the test. Choose to build one from scratch. For each question, pick a question type. A short answer suits a quick, specific response. Turn on "Required" if the reviewer must answer before they can finish the test. Then write the question text. For example, you might ask for the current risk rating so every review captures the same data point. When the questions are ready, publish the questionnaire to make it available to the test.
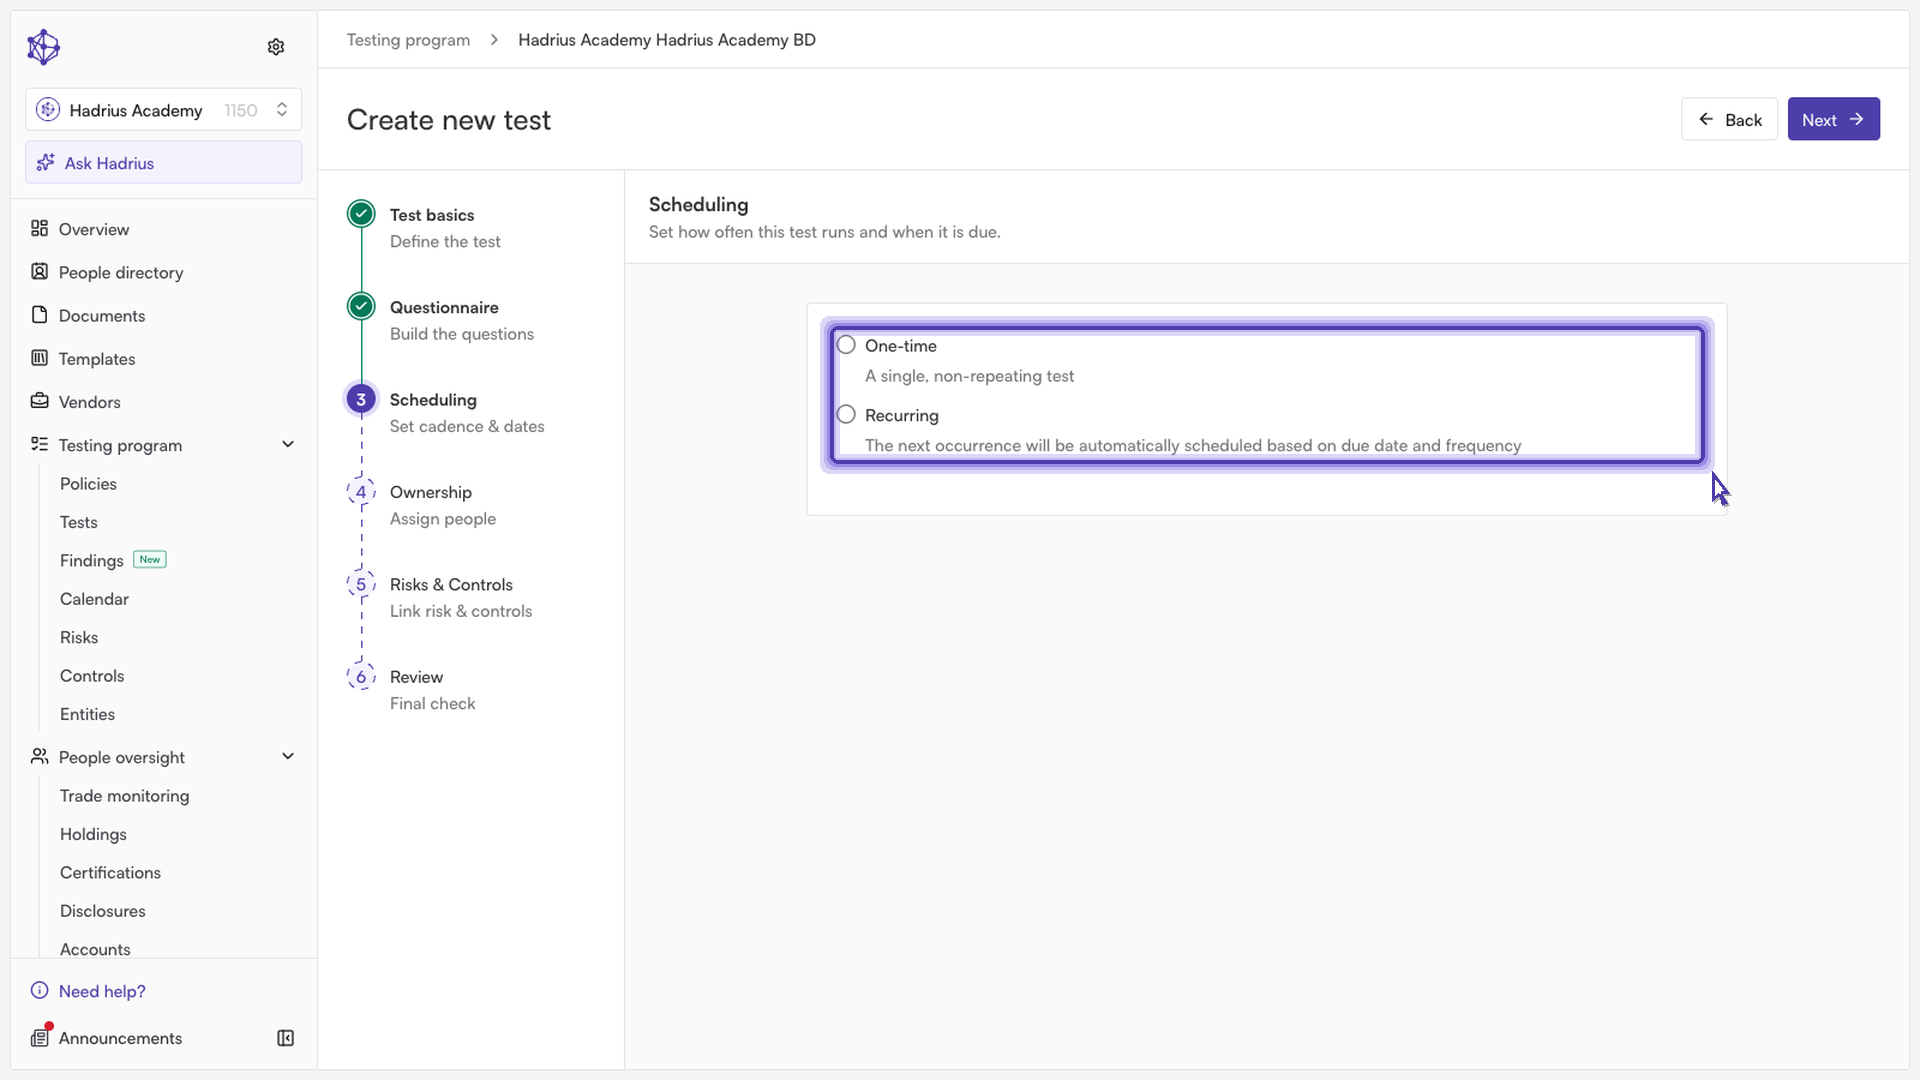
Set the schedule. Scheduling controls when and how often the test is assigned. Choose how the test repeats, or set it to run just once. Then pick the date the test begins. If you start it today, the task appears for the reviewer right away. Select "Next: Ownership".
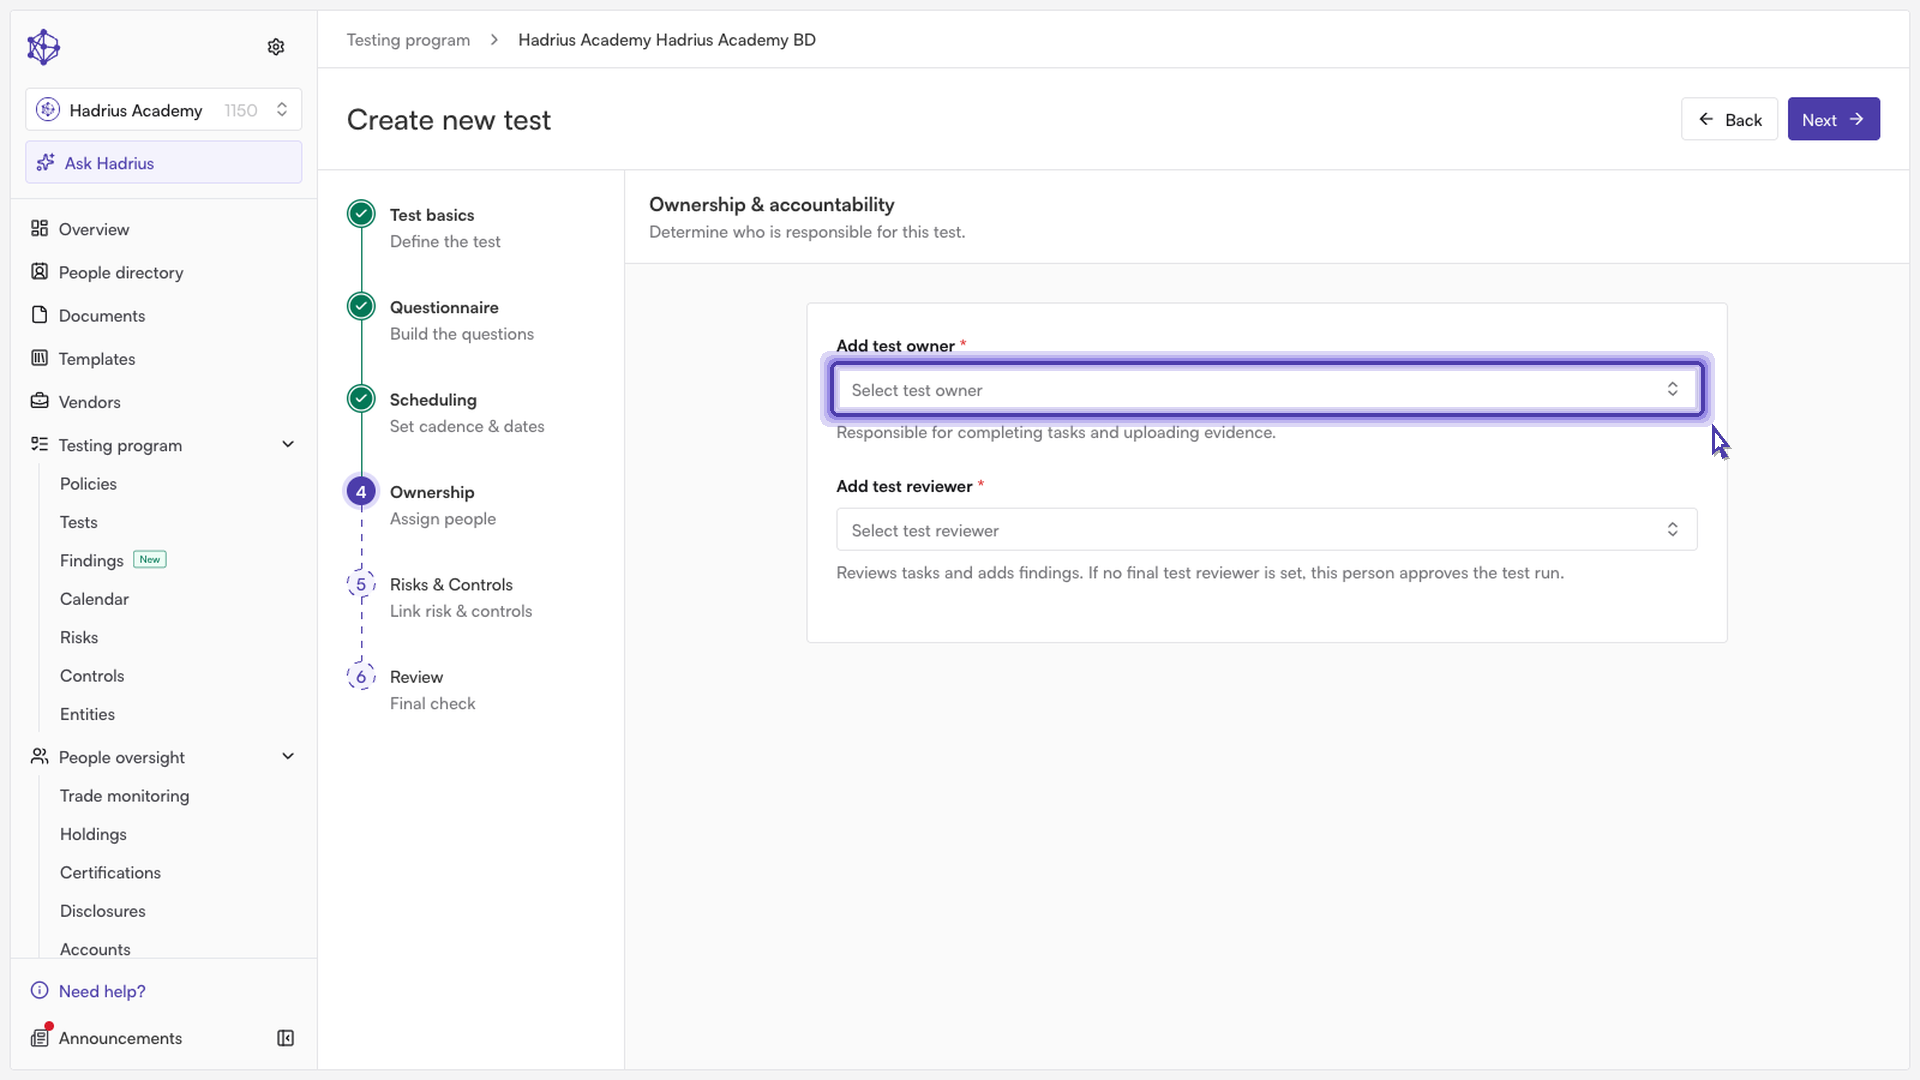
Assign ownership. Ownership determines who is accountable for the test. Choose the test owner first. You can then add a second person to share the work.
Link risks and controls (optional). If your firm has this step, you can connect the test to related risks and controls. It is optional, so you can skip it and continue to Review.
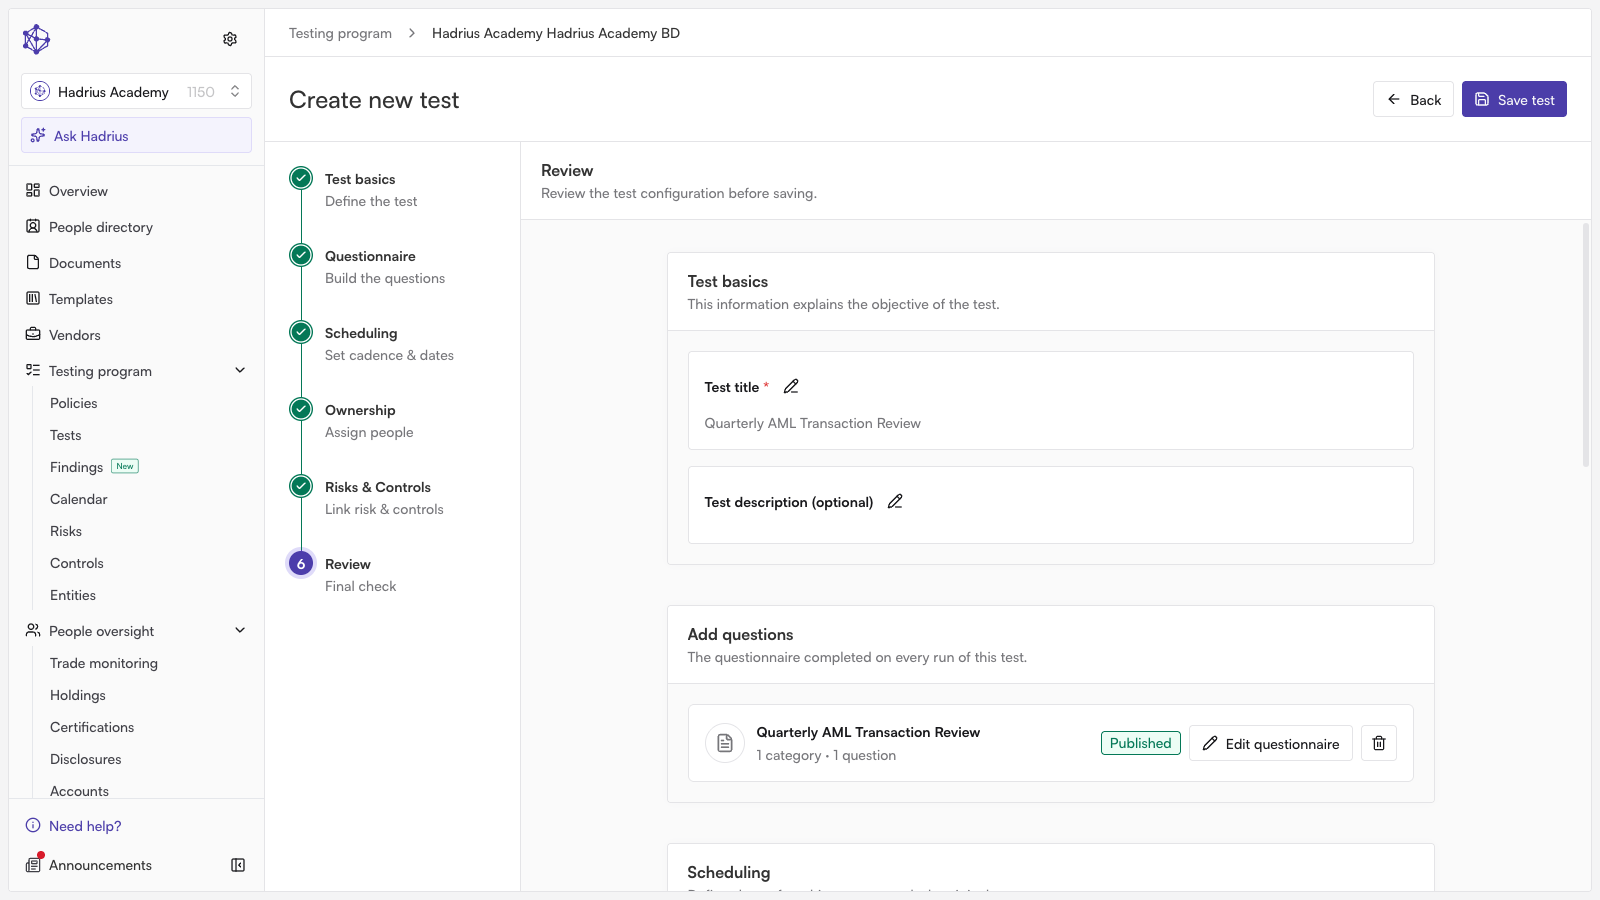
Review and save. The Review step shows everything you've configured so you can check it one last time. If something looks wrong, go back to that step and fix it. When you're satisfied, select "Save test".
What happens next
Saving creates the test. It then runs on the schedule you set, and the assigned reviewer answers the published questionnaire each time it comes due. If you chose a start date of today, the first task is available immediately.