How to create a new trade flagging (monitoring) rule
Last updated: September 22, 2026
This article walks through creating a new flagging rule in Trade Monitoring — the feature that continuously screens employee trading activity against the criteria your firm defines and surfaces any matching trades for review. Use this workflow whenever you need to start watching a security, industry, asset class, or trading pattern that isn't already covered by an existing rule (for example, adding a new restricted security, setting a cost-basis or trade-count threshold, or flagging round-trip trading).
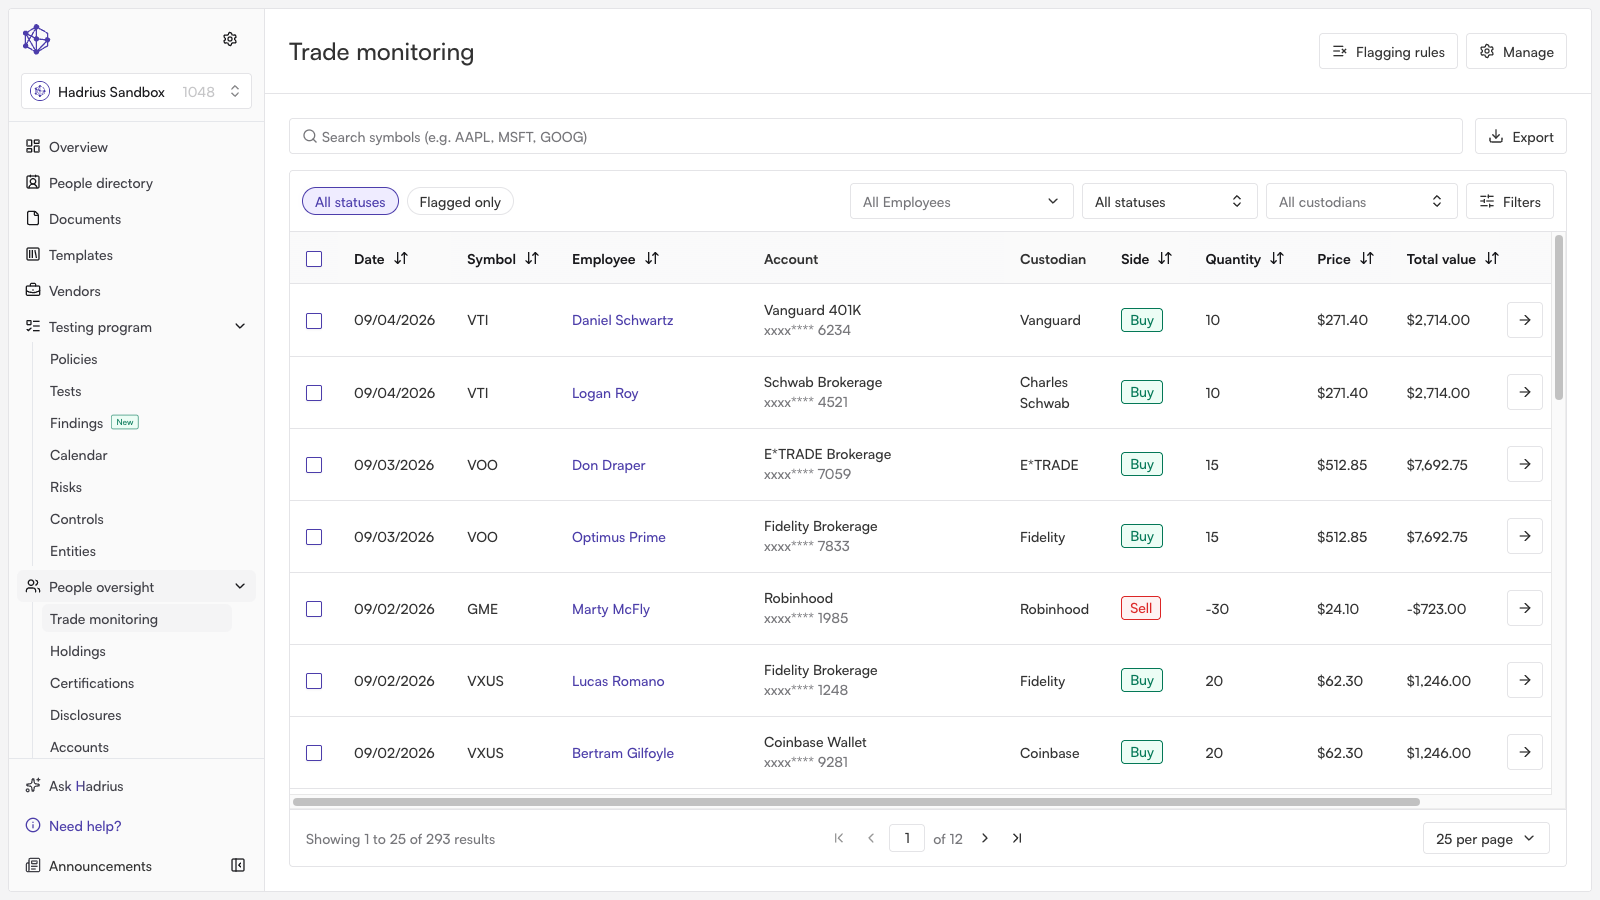
Step 1: Open Flagging Rules
From the left navigation, go to Trade Monitoring. This is where the platform keeps watch over employee trading activity and lists every rule currently in effect. Open the Flagging Rules panel to see existing rules and to add a new one.
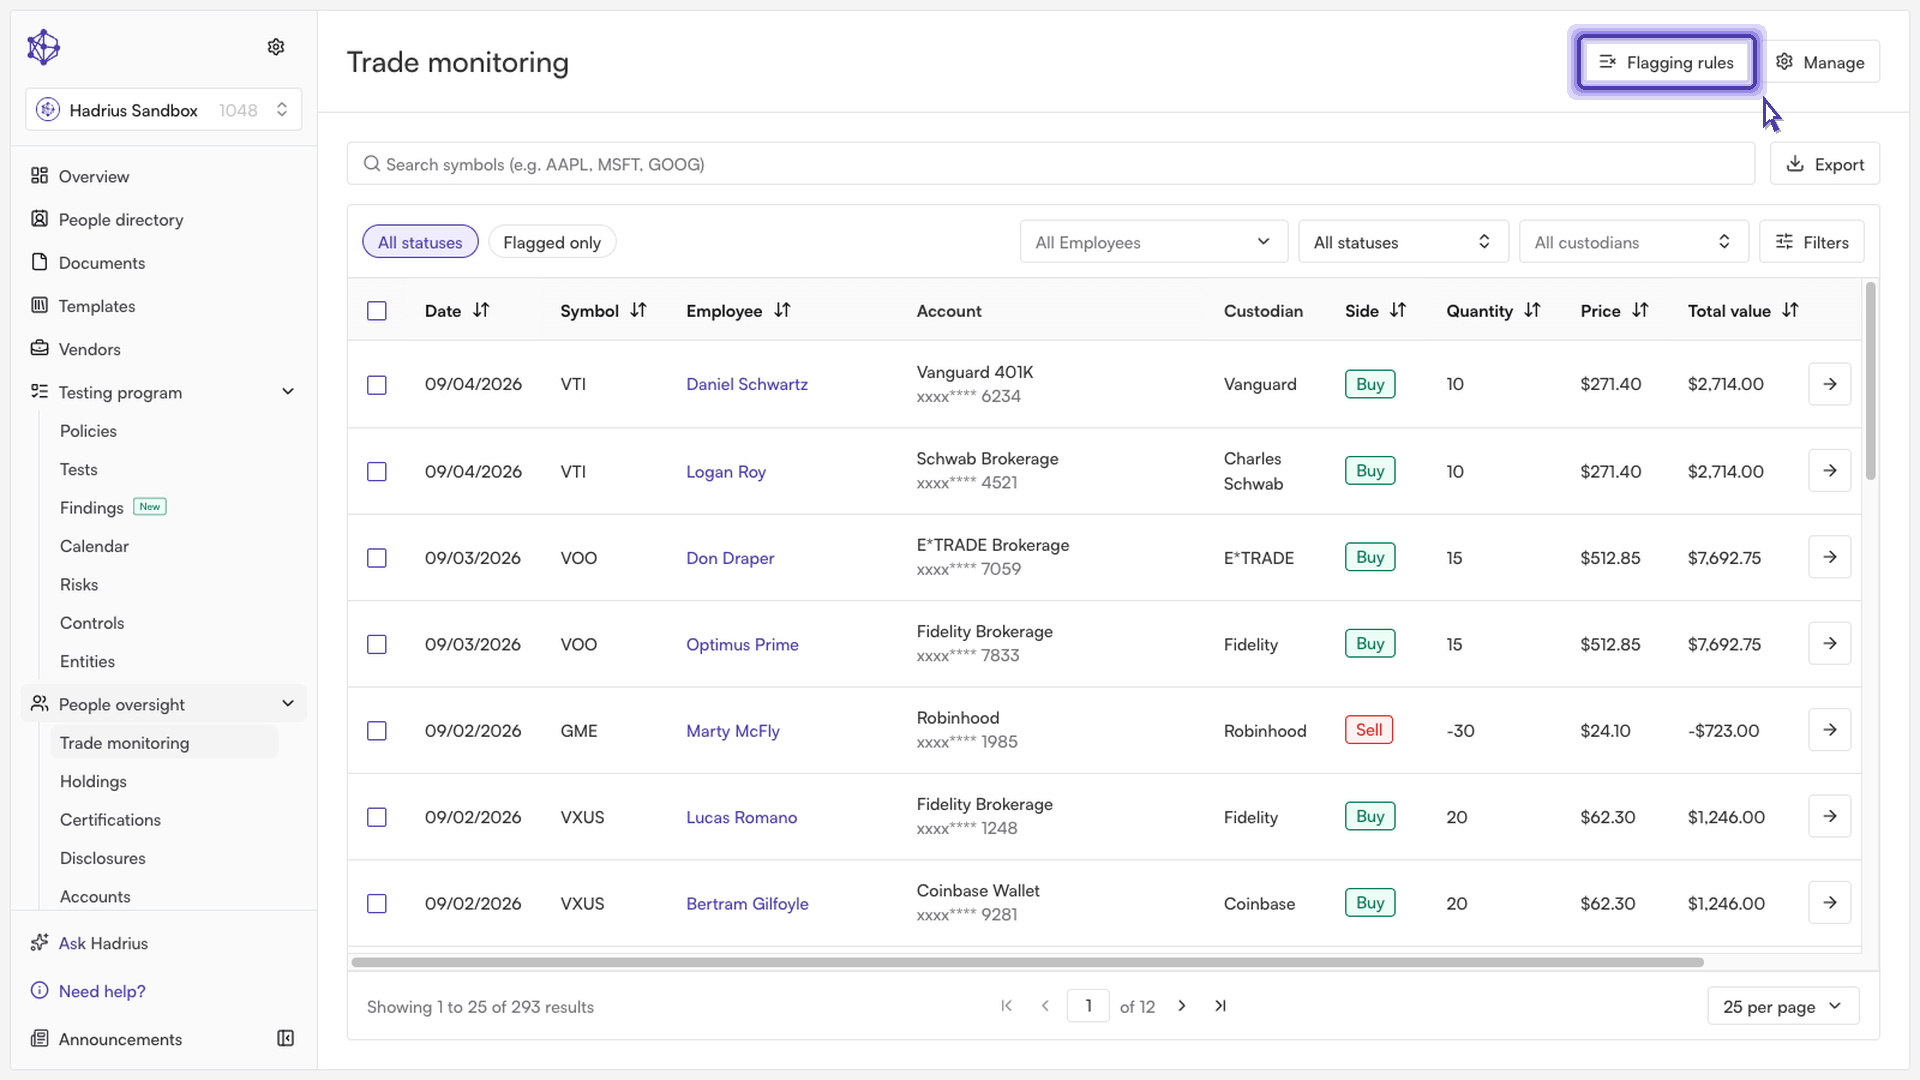
Step 2: Start a new rule and choose its type
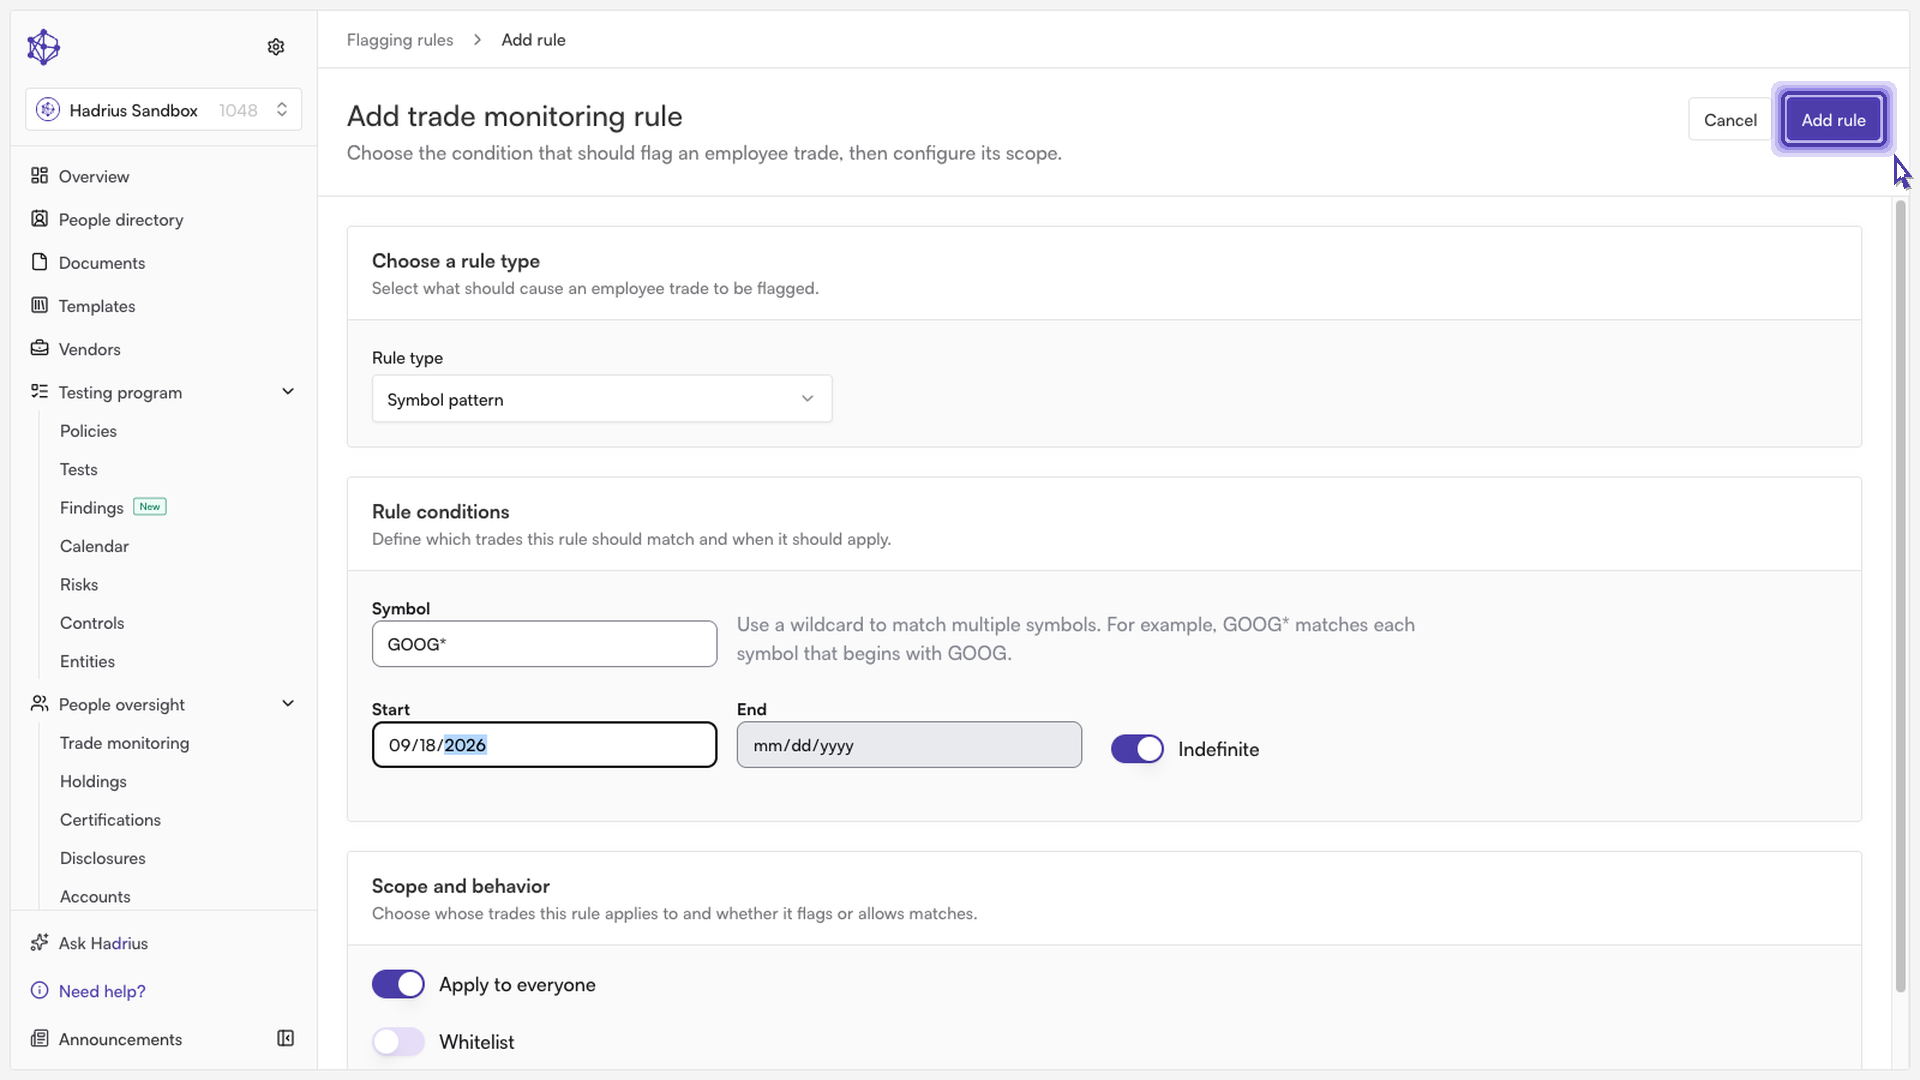
Click Add rule to open the rule builder. The first thing you'll choose is the Rule type — this determines what condition the platform checks on each trade. Options include a symbol pattern, a security list, cost basis, trade count, industry, asset class, market cap, percent change, and round-trip (day trading) detection. The fields below adjust automatically based on the type you pick.
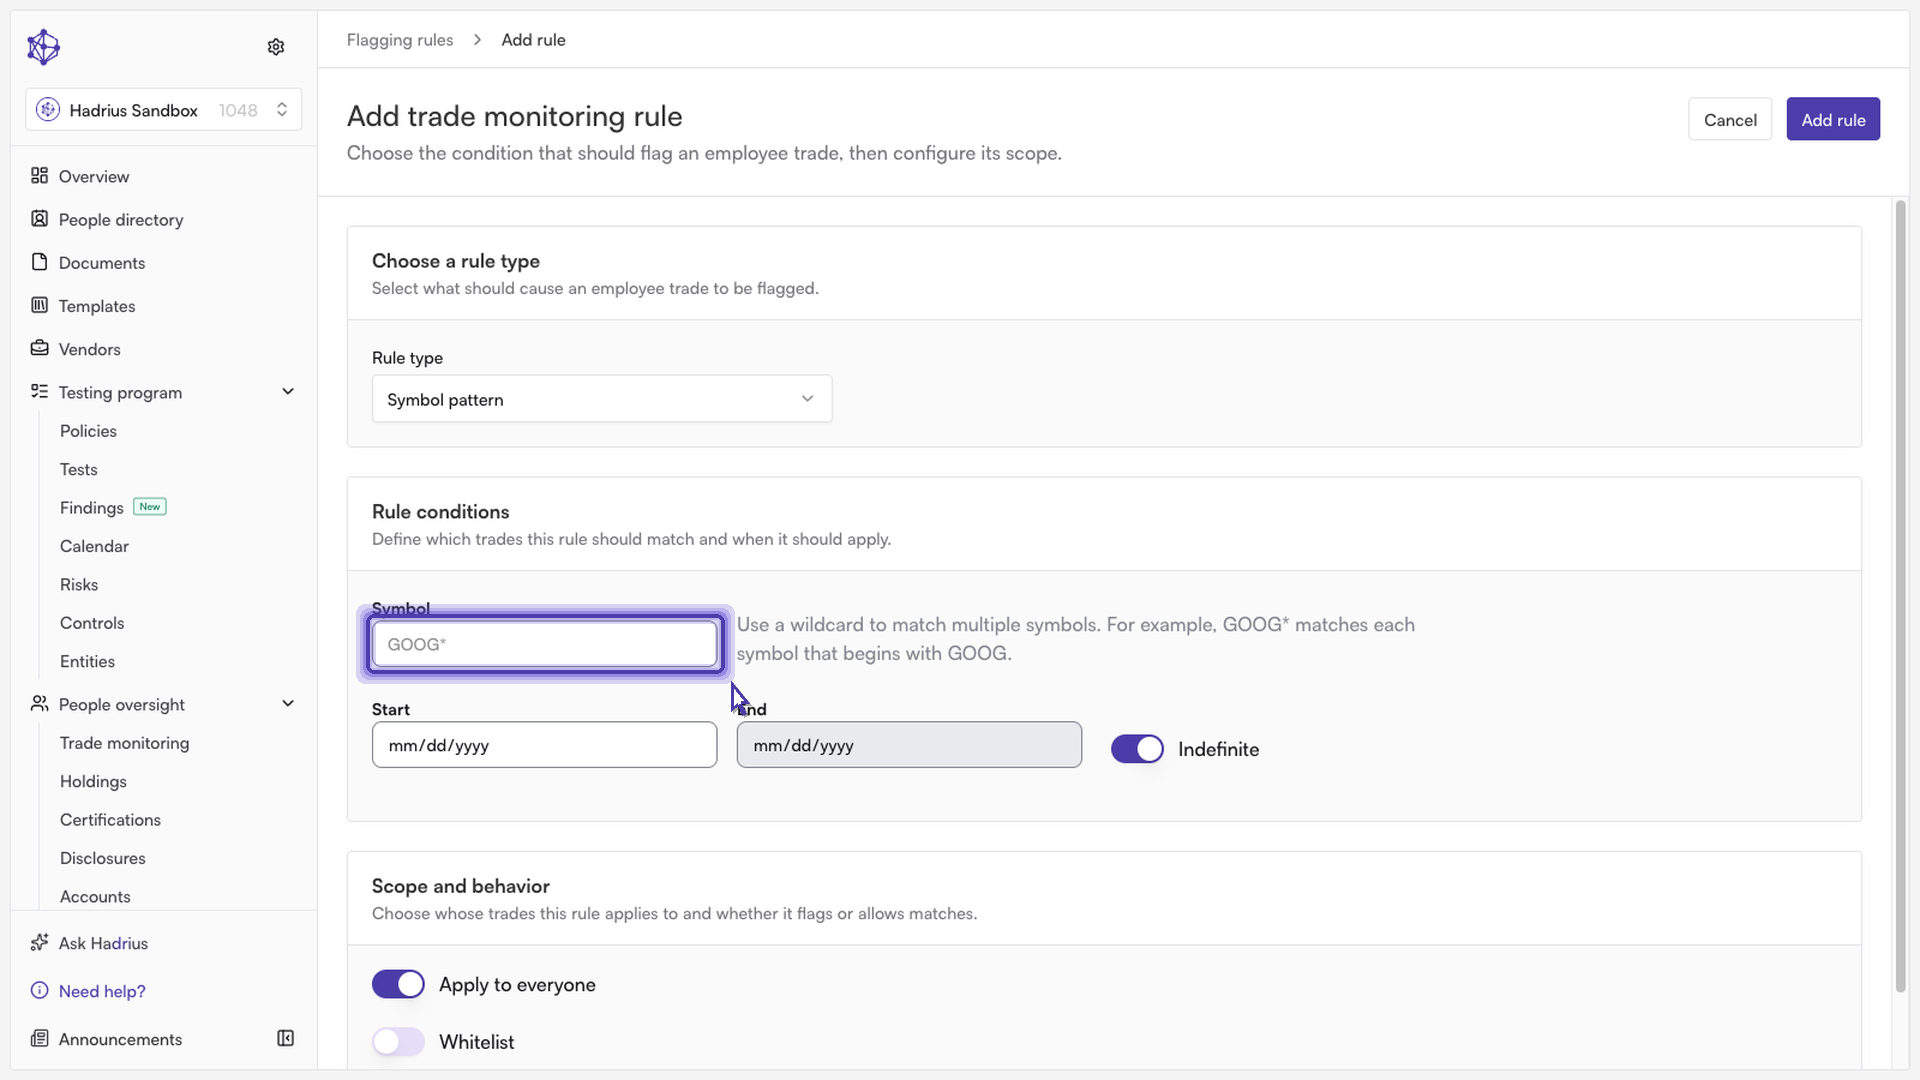
Step 3: Define the rule conditions
For a symbol-based rule, enter the ticker you want to watch. You can use a wildcard — for example, GOOG* — so the rule catches that ticker and any related symbols beginning with it, rather than requiring an exact match. Other rule types have their own fields instead of a symbol: a cost-basis threshold, a trade count and window, an industry selection, an asset class list, a market cap threshold with a buy/sell filter, a percent-change threshold and window, or a round-trip window in days.
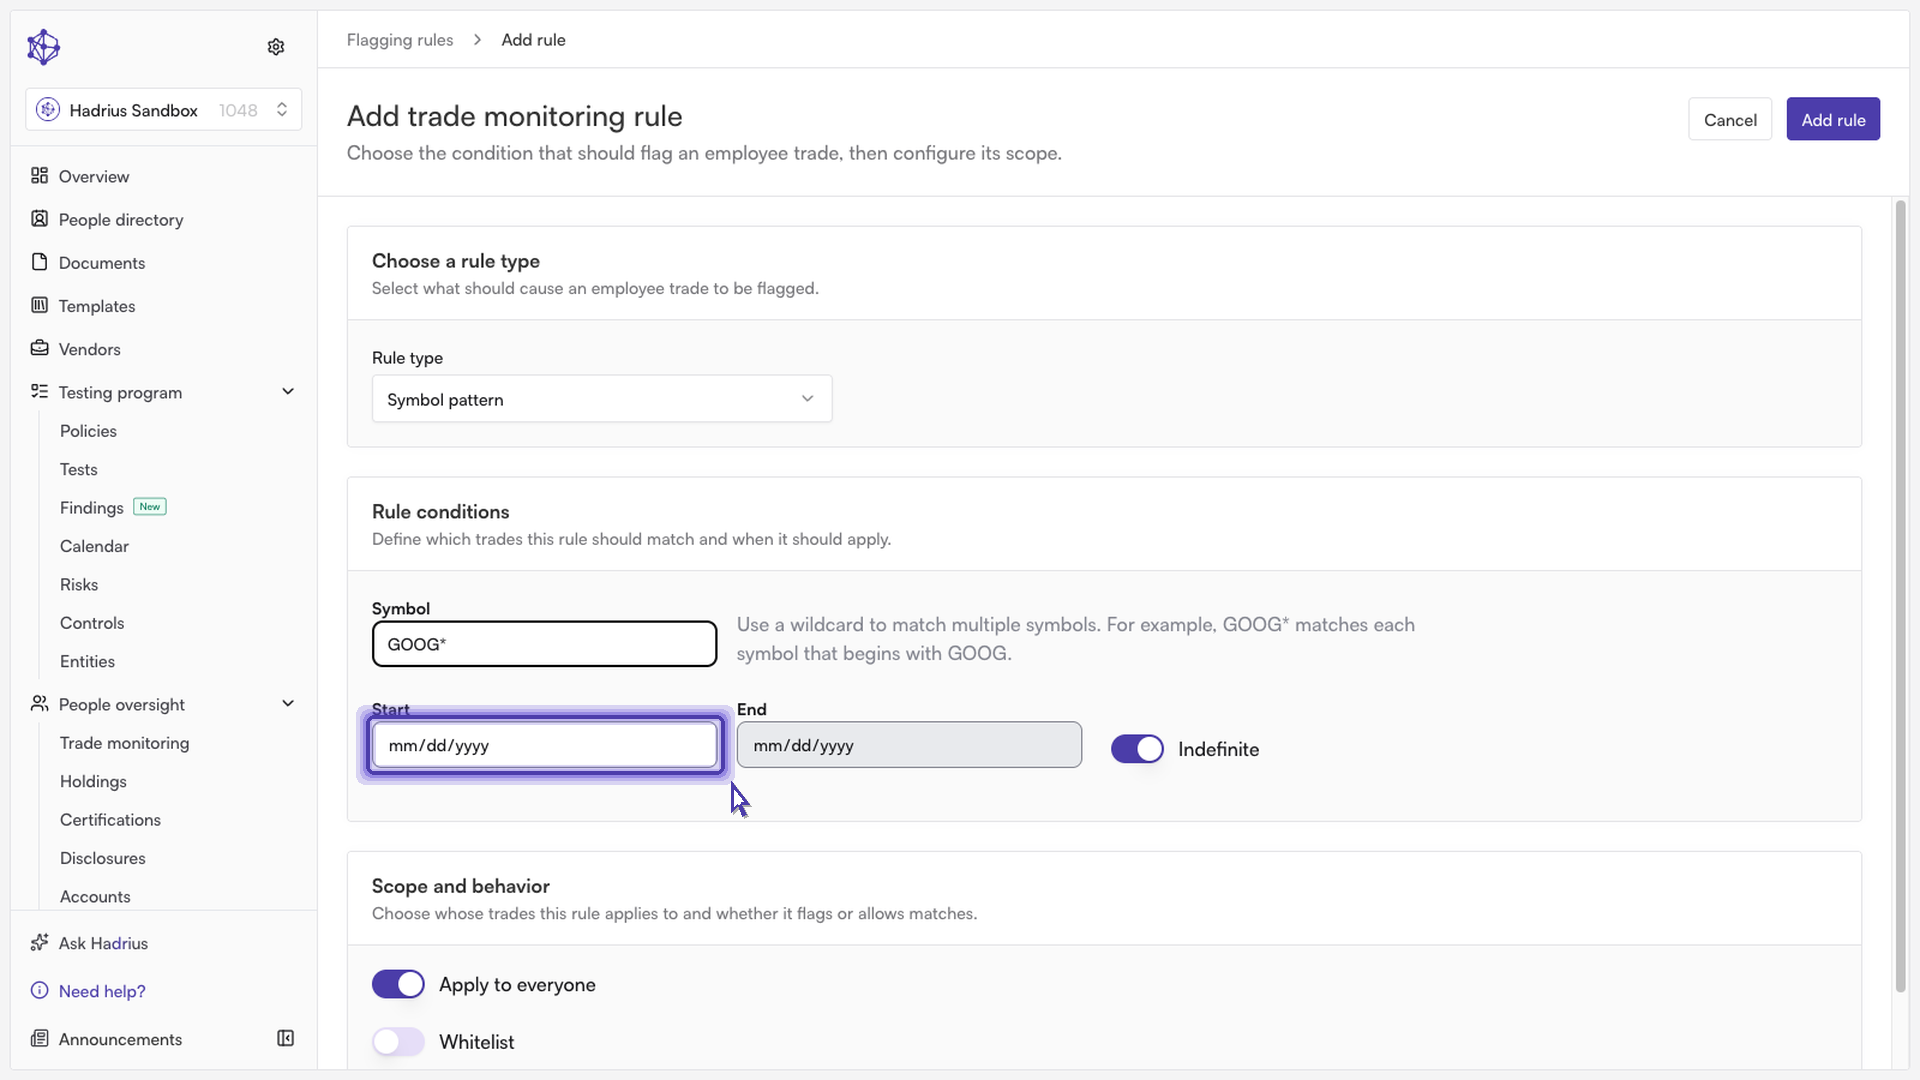
Every rule type also lets you set a Start date, which tells the platform exactly when the restriction should begin taking effect. By default the rule runs indefinitely; turn off the Indefinite switch if you want to also set an end date.
Step 4: Set scope and behavior
Next, decide whose trades the rule applies to. Leave Apply to everyone on to run the rule against all employees, or turn it off to select specific employees from the dropdown. You can also mark the rule as a Whitelist — whitelisted rules allow matching trades instead of flagging them, and take precedence over restricted rules when both would otherwise apply to the same trade.
Step 5: Save the rule
Once the conditions and scope look correct, click Add rule in the header to save. The rule takes effect immediately, and any trade that matches its criteria going forward will be flagged for review (or allowed through, if it's a whitelist rule).
After saving, you'll return to the Flagging Rules list, where the new rule appears alongside your existing ones. You can open any rule from that list to review or disable it later.