How to Configure Trade Monitoring Rules
Last updated: September 30, 2026
Trade monitoring rules are what determine which employee trades get flagged for compliance review. This article walks through building a rule from the trade monitoring dashboard, covers both single-symbol and list-based restrictions, and shows how to configure the automation that decides which pre-trade disclosures are approved or rejected automatically. Use it whenever you need to add a new restriction, load a large restricted securities list, or adjust how pre-trade disclosures are handled.
Where rules live
Flagged employee trades appear on the trade monitoring dashboard. Every flag on that dashboard is produced by a rule, so rule configuration lives one level down, under Flagging rules (employees may see this labeled Trade monitoring rules). That page lists every rule currently configured for the firm before you add a new one.
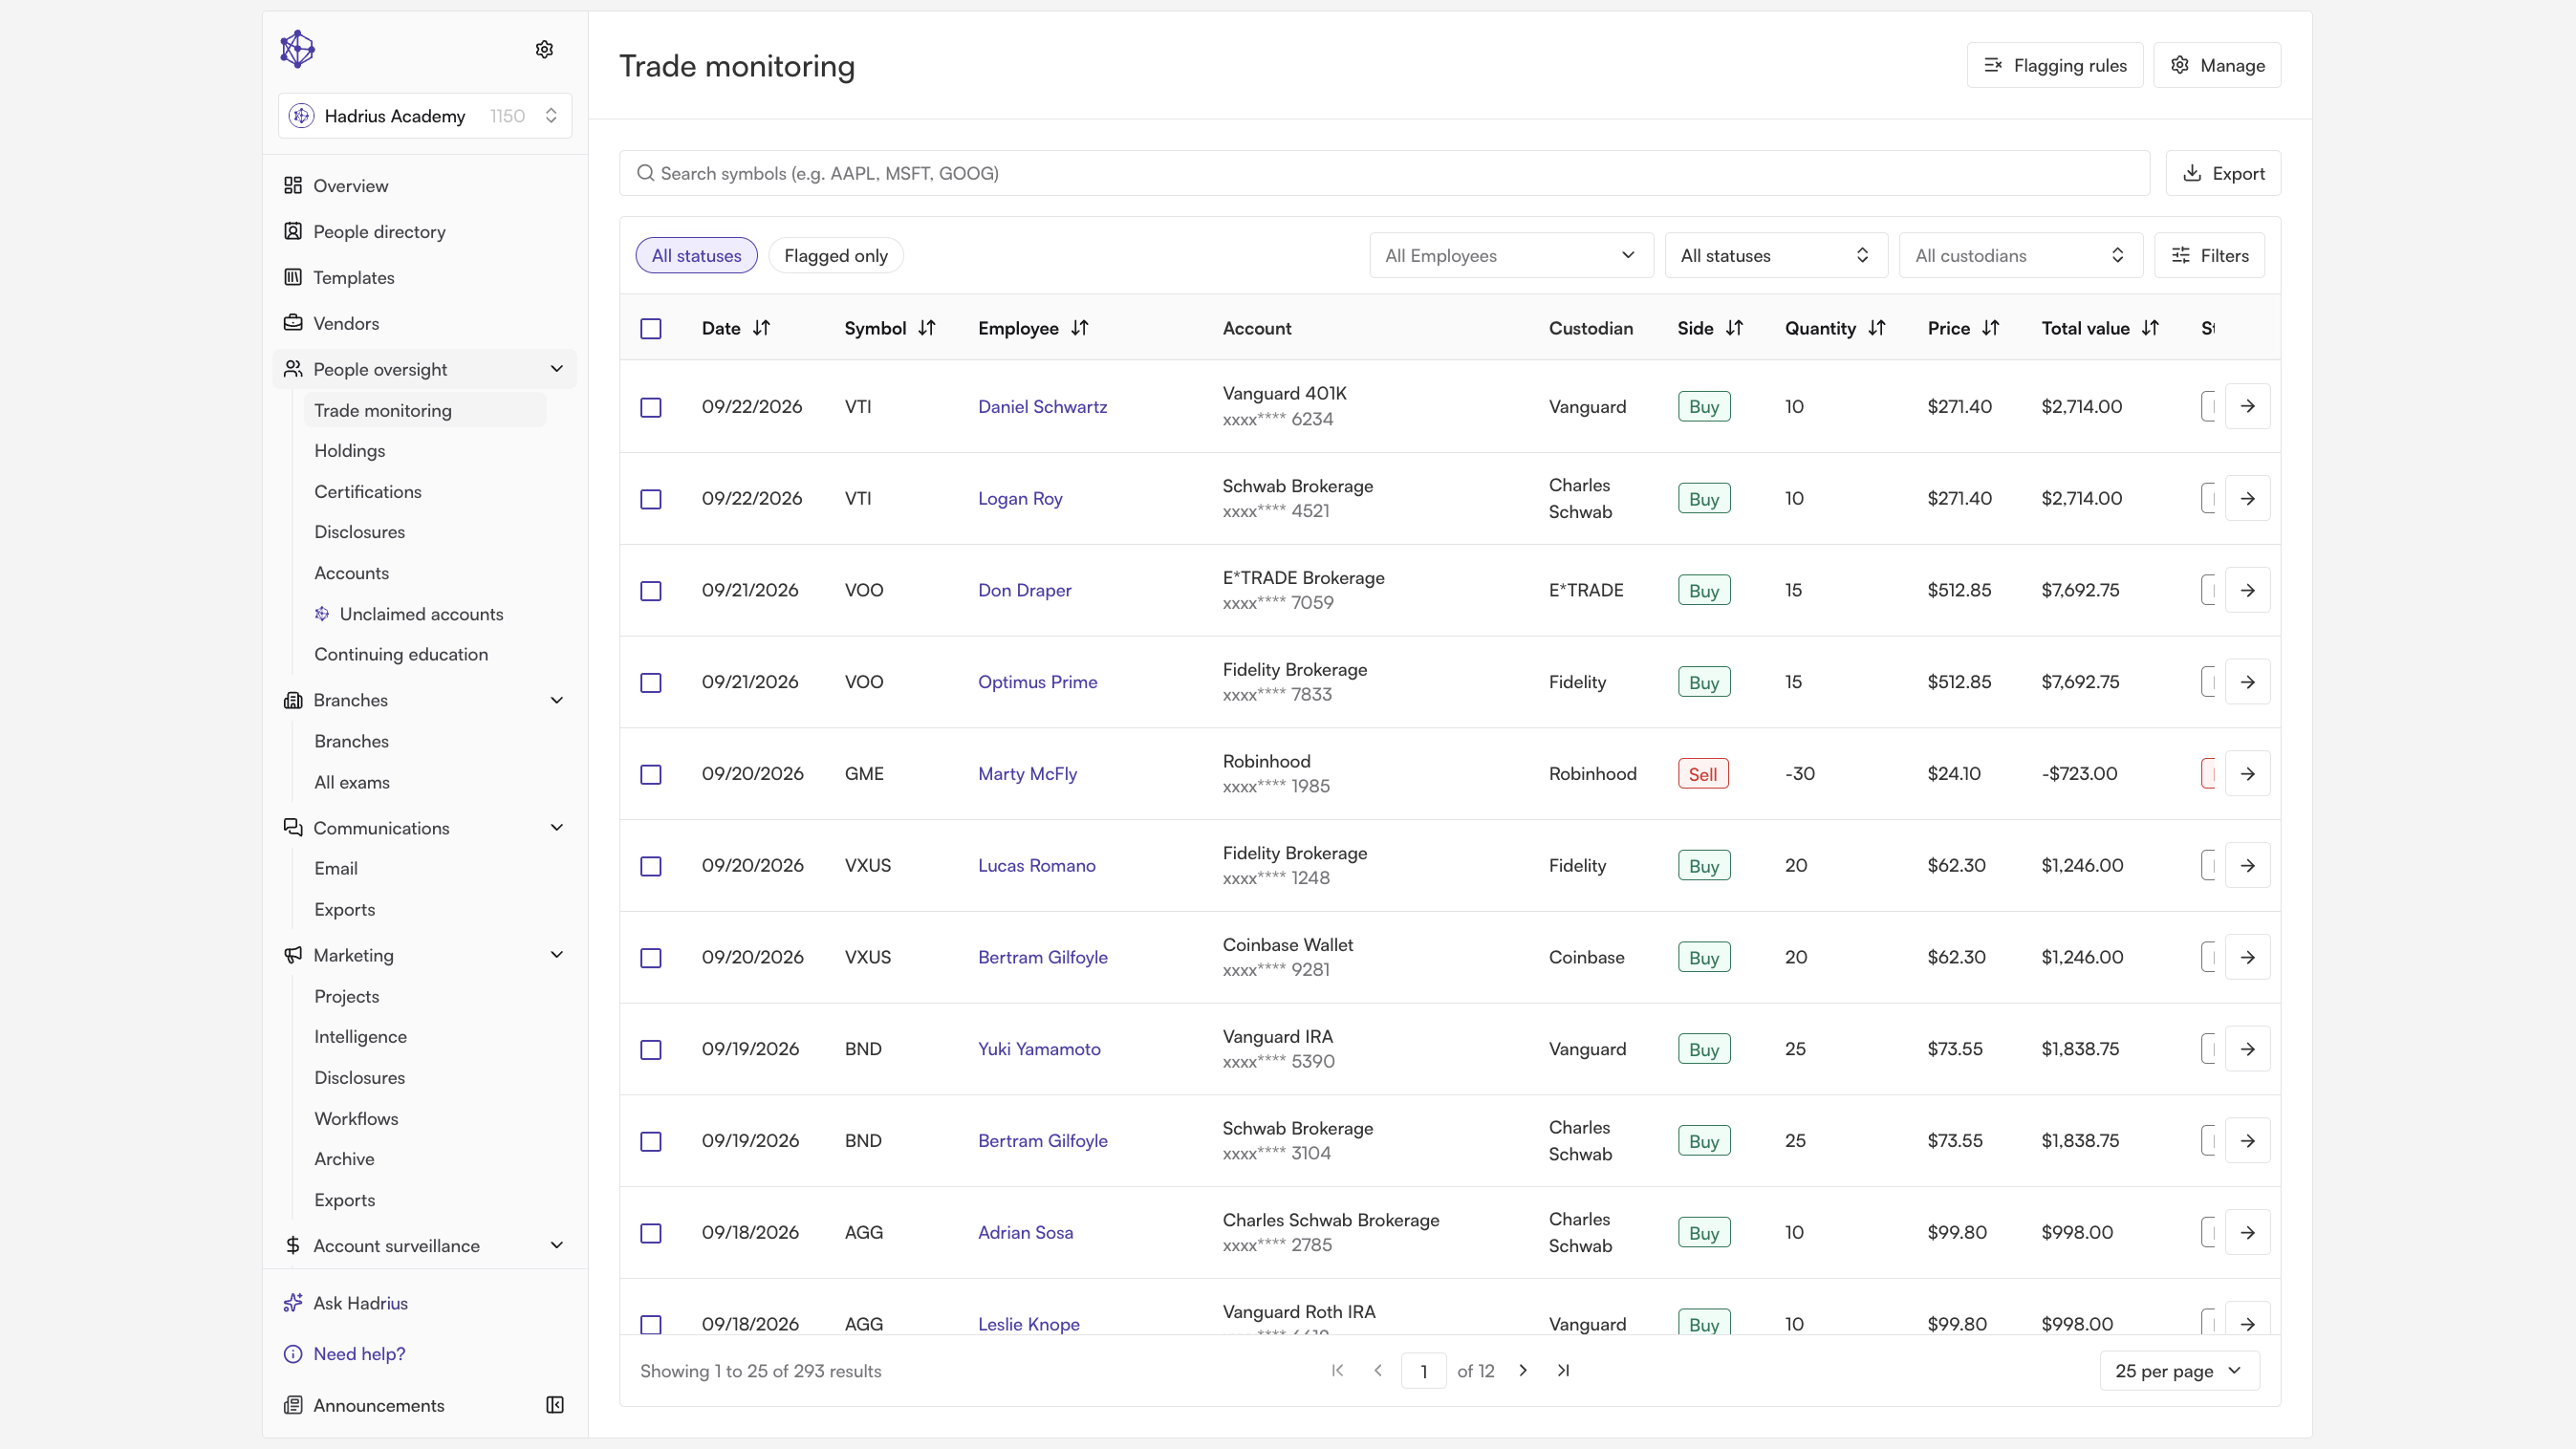
Building a single-symbol restriction
Choose a rule type. From the flagging rules list, start a new rule and choose what should cause a trade to be flagged: a symbol pattern, a security list, cost basis, trade count, industry, asset class, market cap, percent change, or round-trip trading.
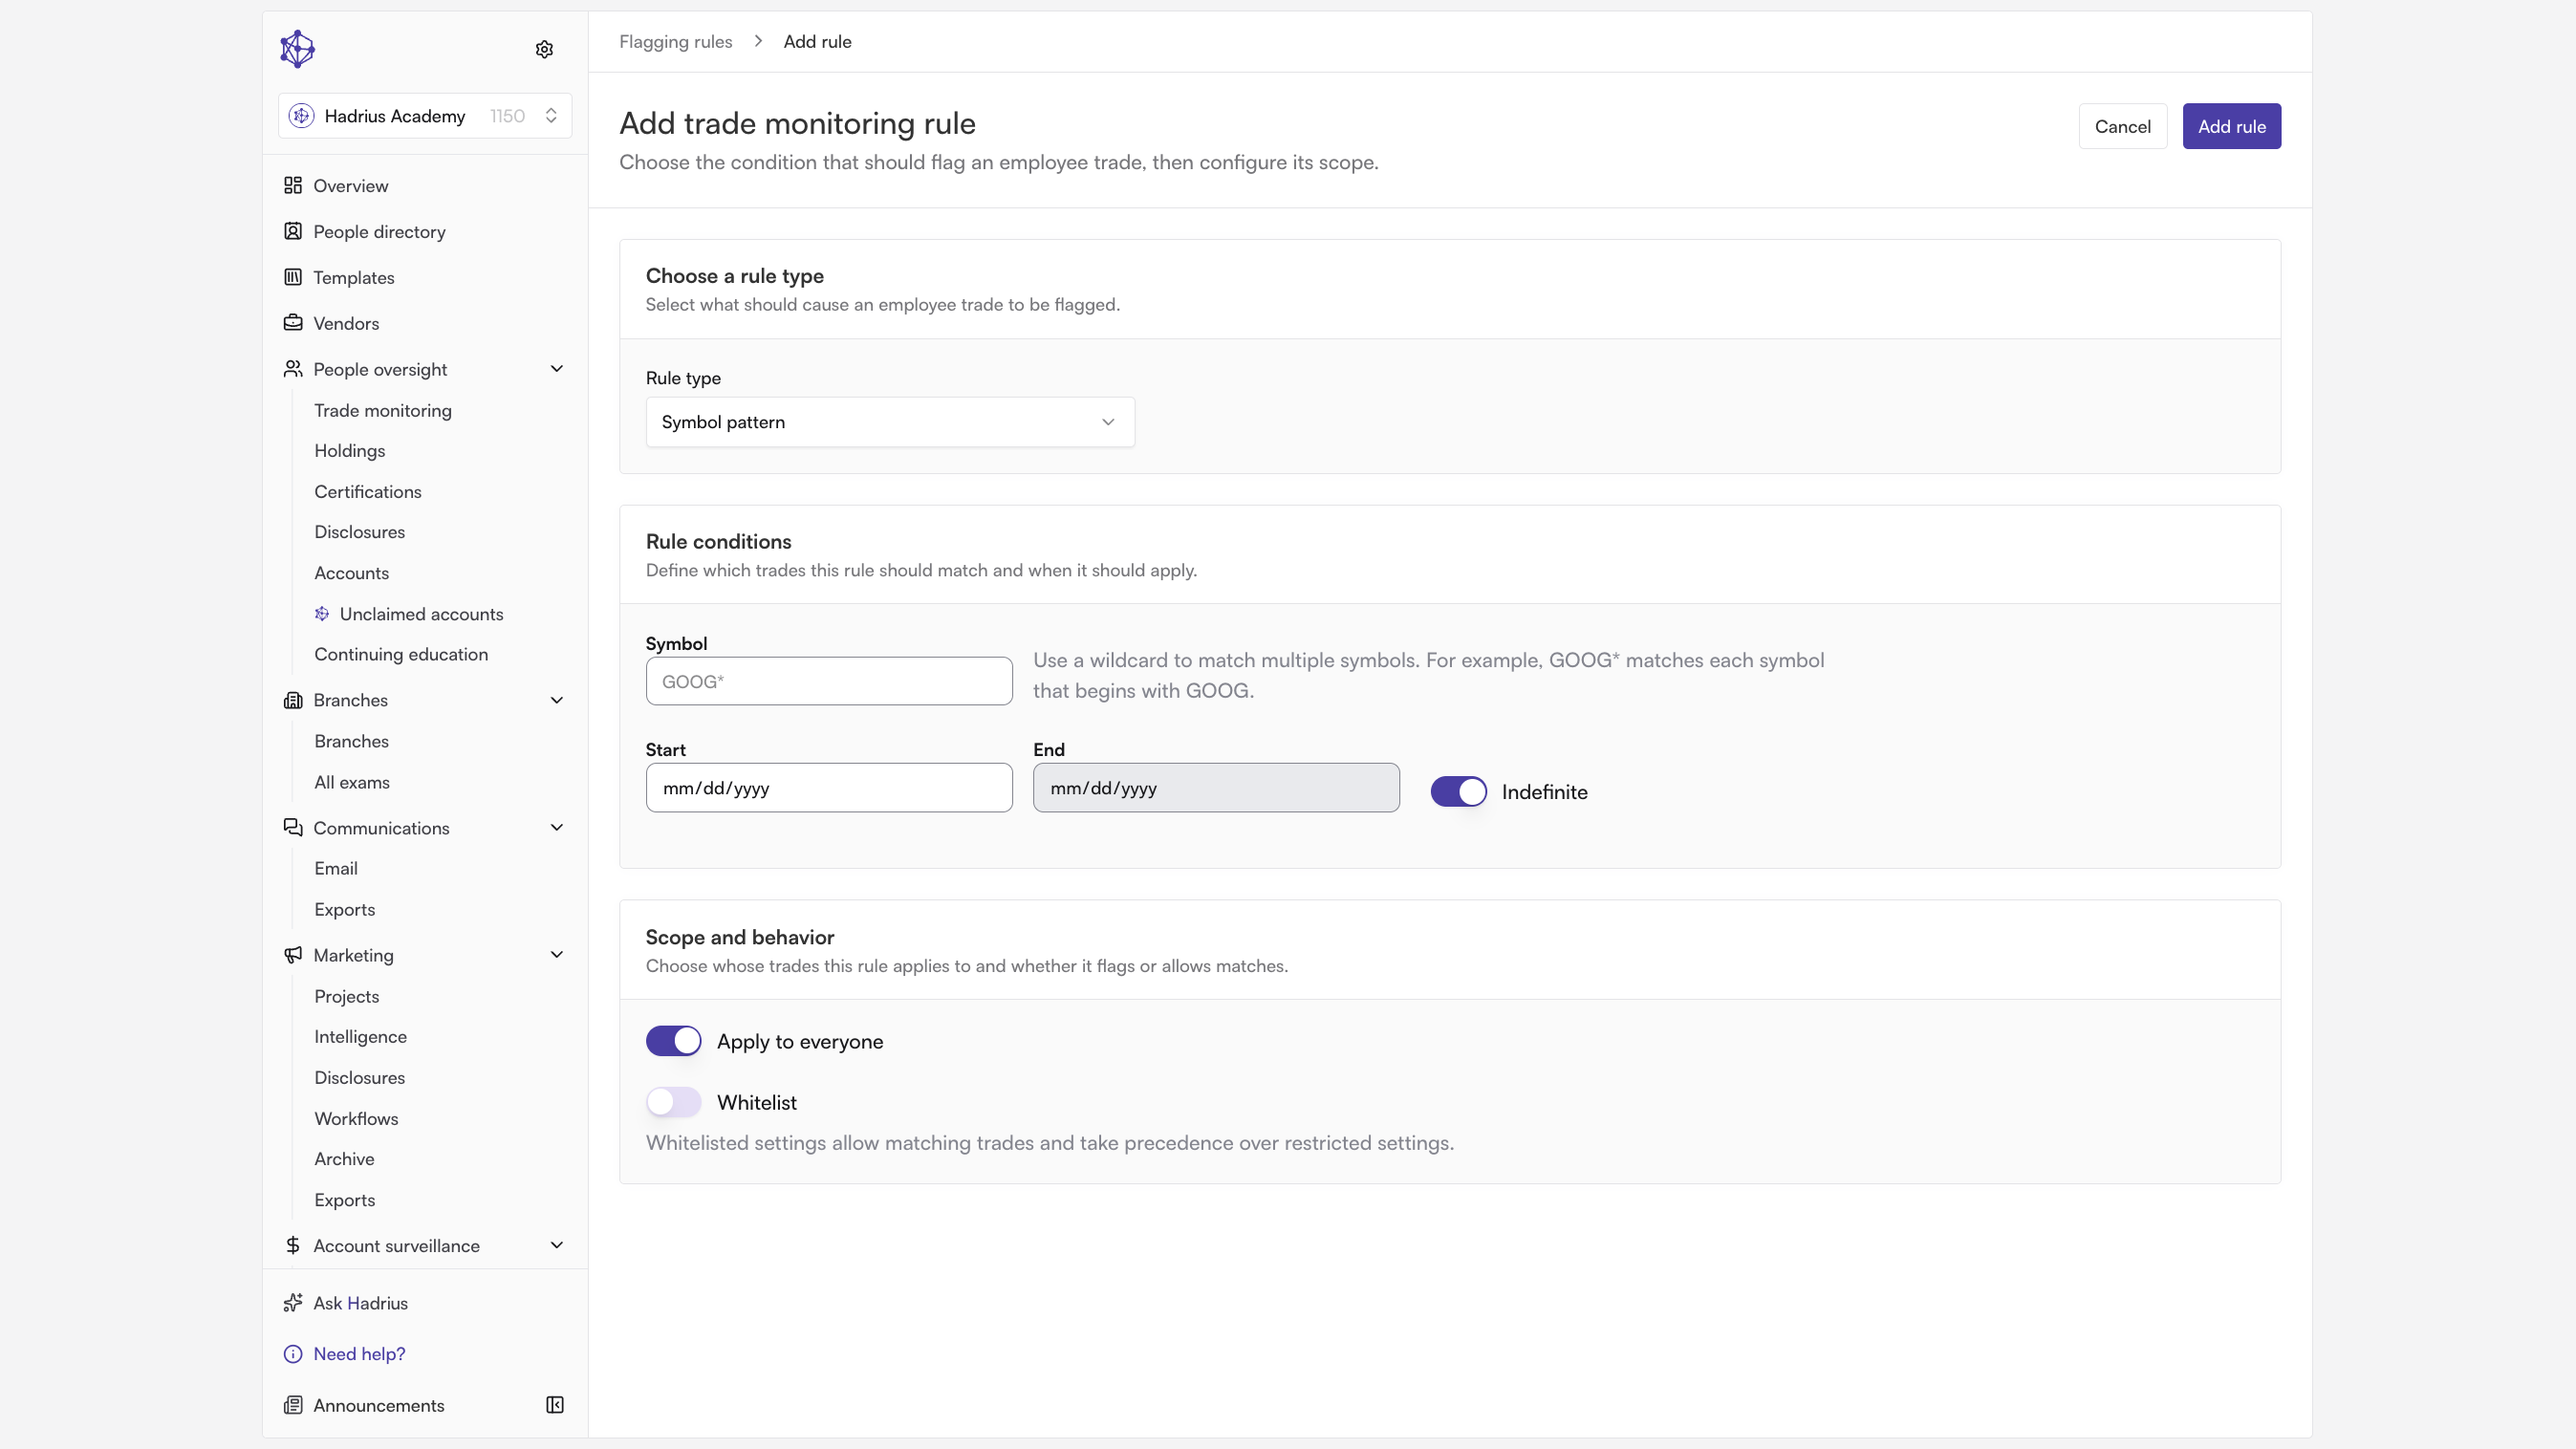
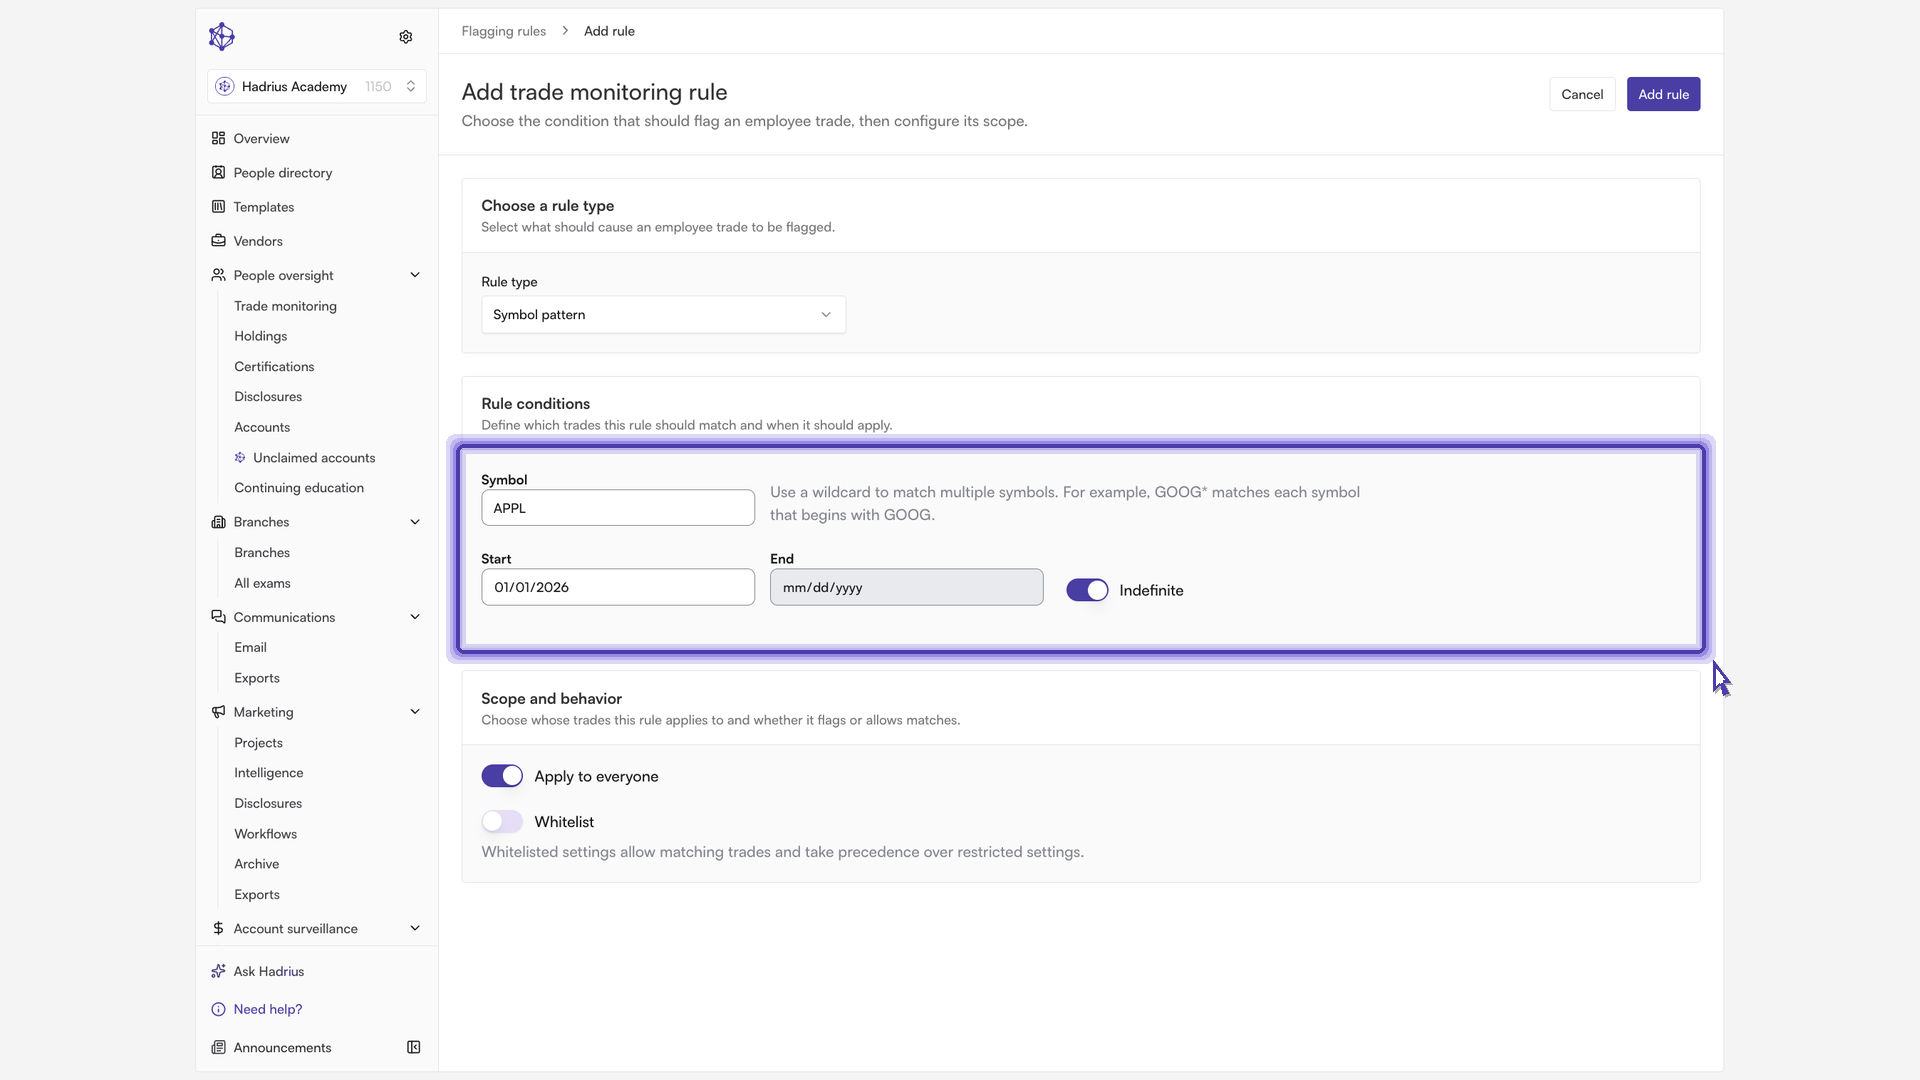
Fill in the specific conditions. Each rule type exposes its own fields — for a symbol pattern rule, that's the ticker itself.
Set an effective date. The Start field tells the platform when the restriction begins applying to trades; leave the rule Indefinite or give it an End date if it should expire automatically.
Use a wildcard for related tickers. A pattern like
GOOG*matches every symbol that begins with GOOG, so you don't need a separate rule for each related ticker.
Set the scope and behavior. Choose whether the rule applies to everyone or to specific employees, and whether it flags matching trades or — if Whitelist is turned on — allows them, which takes precedence over restricting rules. Confirming adds the rule to the active restriction set immediately.
Restricting a large universe of securities
A single symbol pattern works well for one ticker or a small family of related ones, but a firm-wide restricted list with hundreds of tickers needs a different approach: a security list rule.
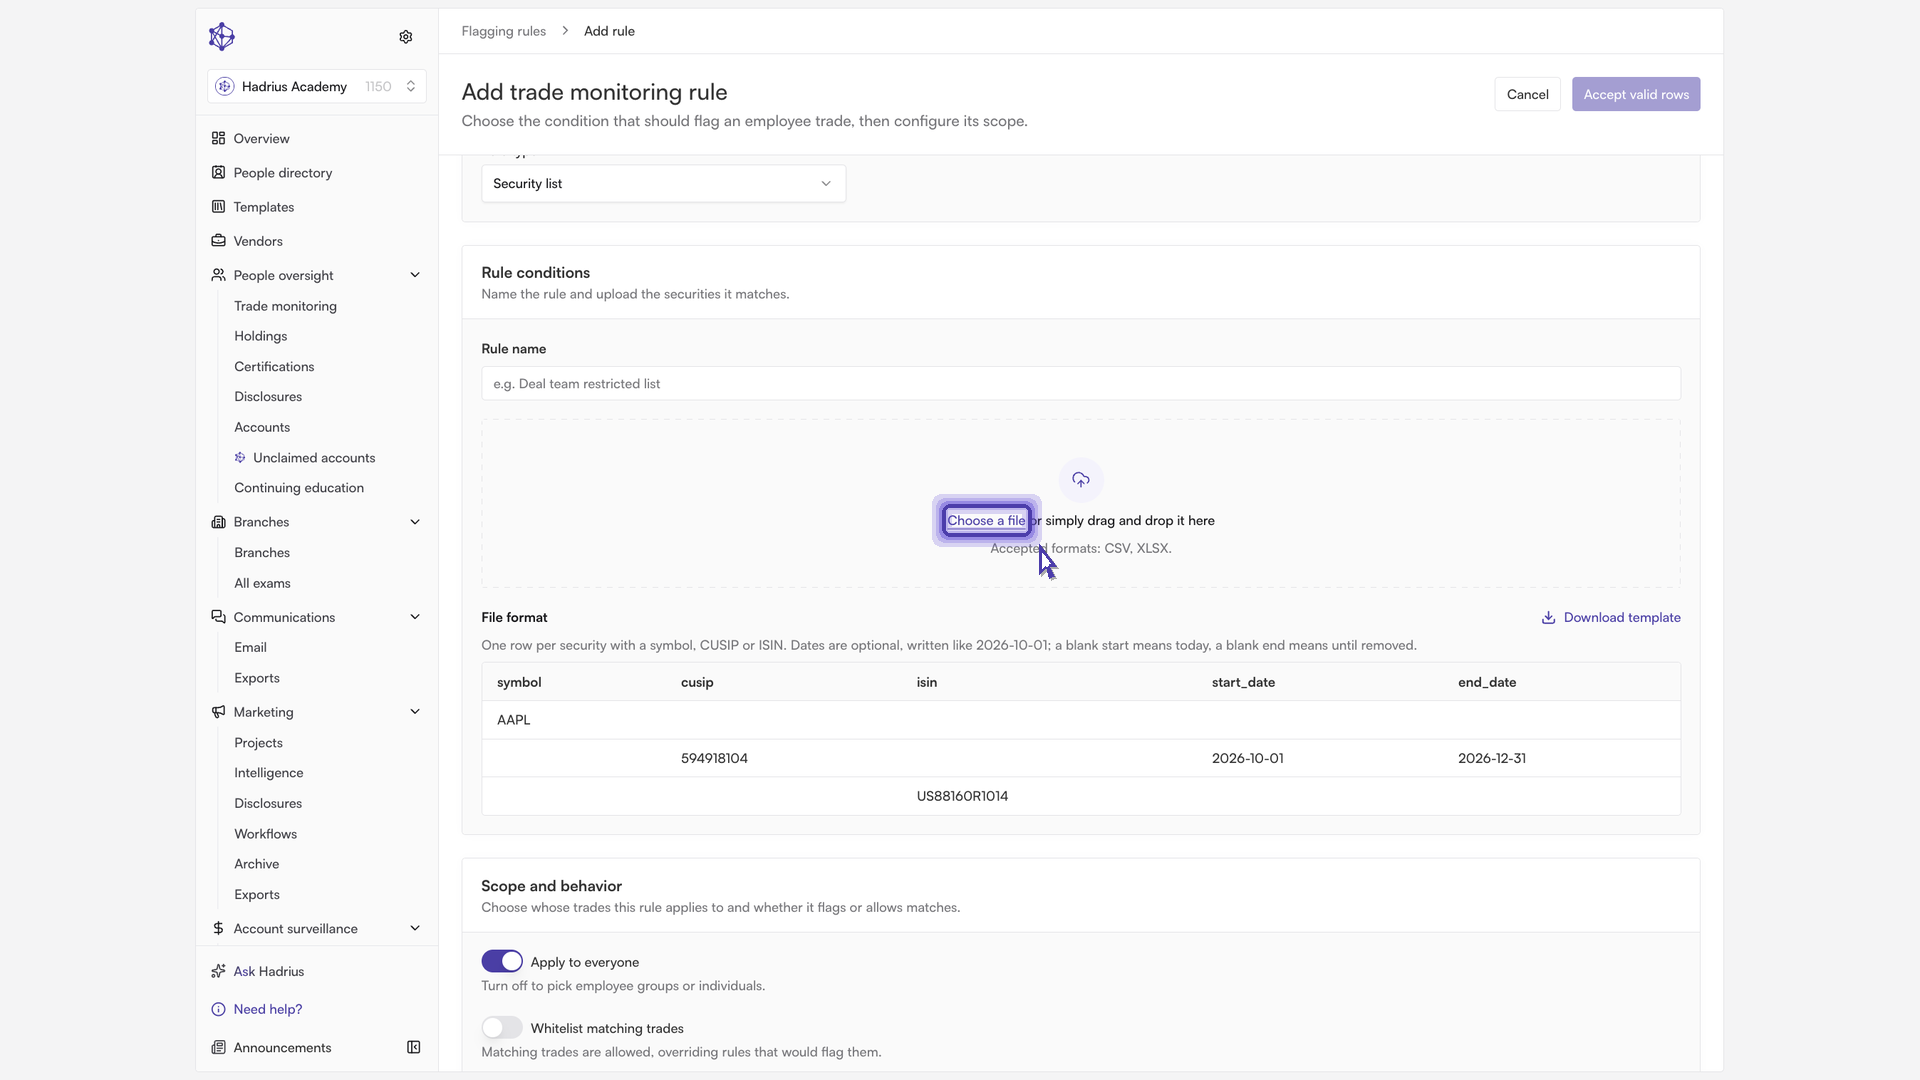
Choose the Security list rule type from the same rule type selector.
Name the rule clearly. A descriptive rule name helps reviewers understand why a trade was flagged later, and is also how the platform tells a re-upload apart from a brand-new list.
Download the template to get the exact column format the importer expects, then populate it with the restricted securities.
Upload the populated file. The platform validates every row before anything is saved — invalid tickers are rejected up front so bad data never quietly slips into the list. Only once you accept the valid rows does the list go live.
Once accepted, the rule's detail page shows a summary of the active window, restriction type, and who it applies to, along with the full audit trail of changes made to the list — keeping the firm exam-ready. Back on the flagging rules list, both the symbol-pattern rule and the new security list rule now appear as live rules screening trades.
Configuring the automation around rules
Rules decide what gets flagged; the Manage tab (next to Flagging rules) controls the automation around how flagged and clean trades are handled once a pre-trade disclosure is submitted.
Cost basis buffer gives a trade's cost basis a tolerance band around the threshold set in a pre-trade disclosure, so ordinary market movement doesn't trigger a false flag.
Auto-Approve can be left disabled, set to run only for trades that hit no restrictions (Non-Restricted — the safer option, since anything restricted still gets a reviewer's eyes), or set to approve Unconditionally.
Auto-reject restricted pre-trade disclosures closes the loop on the other side: once enabled, disclosures that match an active restriction are declined automatically, without waiting on a reviewer. (This can't be combined with unconditional auto-approval.)
Select Submit to apply these settings across every incoming disclosure.
Seeing it work
Back on the trade monitoring dashboard, a disclosure that matches a restriction now shows up as a flagged trade. Opening it shows exactly what the platform caught, with the specific restriction that was hit referenced directly in the trade's audit trail.
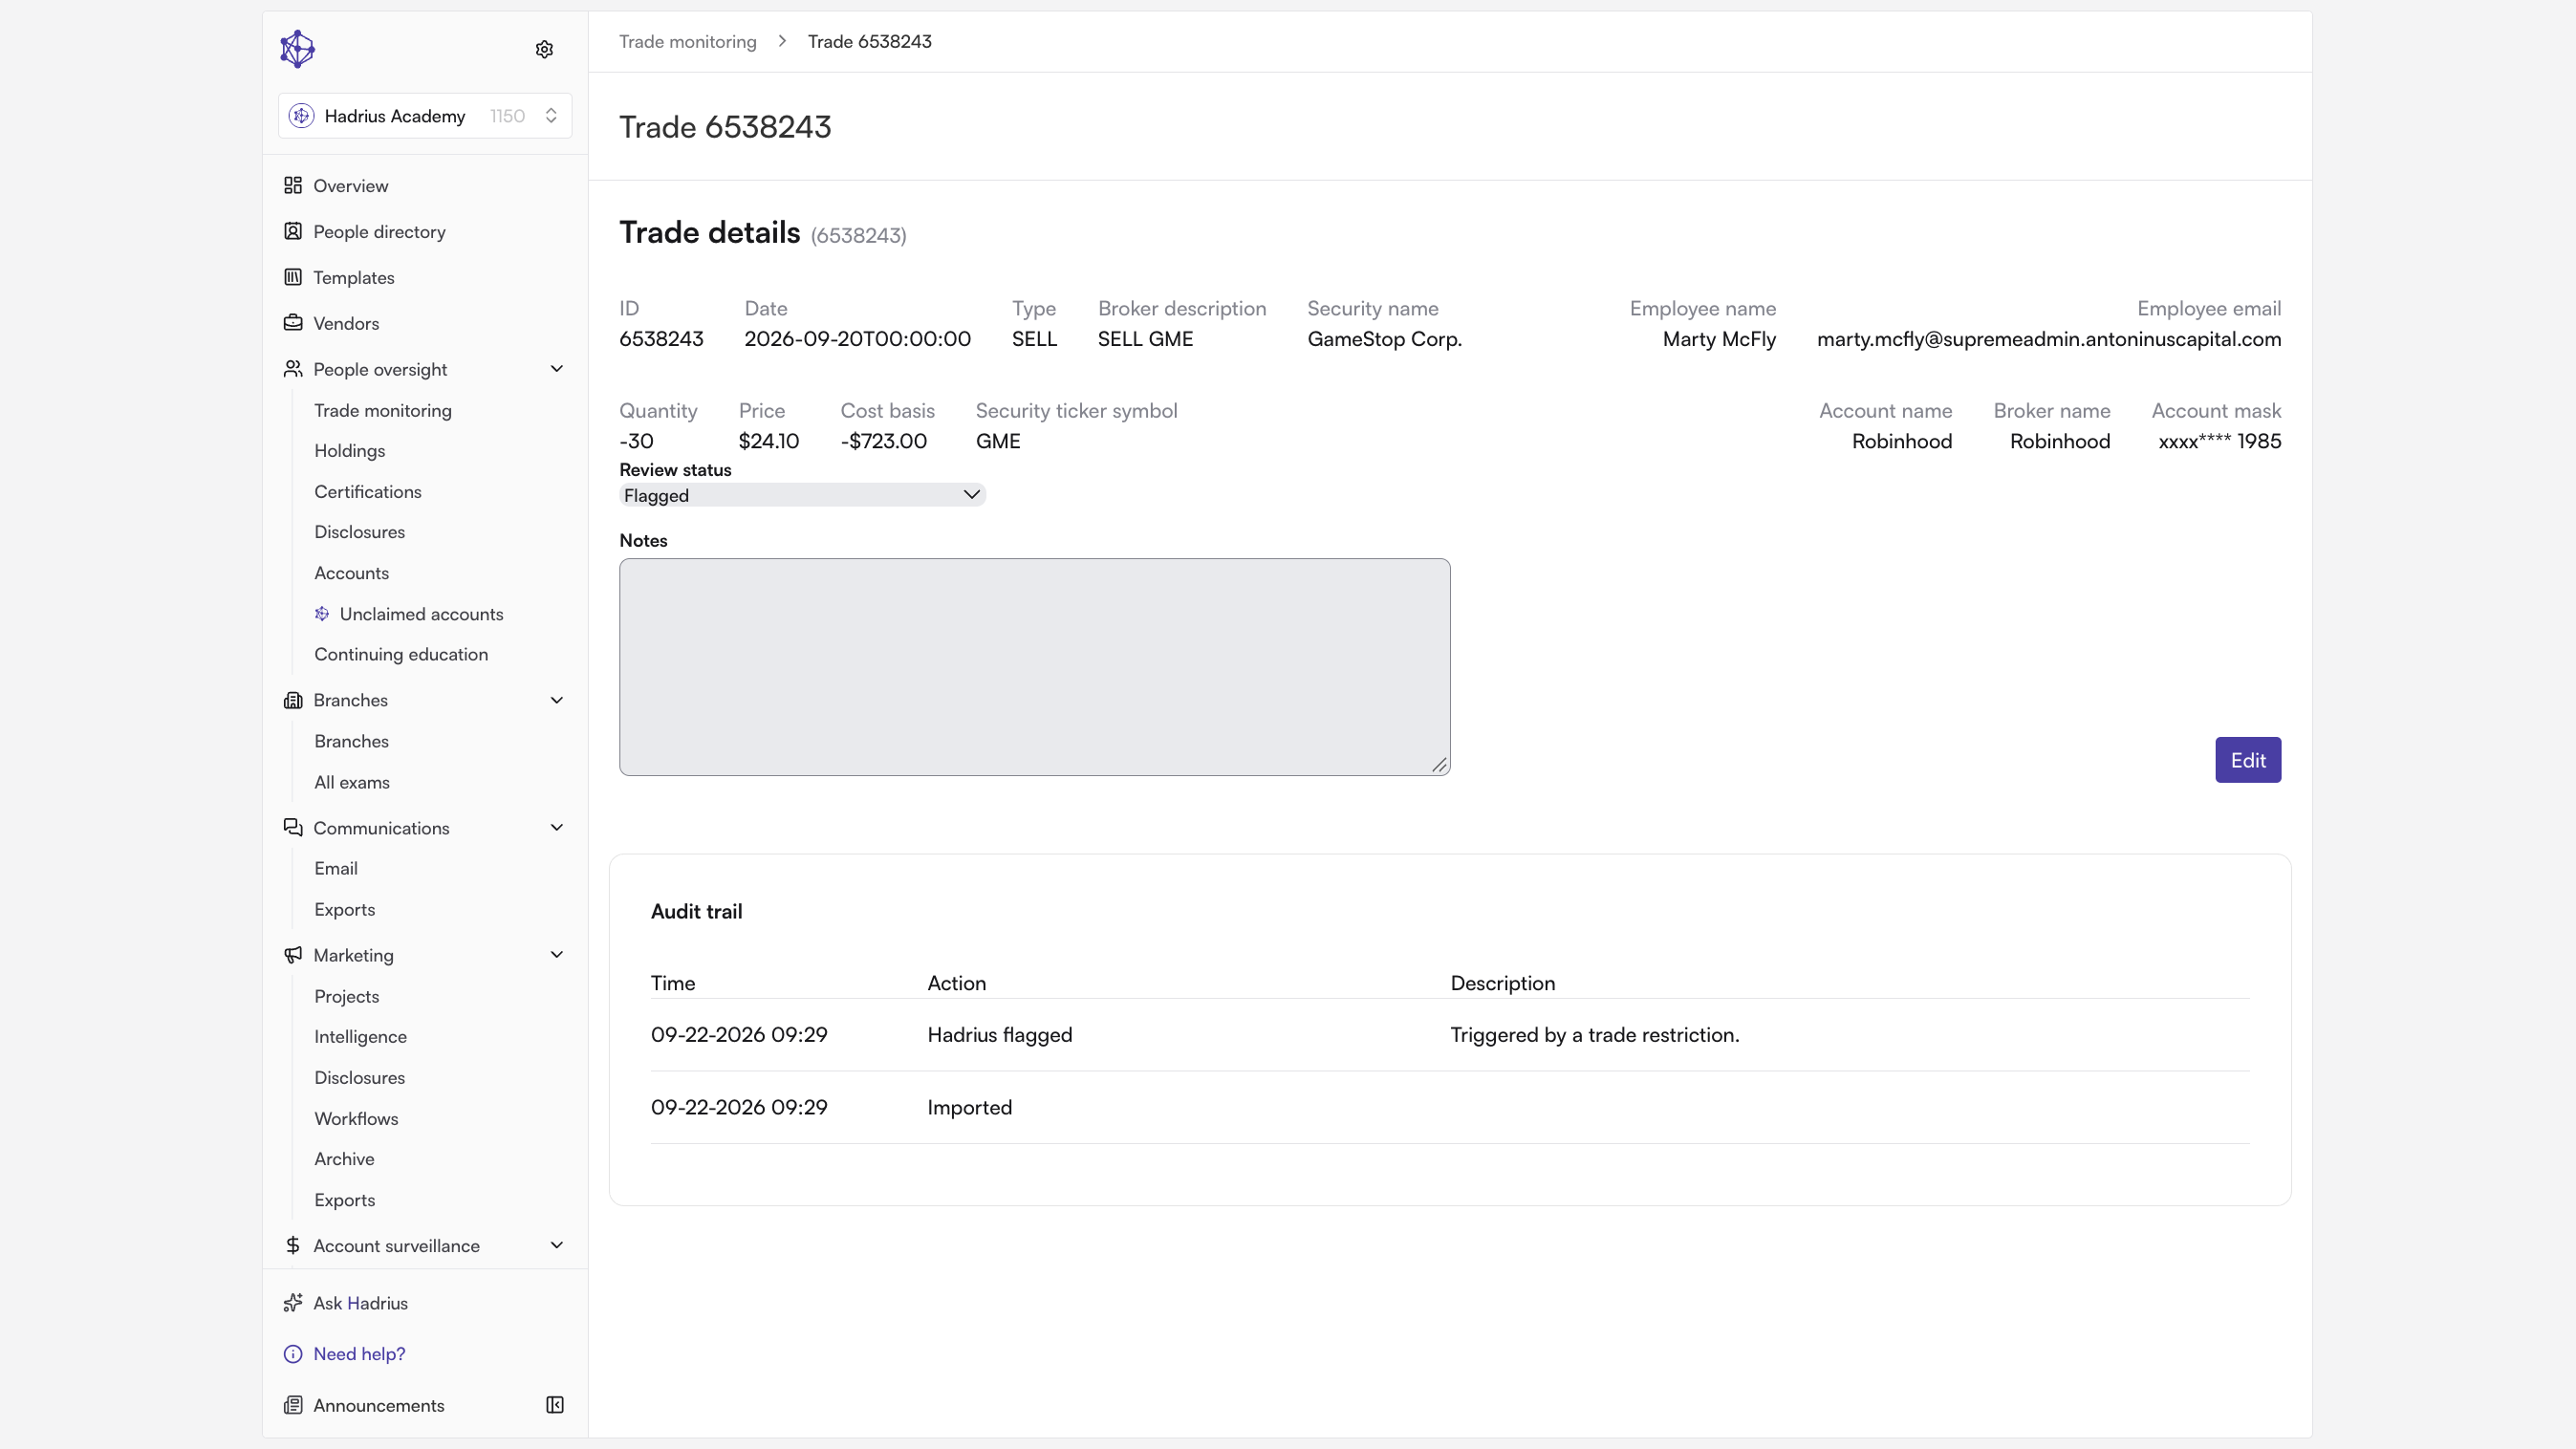
That's the full loop: rules define what's restricted, and the Manage tab's automation handles approval, rejection, and flagging from there. If you need to change scope or thresholds later, existing rules can be edited or disabled from the flagging rules list at any time.