How to Create a Workflow
Last updated: October 16, 2026
This article walks through setting up a brand-new approval workflow from scratch in the Marketing module. Use it whenever you need a custom submitter-and-approver path for marketing materials — for example, a new type of content that should route through a specific review chain before it goes out.
Before you begin
Workflows control who can submit content and who approves it at each stage. Setting one up assumes you've already created the submitter and approver groups you plan to use, since you'll be dragging those groups into place rather than creating them here. Keep in mind that a person's ability to submit or approve under a workflow depends on their having the appropriate Marketing module permissions.
Step 1: Open Workflows and start a new one
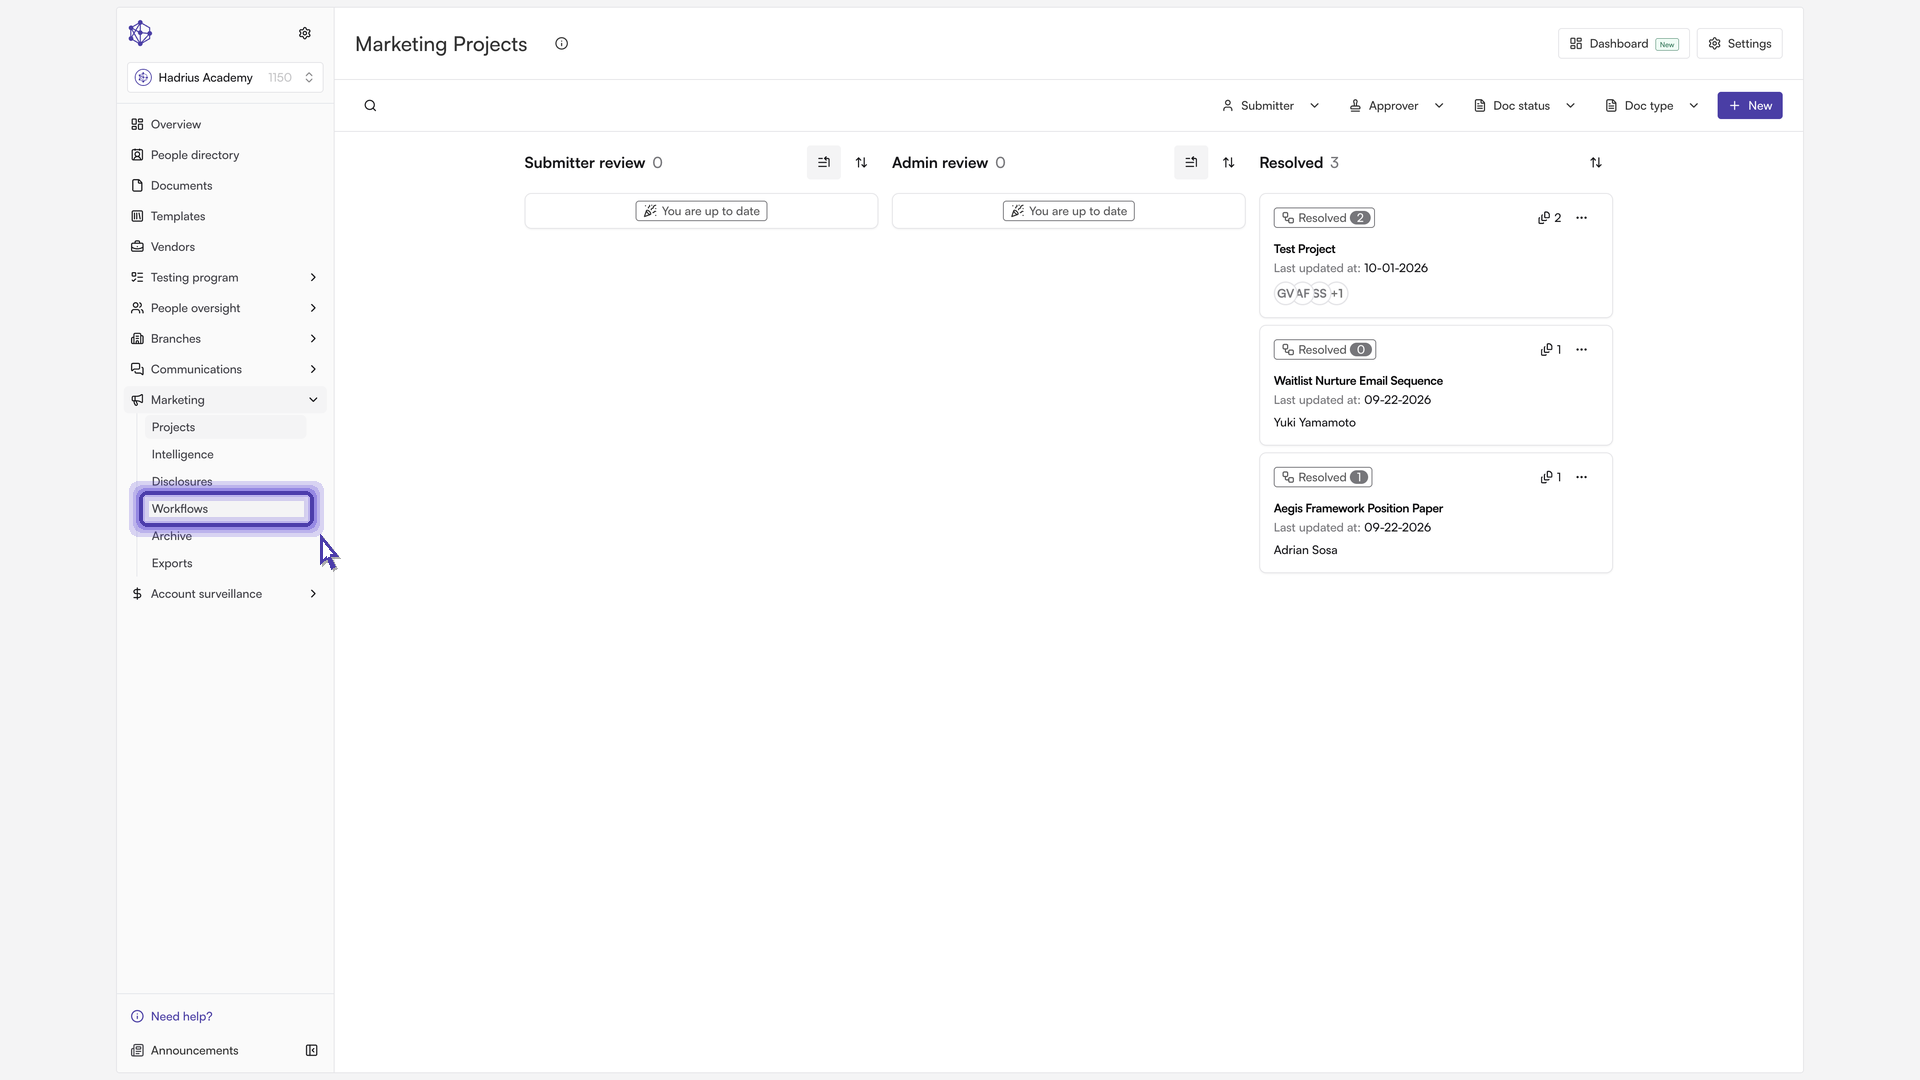
From the Marketing module, click Workflows in the left side panel.
From the Workflows tab, click Create approval workflow to start building an approval chain from scratch.
Step 2: Build the approval chain
The builder opens on the Build & preview step. At the top, you'll see your available submitter and approver groups — drag and drop the ones you need into the appropriate slots below:
Drag the group(s) who should be able to submit under this workflow into the Start slot. For a broad workflow, this might be everyone in the organization.
Drag your first-tier approver group — for example, the compliance team — into Step 1.
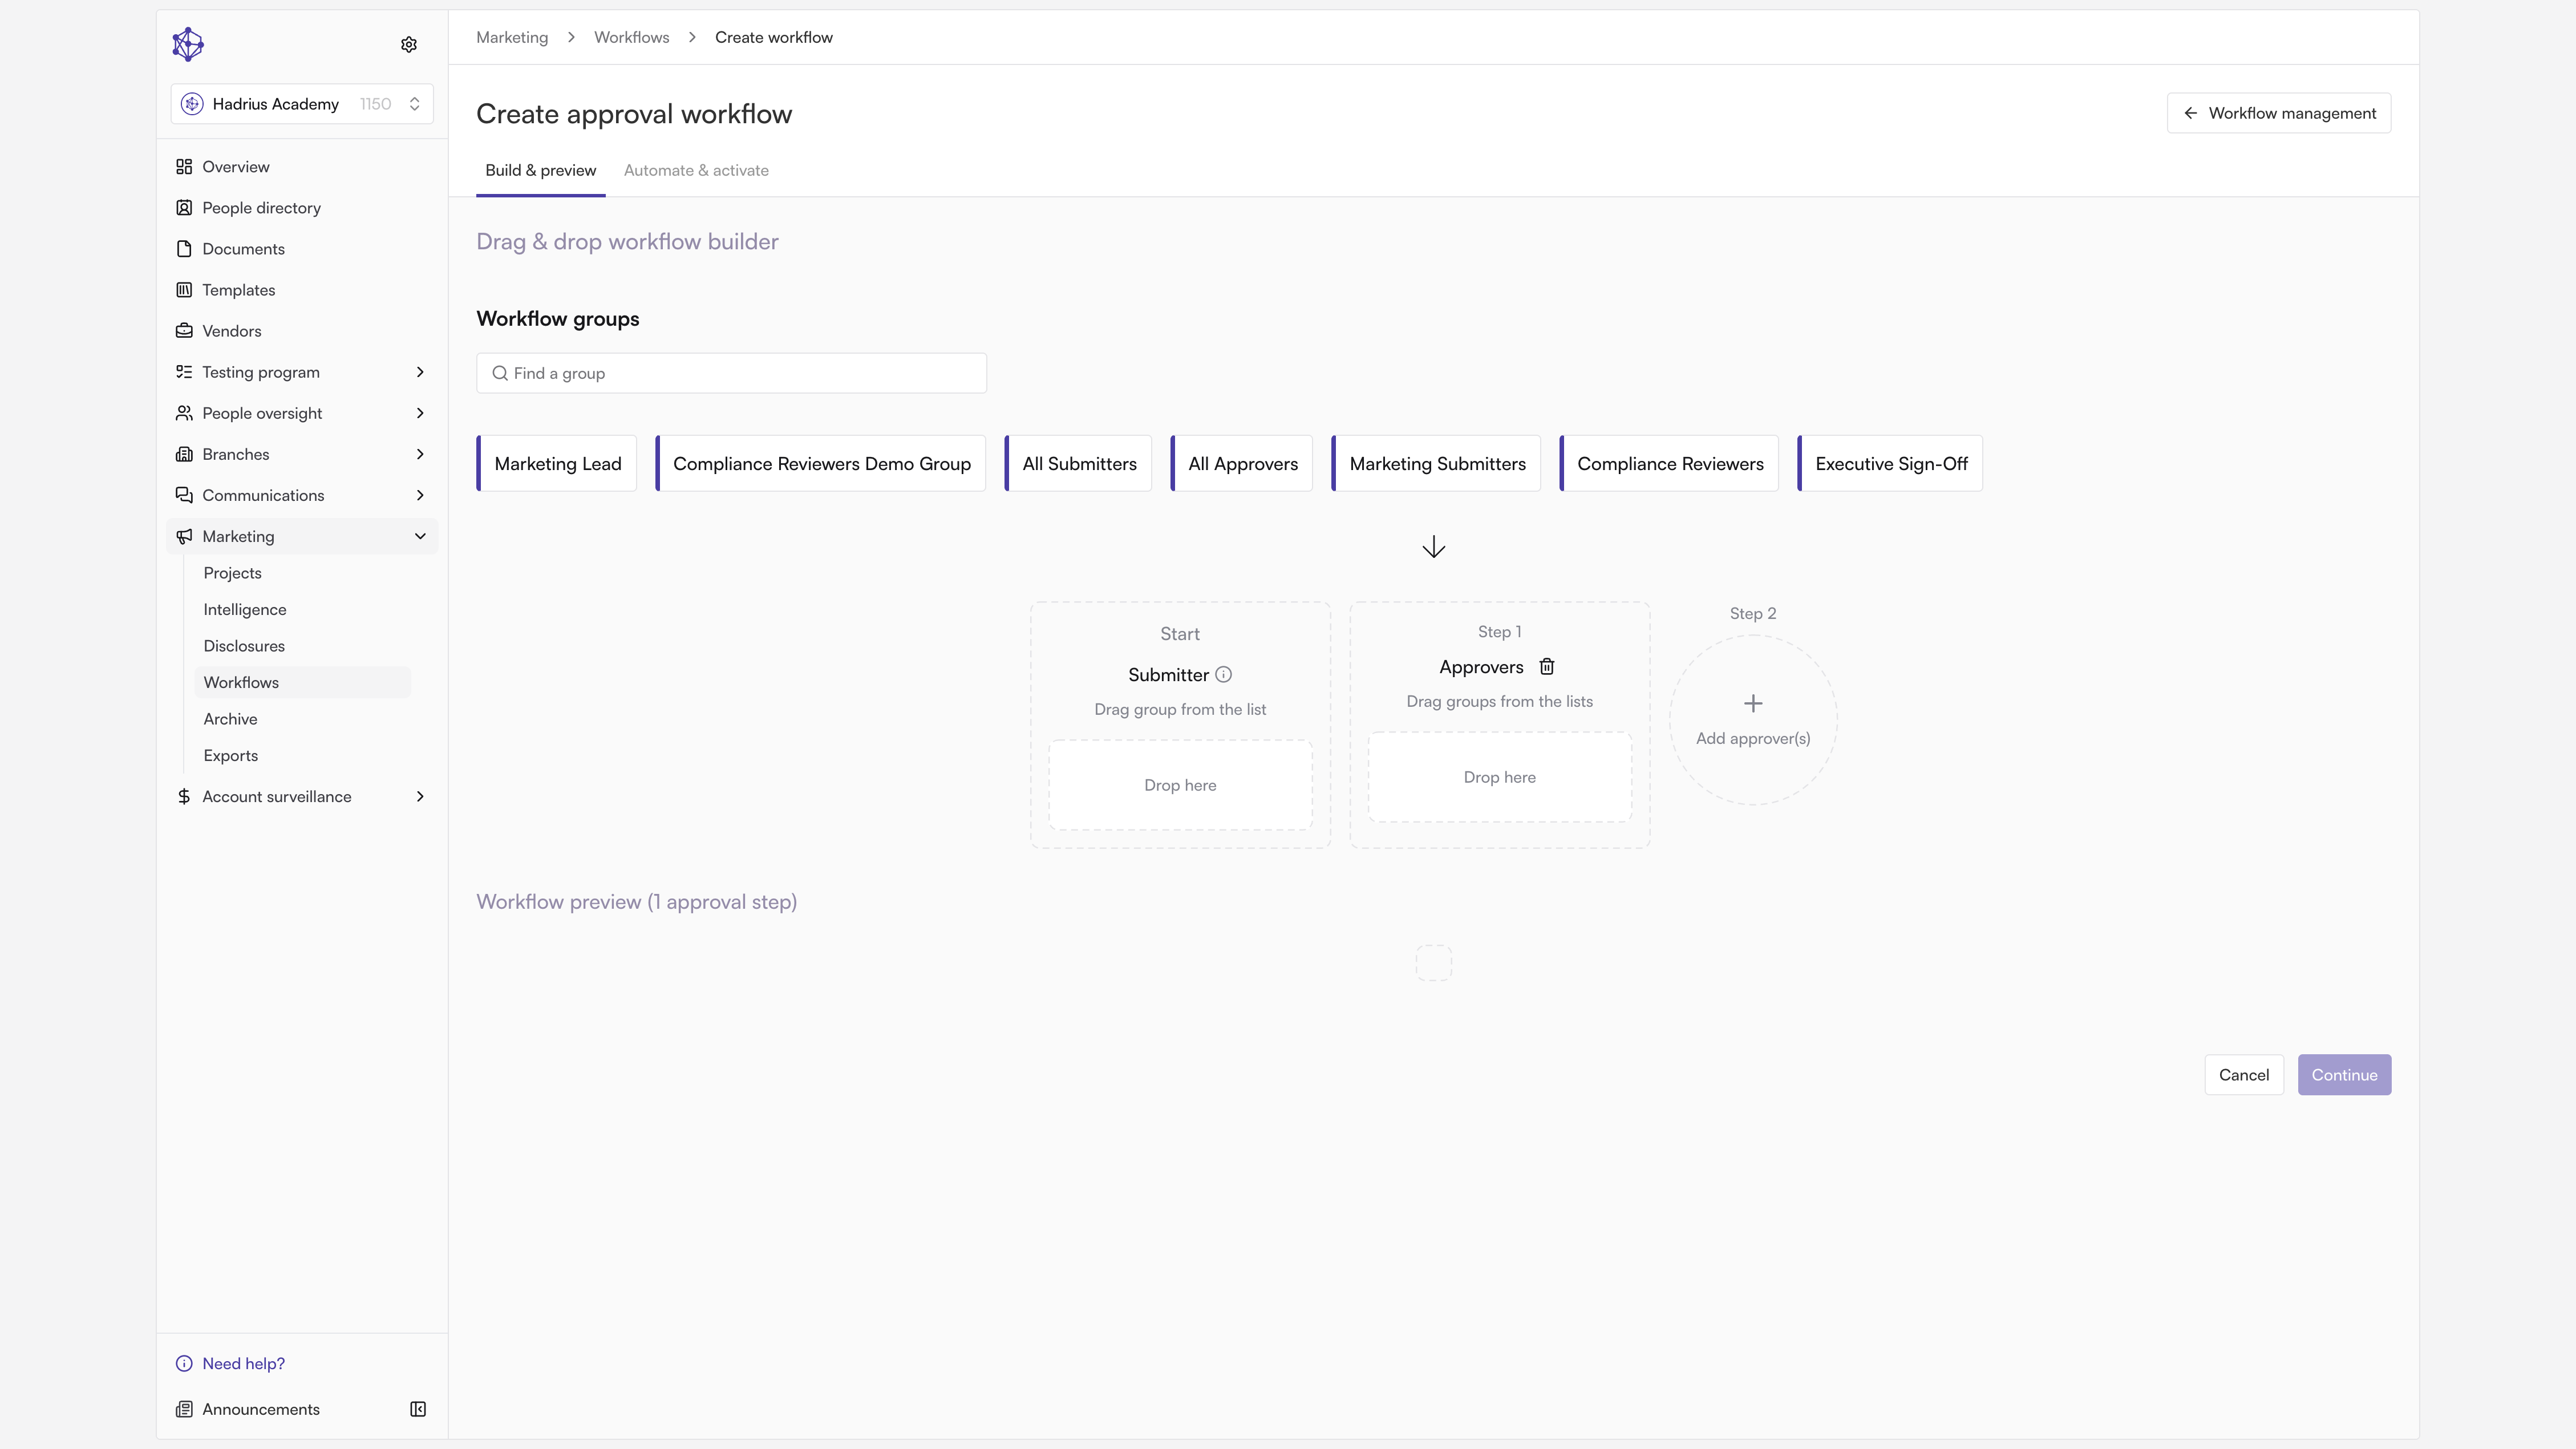
Click Add Step to layer in another round of review, then drag the next approver group into that new step. For instance, you might route the second tier up to executive leadership for final sign-off. The preview at the bottom of the page updates as you build, showing the full chain from submitter through each approval tier to final approval.
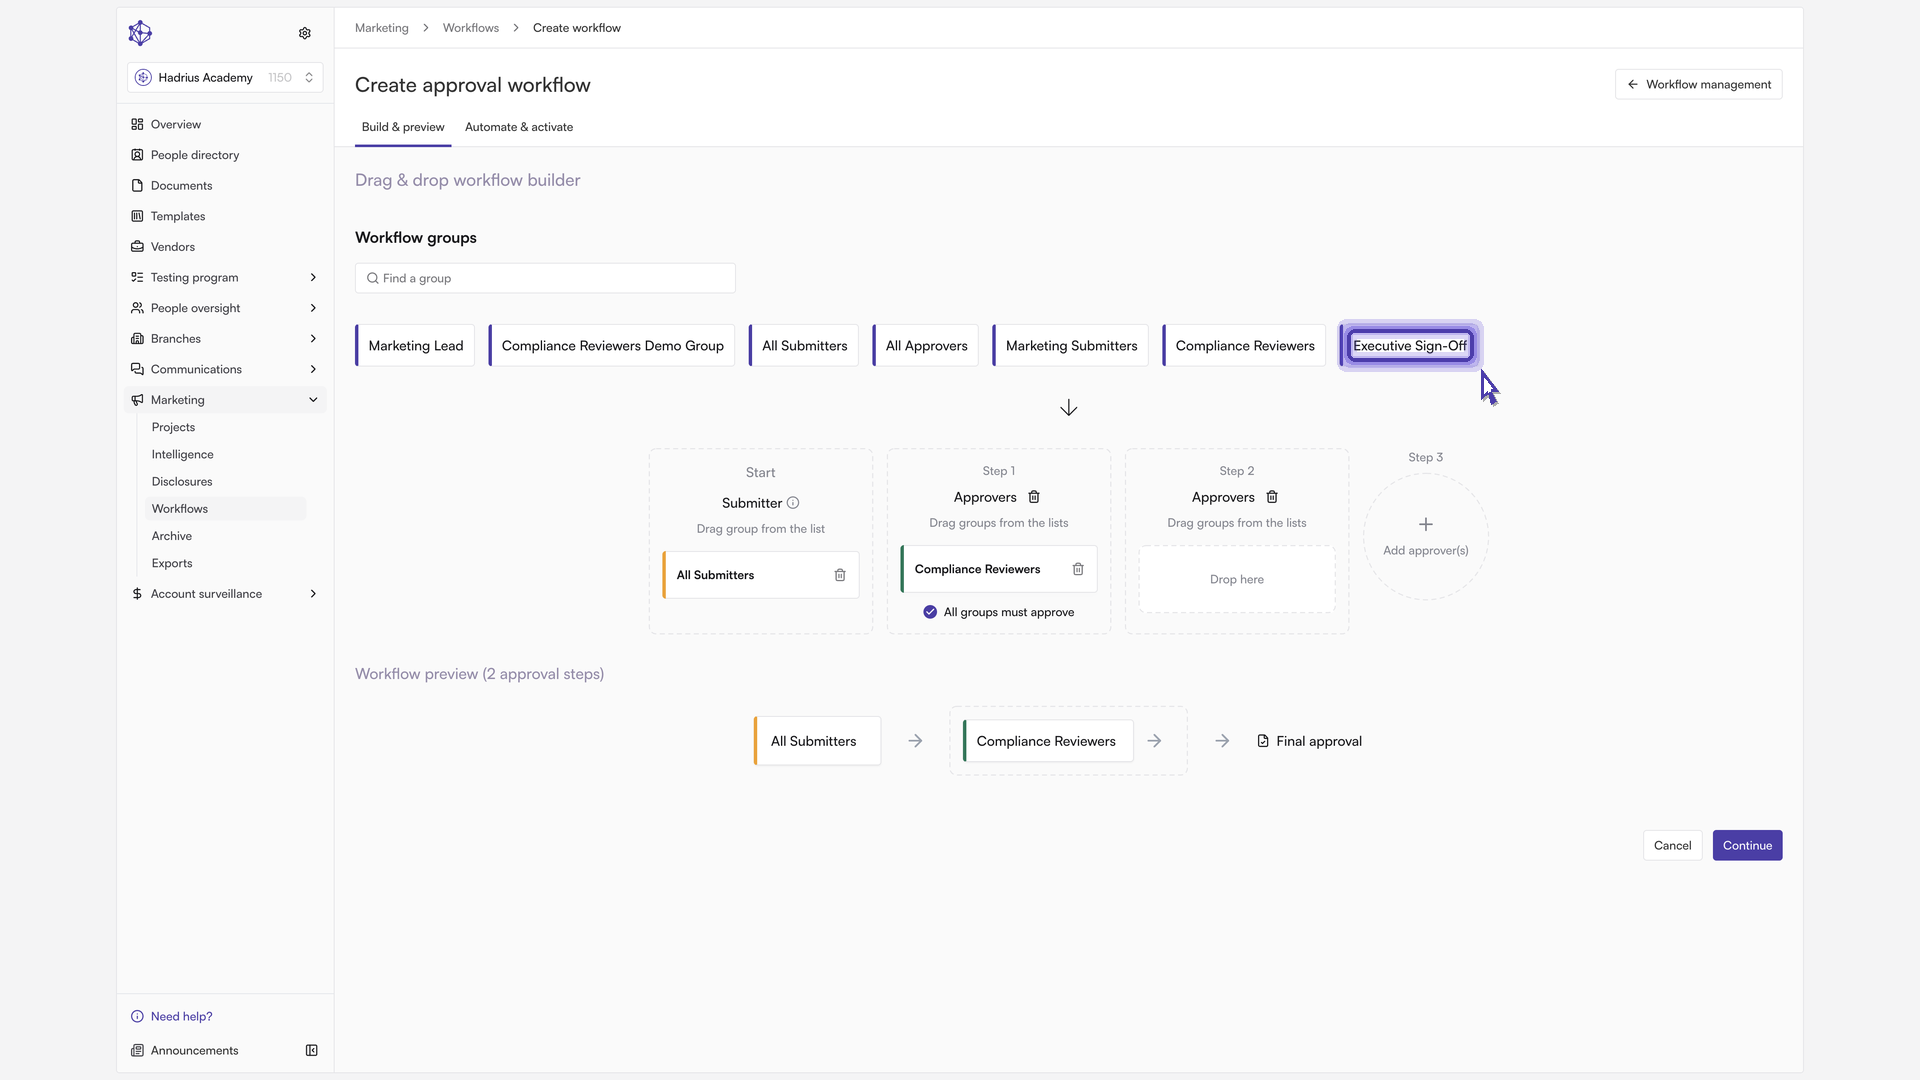
Once the chain looks right, click Continue to move on to naming and configuring the workflow.
Step 3: Name and configure the workflow
On the Configure step, give the workflow a clear Workflow name so it's easy to find later, and add a Workflow description that tells the team exactly when to use this path.
There are several additional settings on this step and the one after it — including default flags and notification rules — that you can customize for the workflow. Feel free to review all of them as you go.
Turn on Set as default workflow if new submissions should route here automatically.
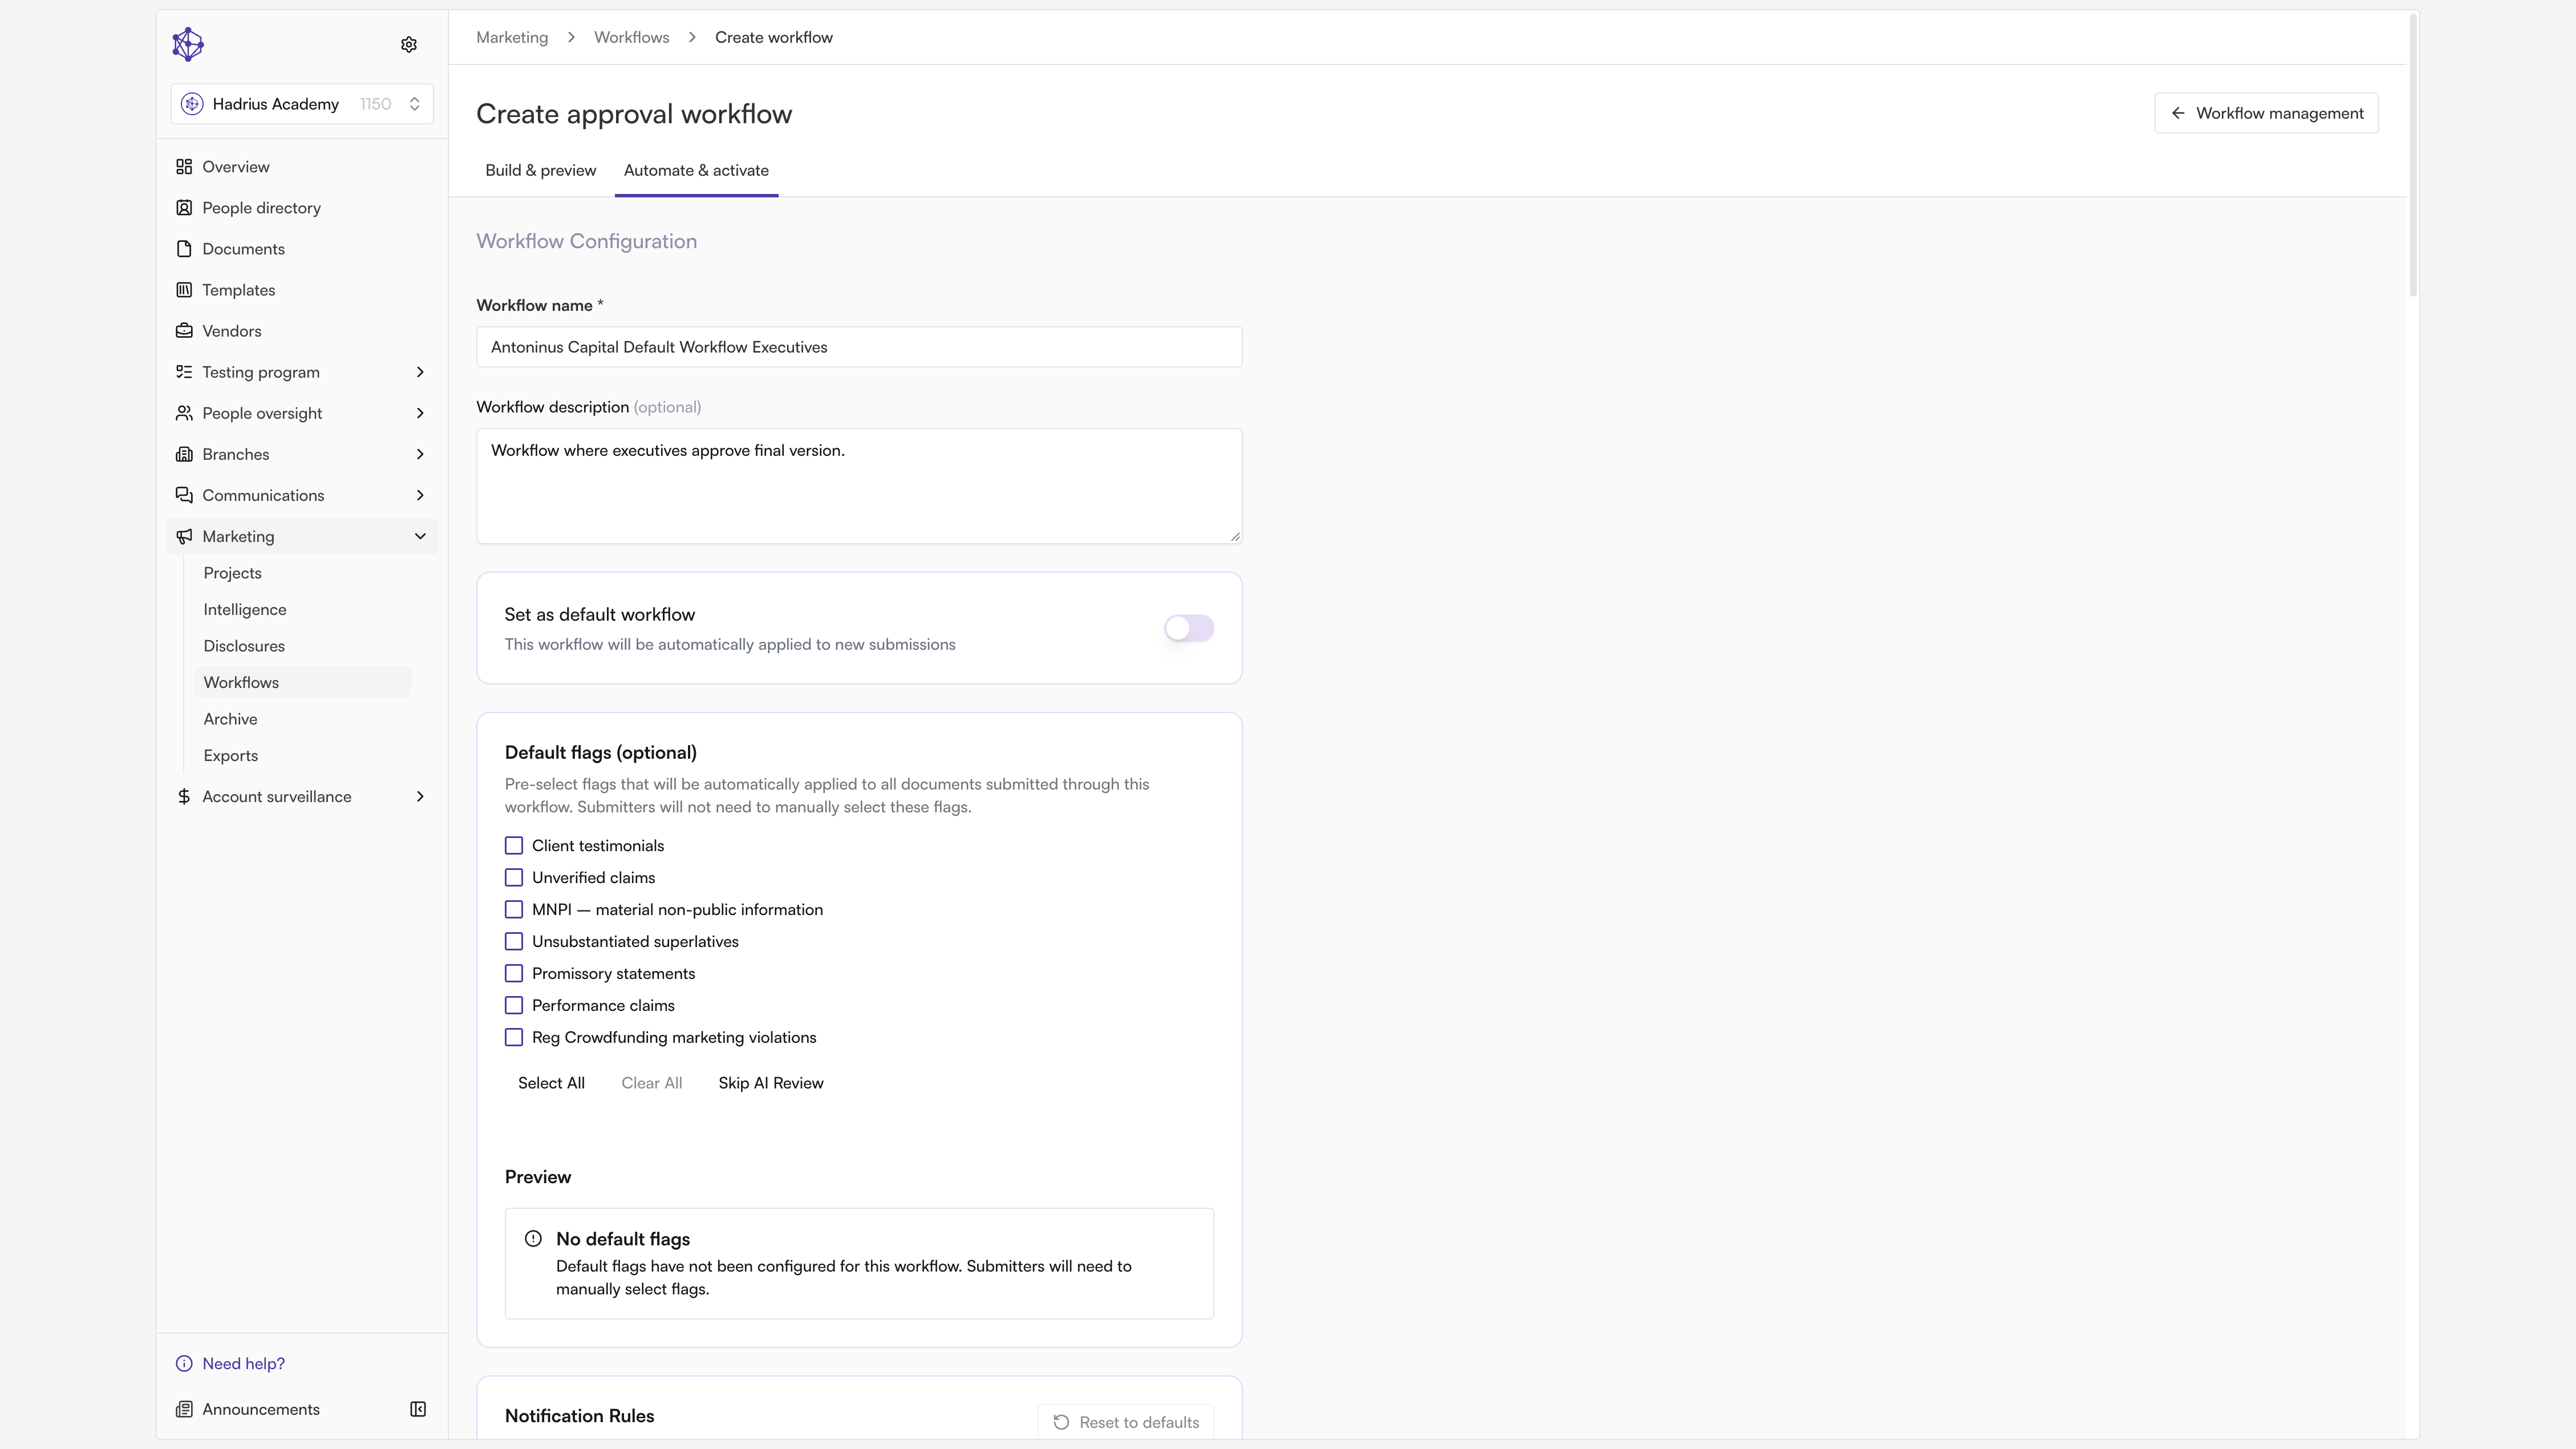
Below that, use the default flags checklist to pre-select flags that should automatically apply to anything submitted through this workflow. Click Select All to turn on every flag, which ensures nothing slips through without the right checks — or clear them if you'd rather have submitters choose manually.
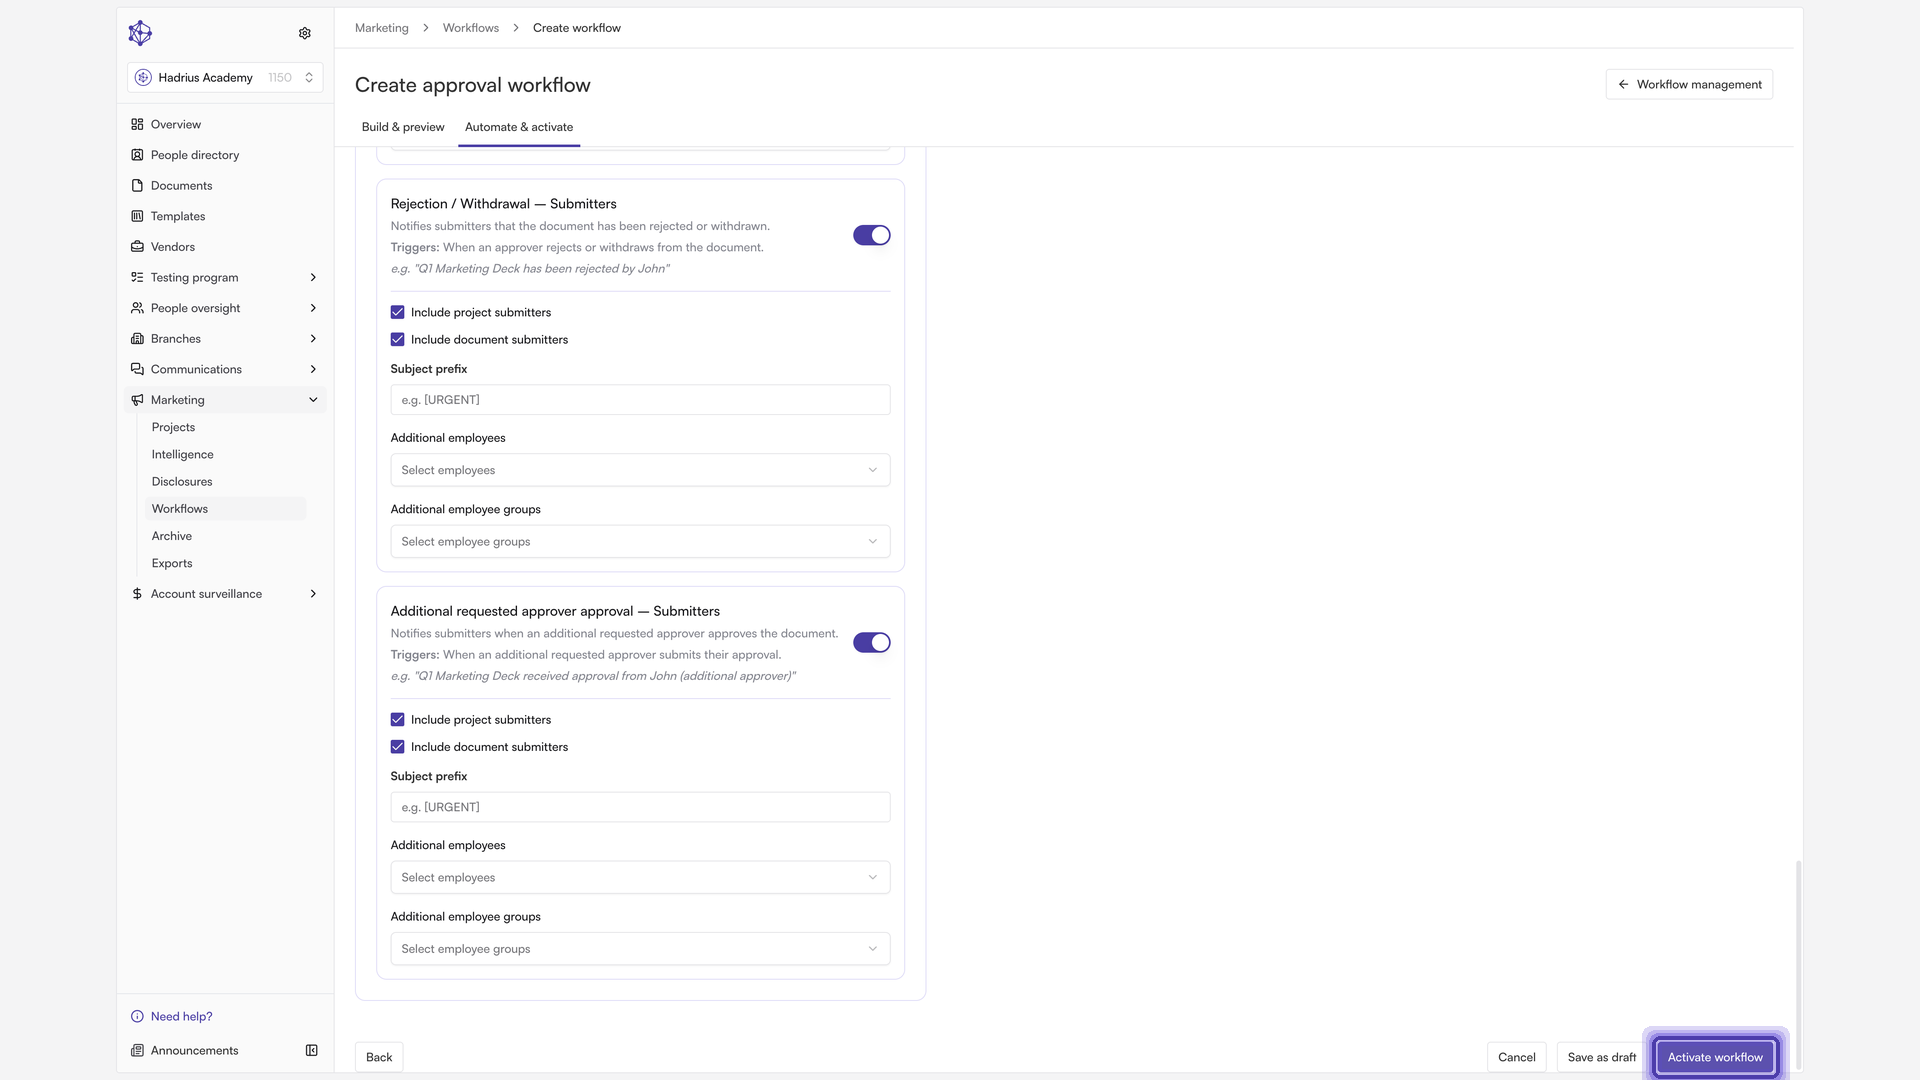
Click Continue to review the Notifications step, where you can adjust which alerts go out at each stage, then proceed to activate the workflow.
Step 4: Activate the workflow
When you're satisfied with the setup, click Activate workflow. This makes the workflow live and ready to route real submissions through the path you just built.
Confirming your setup
After activating, it's a good idea to open the workflow back up from the Workflows list to confirm everything — the approval chain, name, description, default status, and flags — is configured the way you intended.